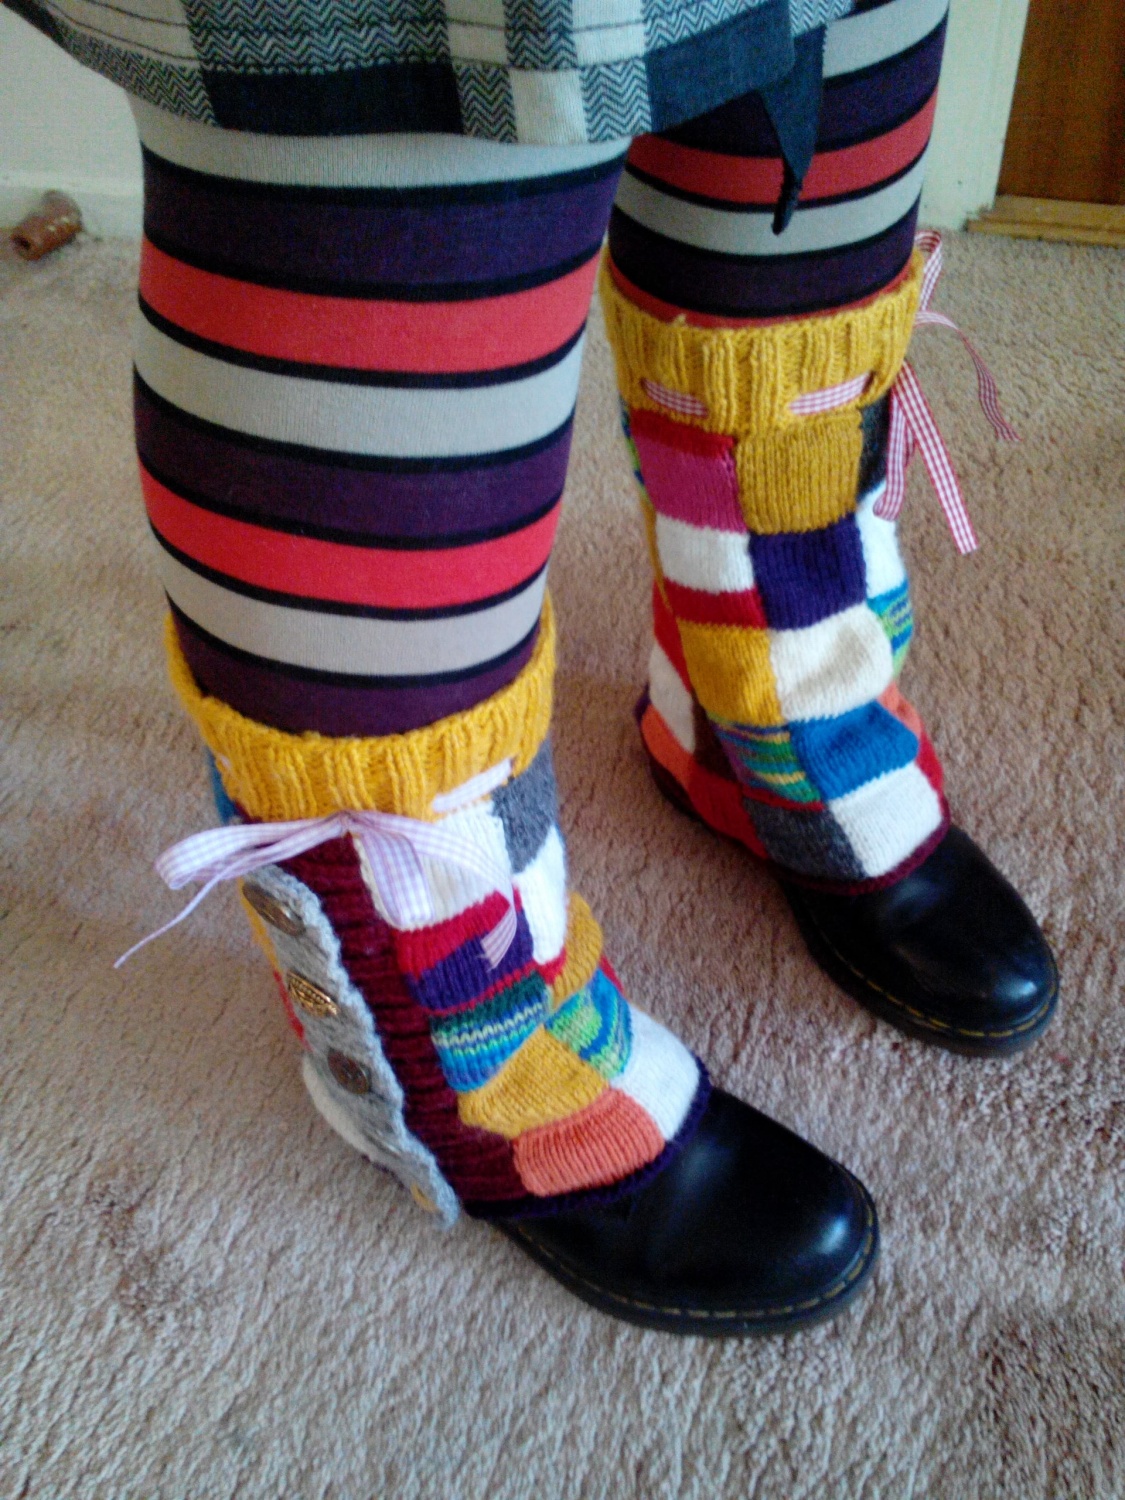
Yesterday I finished a new pair of legwarmers for myself.
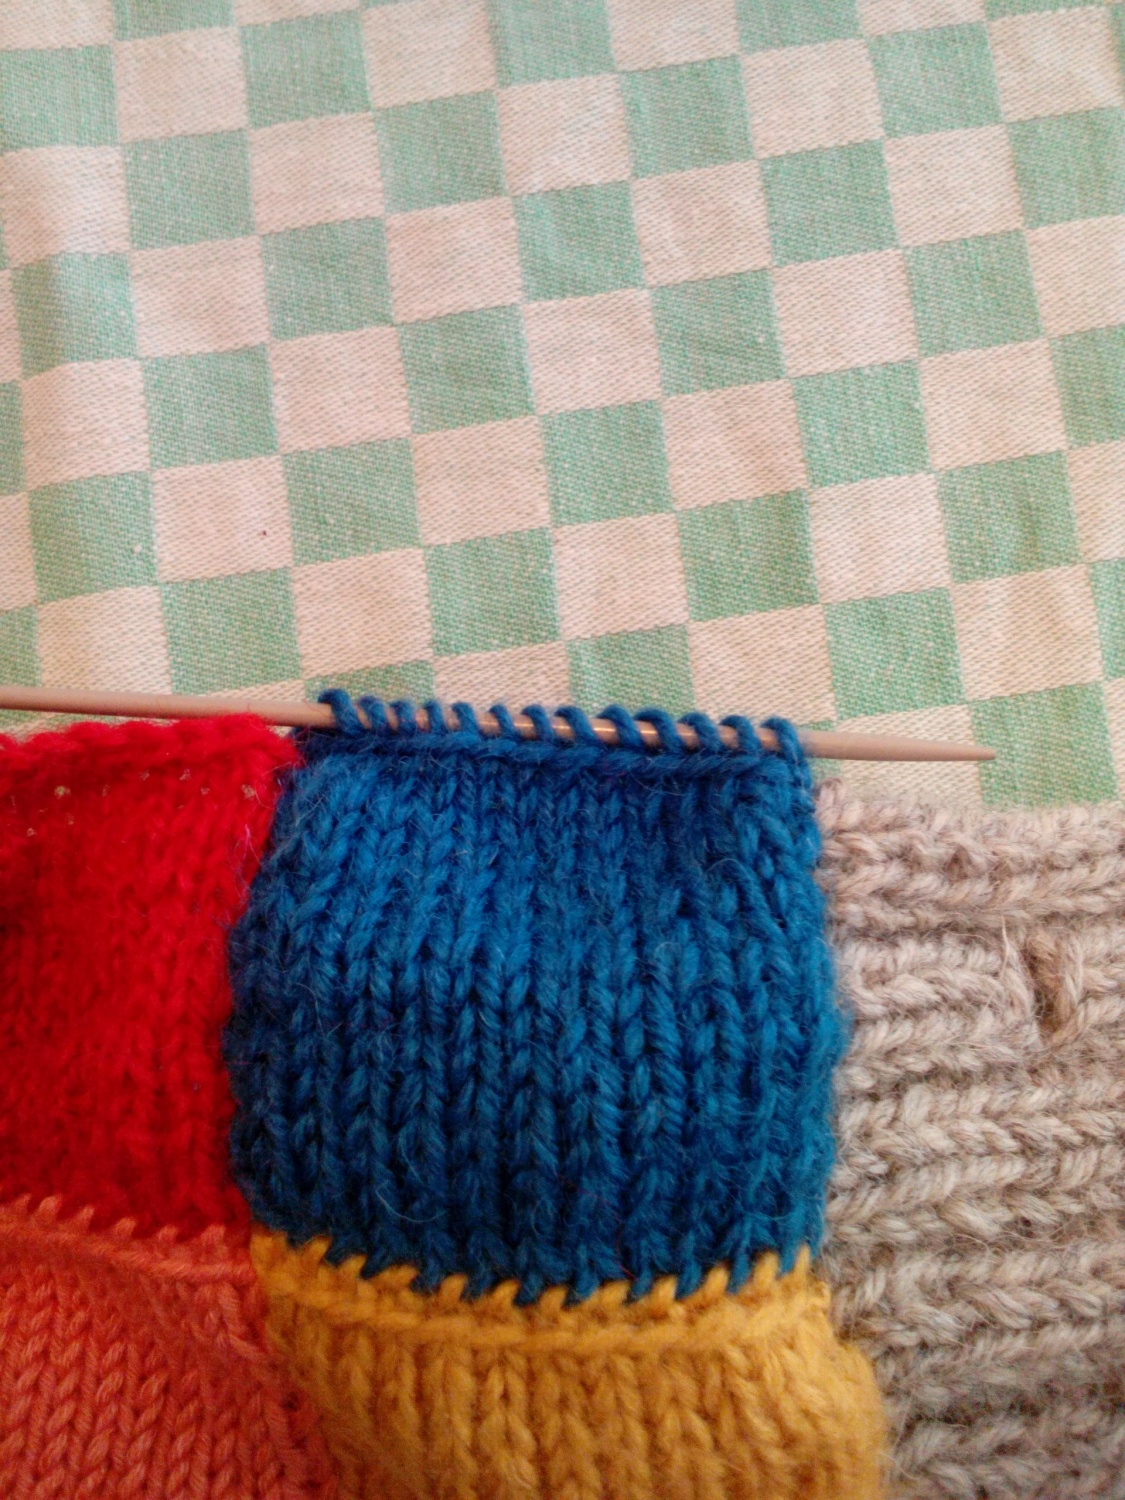
There are a few ways you can make these legwarmers, and I’ll try and make it easy for you to do (bare in mind, I have never written down any patterns, so I’ll just try to explain). First off, you have to find your bulks of leftover yarn. In my case I found all the yarn I had suited for needle size 4 (US size 6), and made a swatch with 14 stitches (that includes 1 edge stitch on each side for sewing), and knitted 16 rows (that includes the cast off row). I then measured it, and the square was approximately 5cm both ways (width and height). Then I measure my leg to see how many squares I would need horizontally.
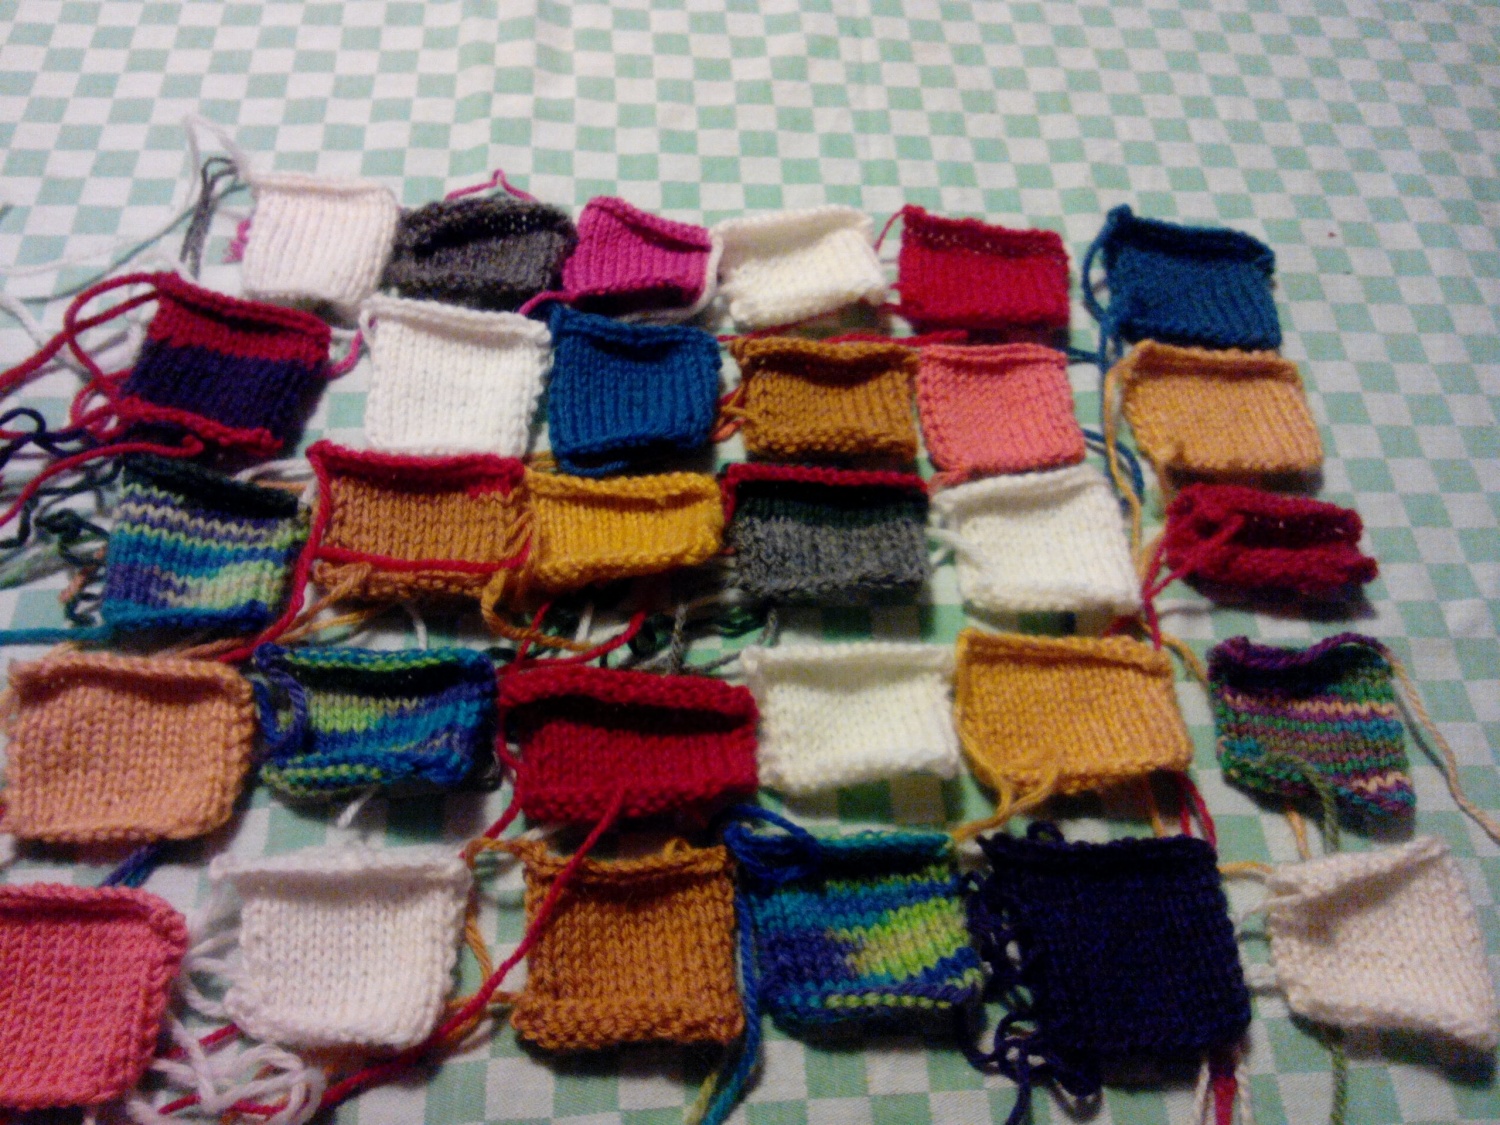
Since I had an unknown amount of yarn length, I decided to knit the squares separately and sew them together afterwards. This can of course be done differently. If you know the length of your yarn and how you want your colors, you can easily divide your yarn (like one would when knitting f.ex. intarsia) and knit full length rows of squares before sewing the rows together. Either way, there is some sewing involved. I also prefer to knit the squares separately, so I can sort out the different colors afterwards.
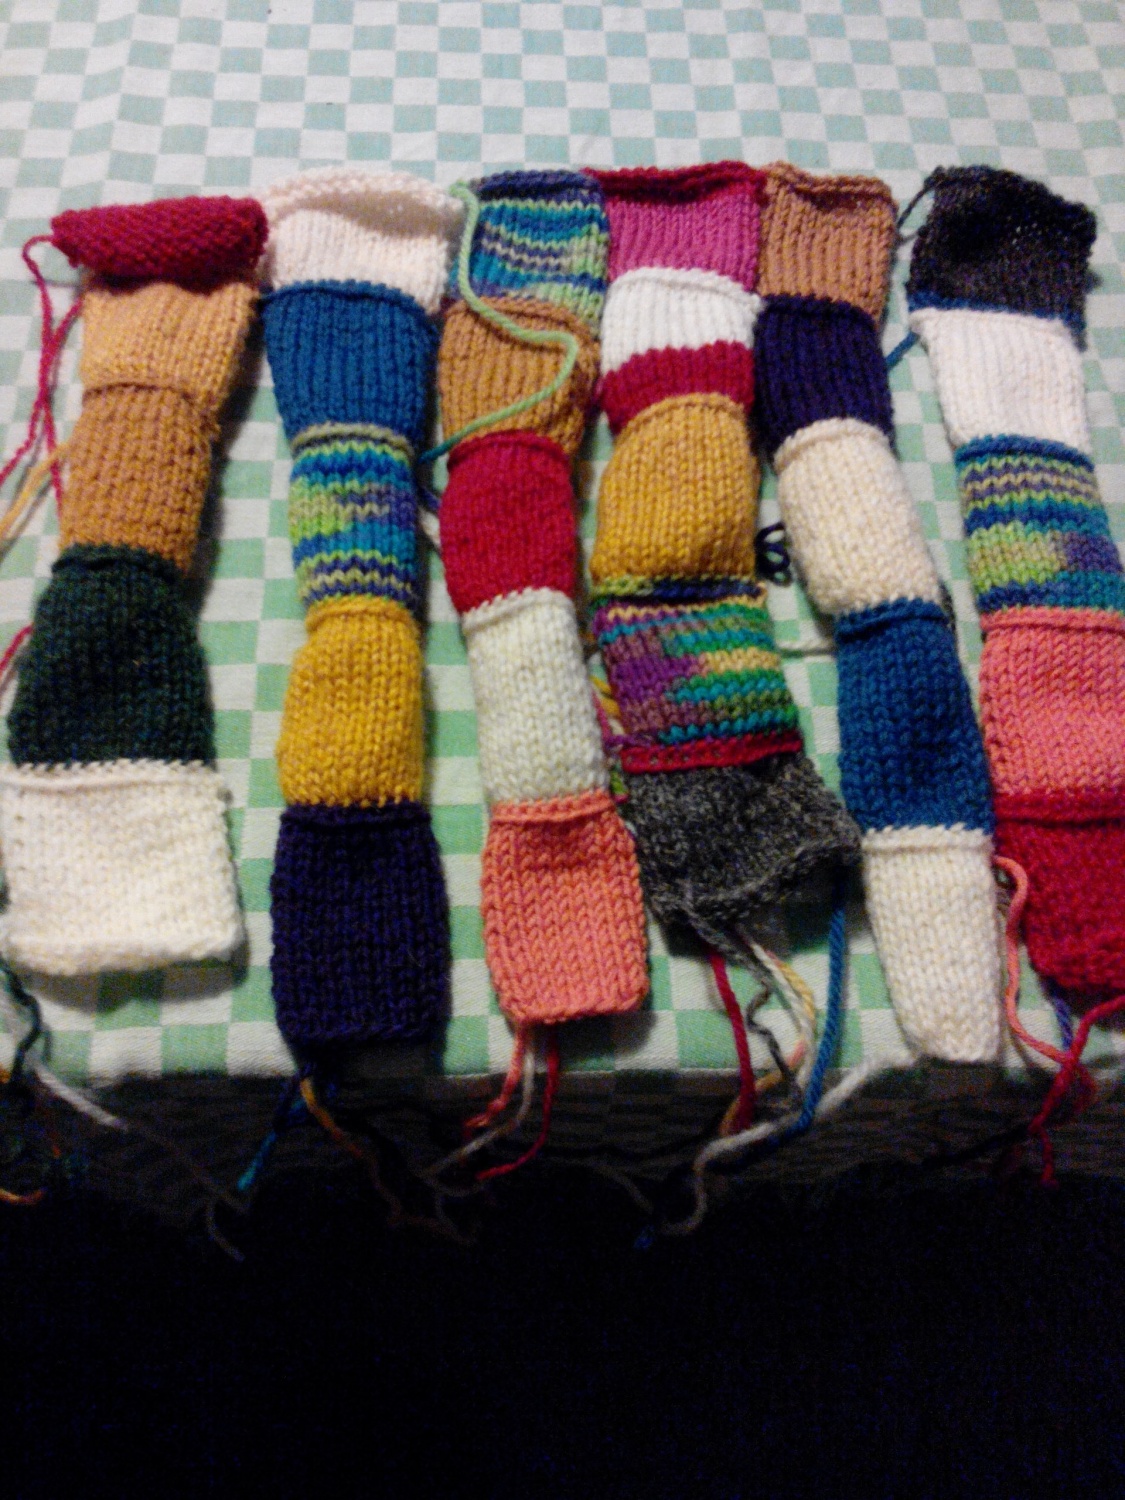
I then set out to make my vertical rows. I decided to not “hide” the cast off row, so I sewed them together in the back loop on the cast off stitches and the cast on loops. This is of course a personal choice. If you want a more seamless finish, that is your choice.

As you can see from this picture, I left an open space between row 3 and 4 at the bottom. I did that because I prefer my legwarmers to be slightly wider at the bottom. Again, this is a personal choice. If you prefer to have them straight, sew it all together. If you, like me, want them a little wider, you should knit squares that decreases. I made 2 squares for this purpose. The bottom one started off with 14 stitches, and I decreased 2 stitches every 6th row, and I knitted 16 rows like the other squares. The second square started off with 10 stitches (to match the cast off row from the first square). The second square started to decrease on the second row (4 rows from the previous square + 2 rows on this new one = 6 rows), and I continued to decrease every 6th row until I had 4 stitches left. On the 6th row I knitted the 2 middle stitches together, leaving me with 3 stitches. I knitted 3 rows with 3 stitches, and finished off knitting the 3 stitches together on the 4th row. You can knit it as long as you prefer.
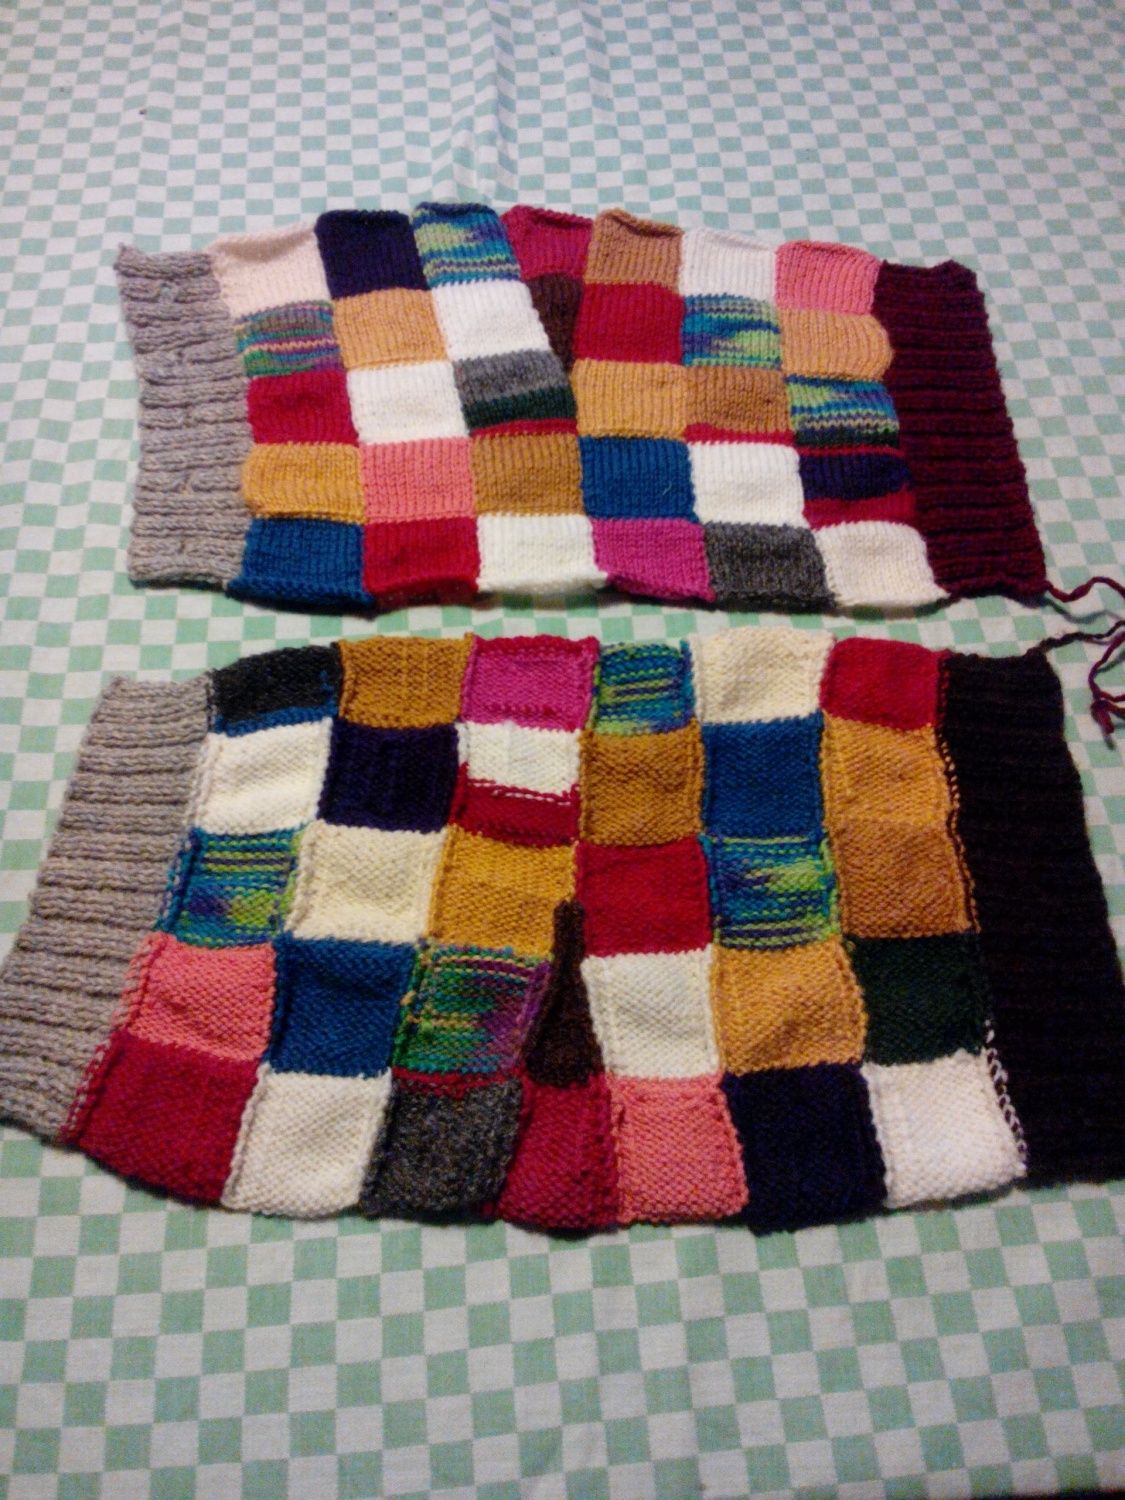
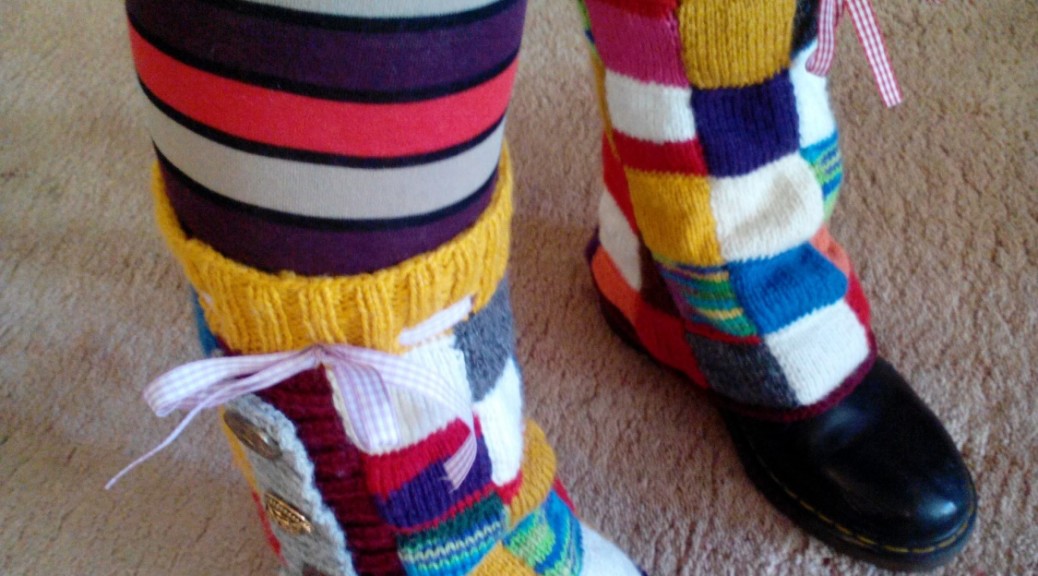
I had decided I wanted a row of buttons on the outside of my legwarmers, so after I had sewed all the squares together, I picked up 48 stitches along both sides and knitted a rib finish (knit 2, purl 2). I made 5 holes for buttons on one side, on one legwarmer on the right side and on the left on the other. On this picture you can see that the bottom legwarmer shows the inside.
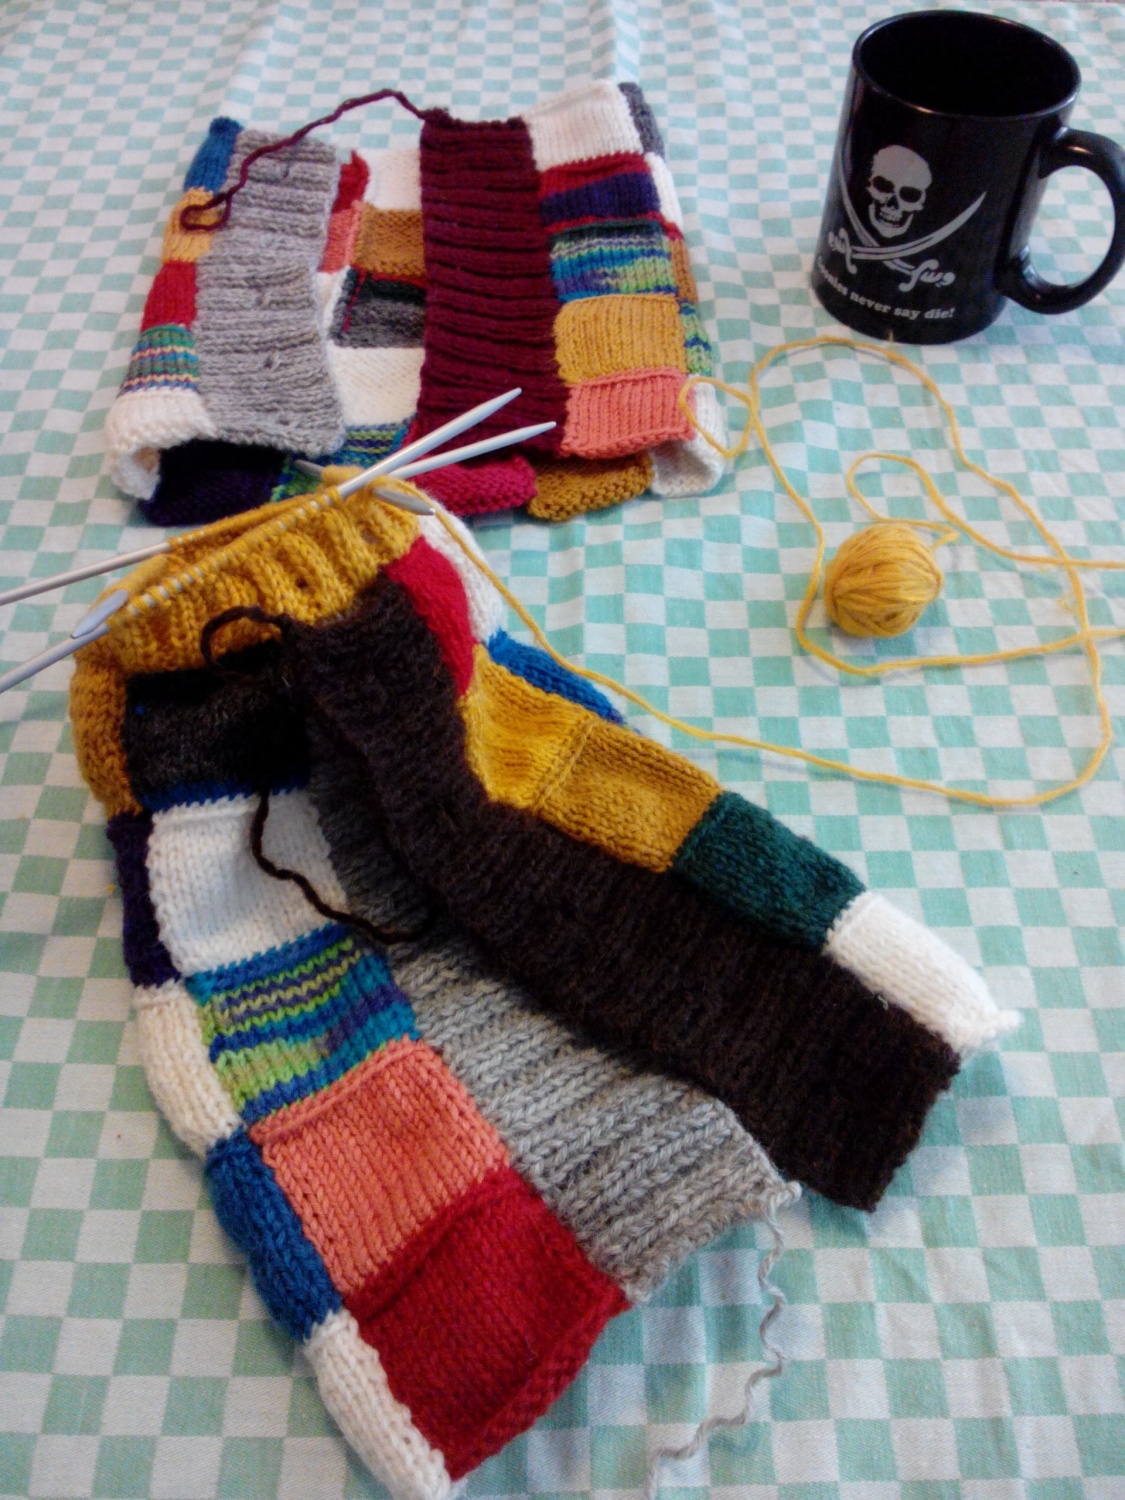
I also wanted to have a top and a bottom finish, and I decided to have a rib finish at the top and a garter finish at the bottom. The top part is knitted all the way around. I picked up 13 stitches in the back loop of the cast off 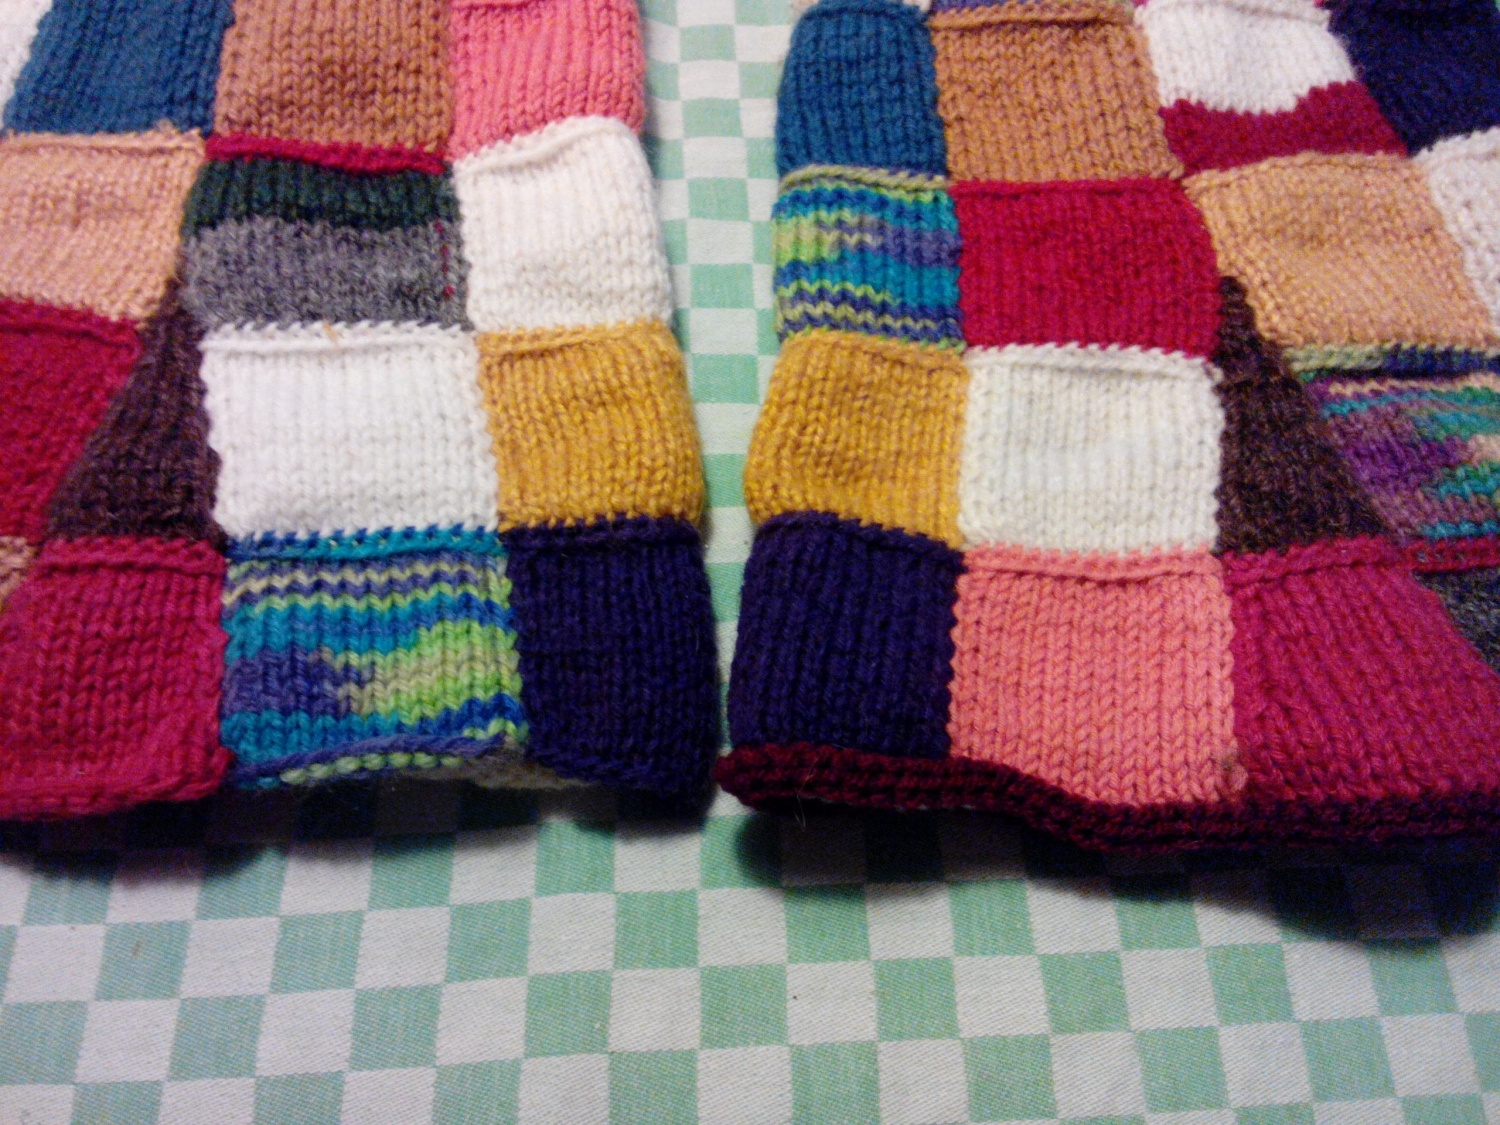 stitches on each square, and also picked up 10 stitches on the ribbed band where the buttons would be sewed on (88 stitches total). The ribbed band with holes is “hanging loose”. On the 4th row I made holes for a ribbon, by knitting *knit 2, purl 2, knit 2, cast on 1 stitch, purl 2 together* all the way around. The bottom has 4 rows, knitted with garter stitches. I picked up stitches in every cast on loop, and picked up 10 stitches on all 4 bands. The 4th row is the cast off row.
Finished product: