Long wrist warmers – free pattern!

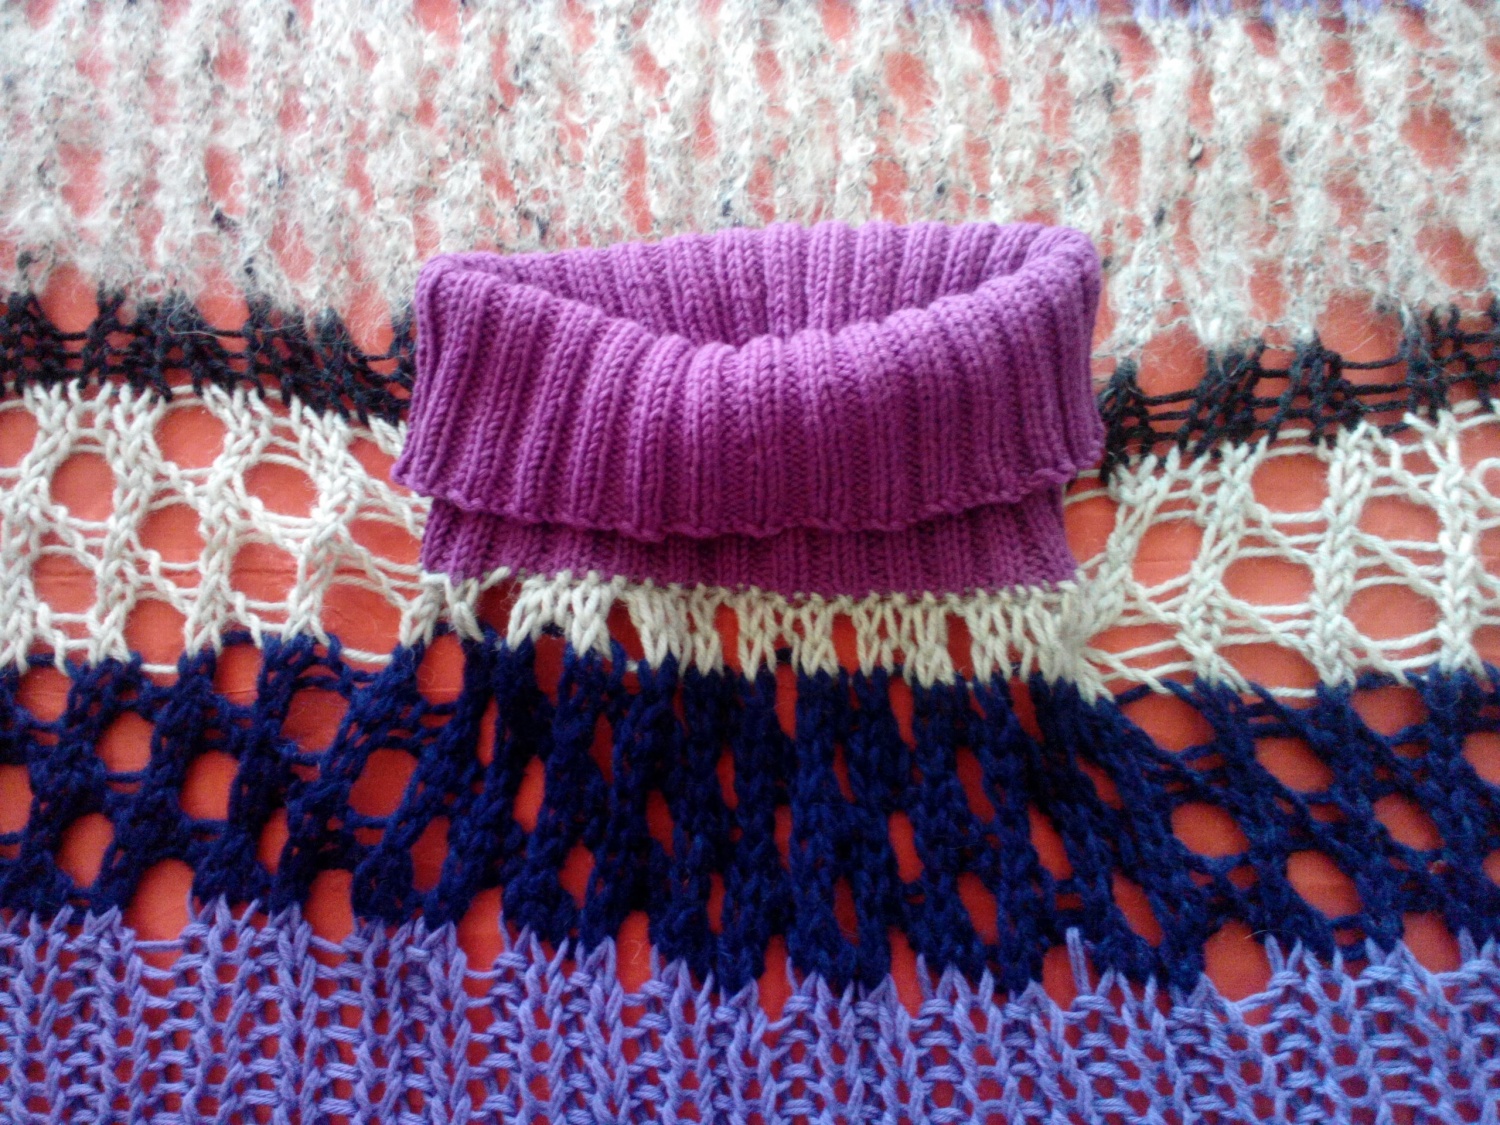
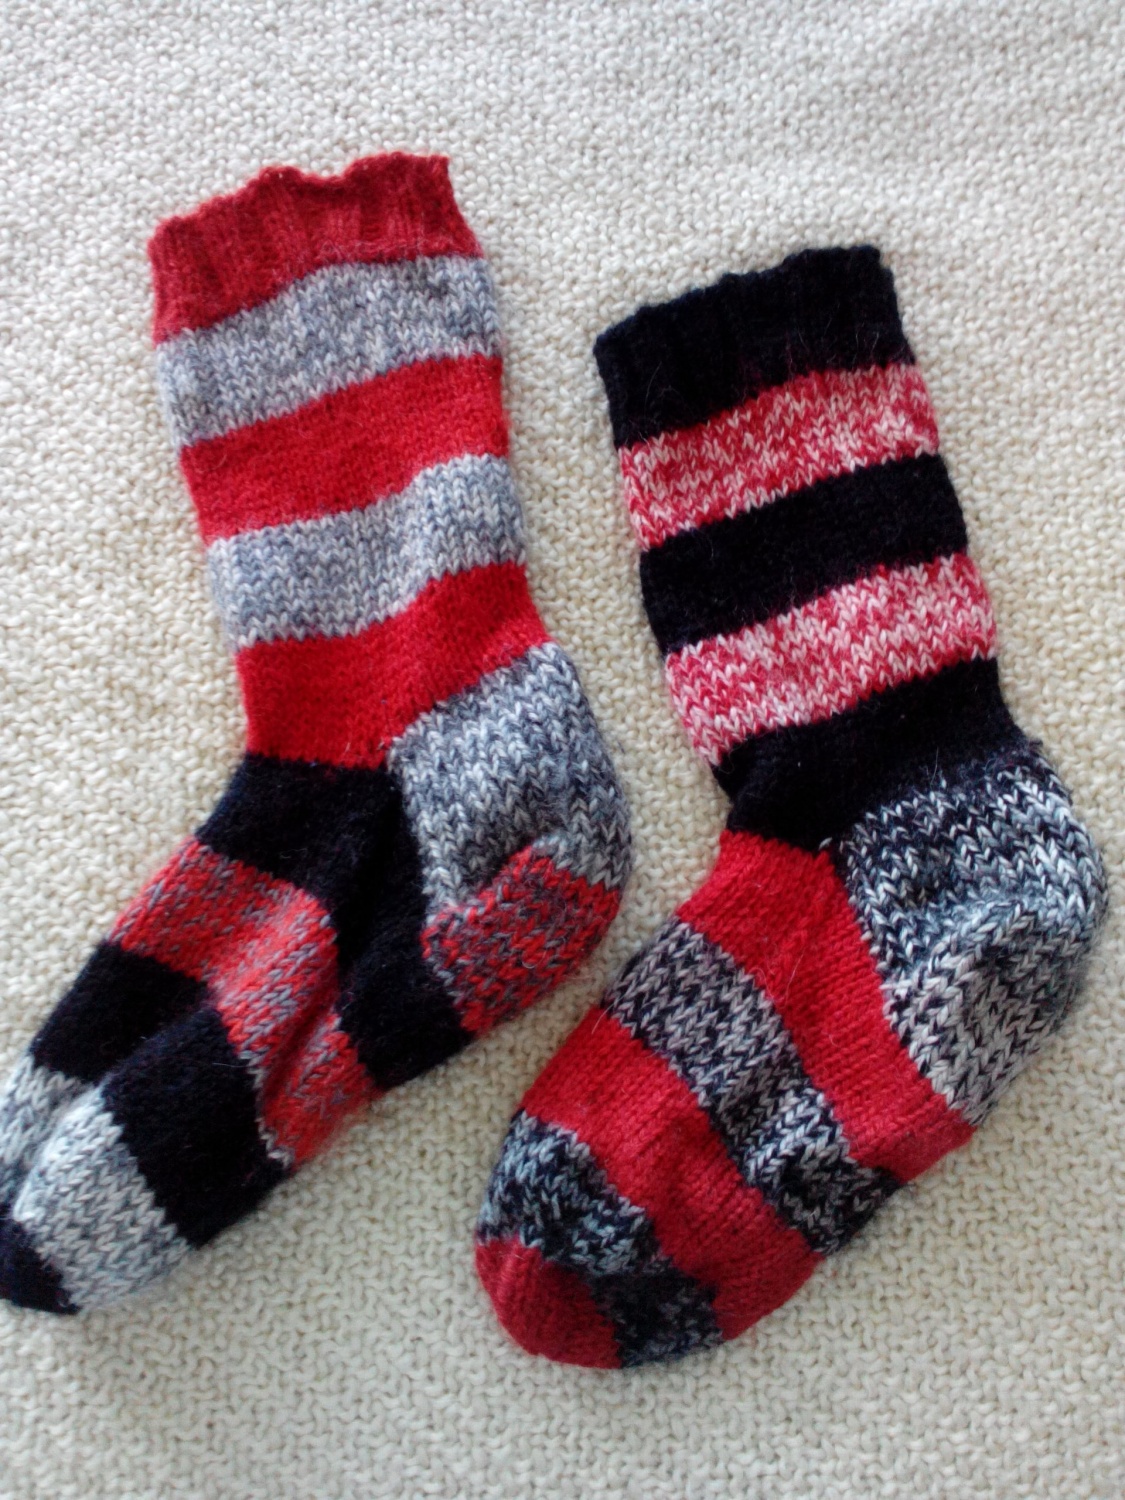
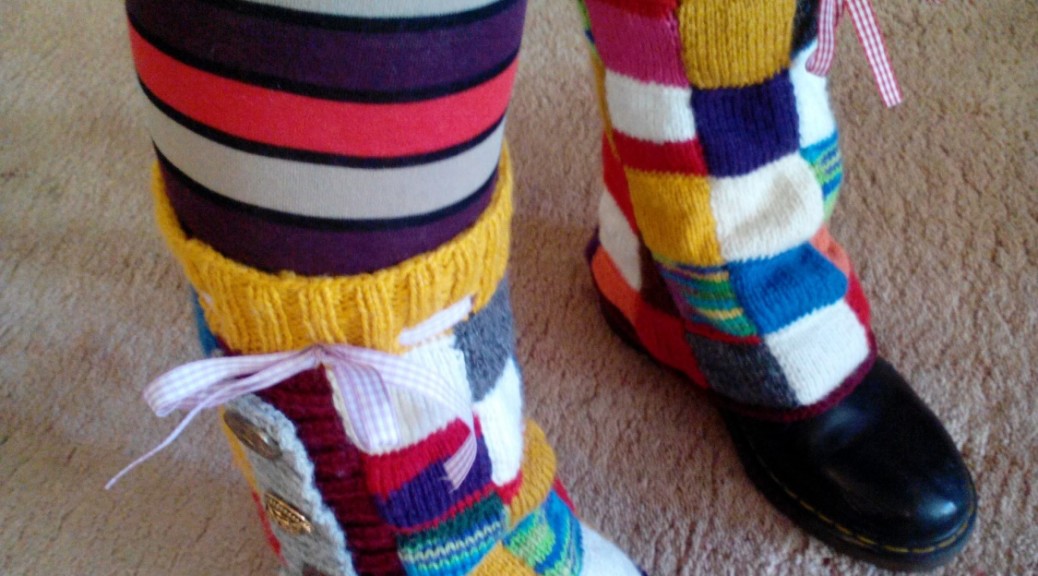
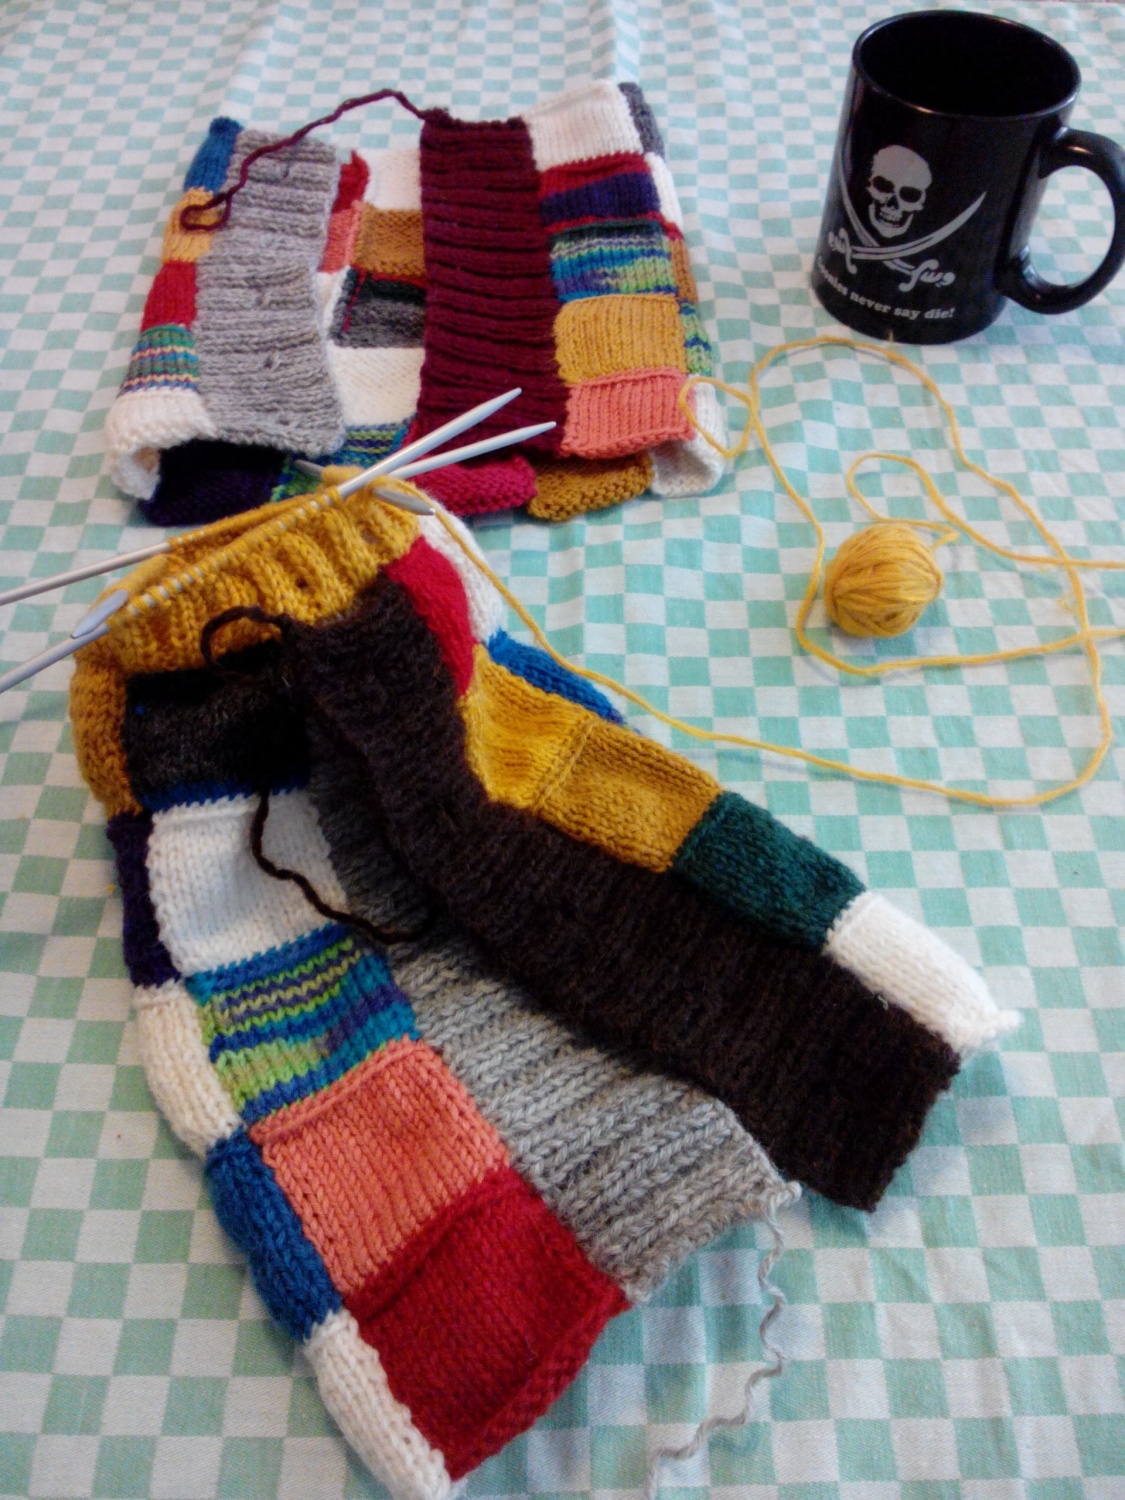
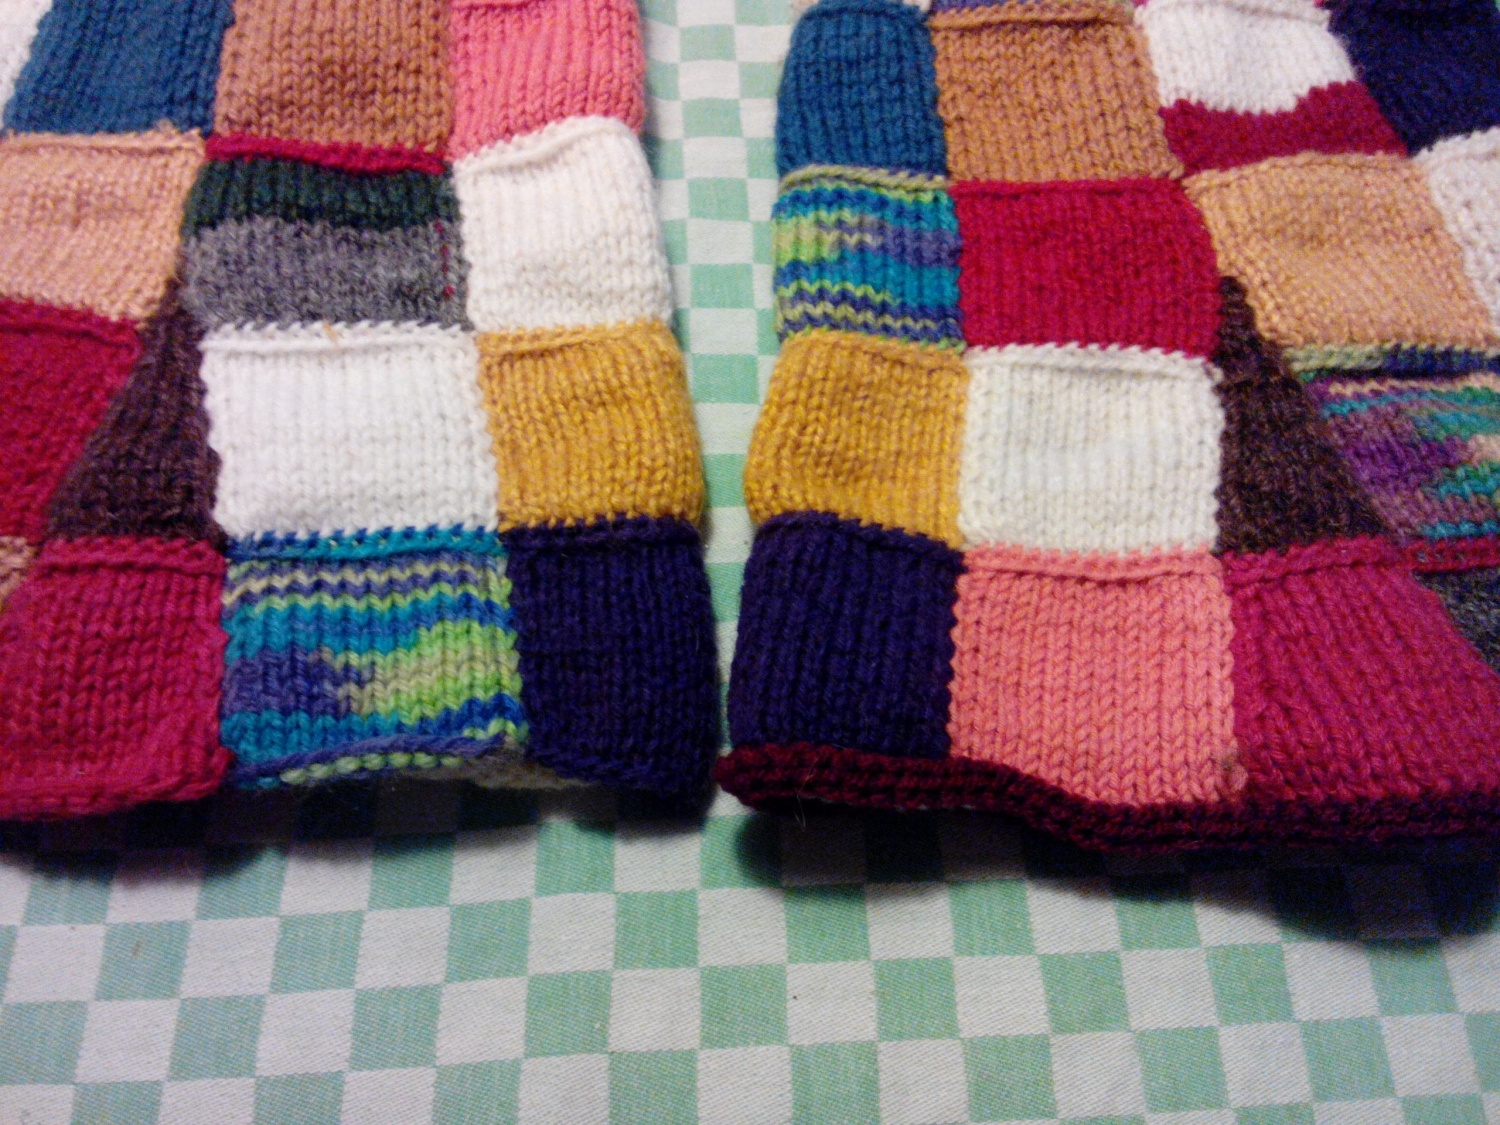
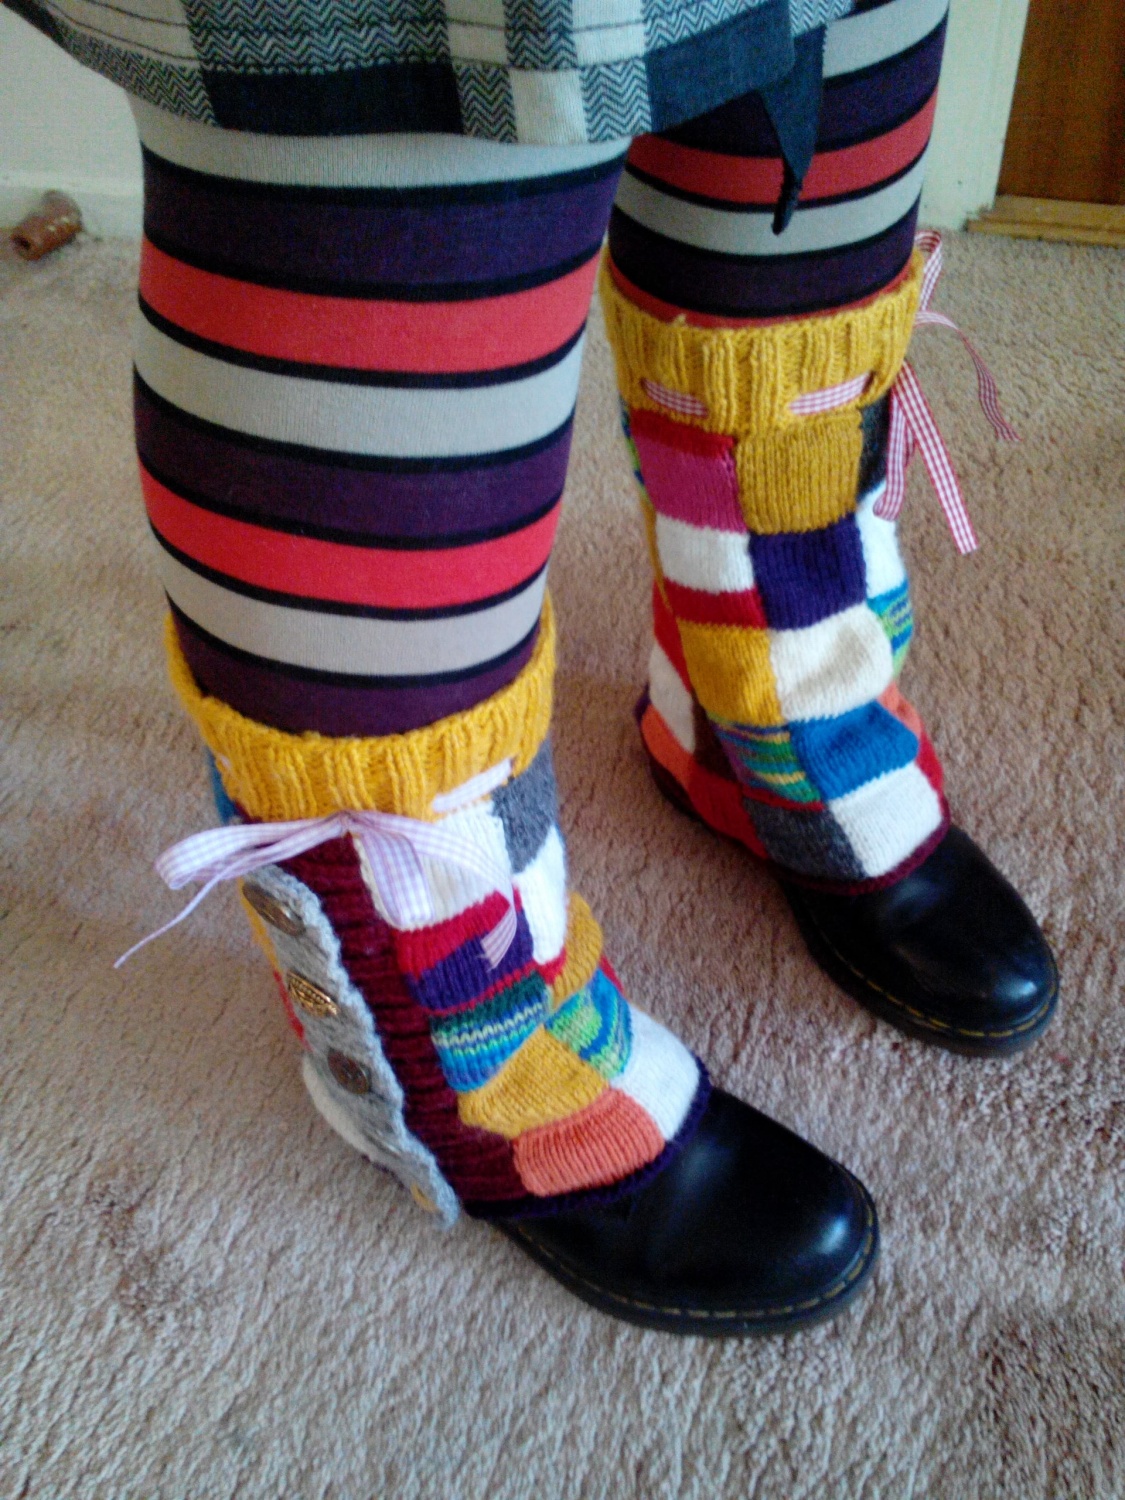
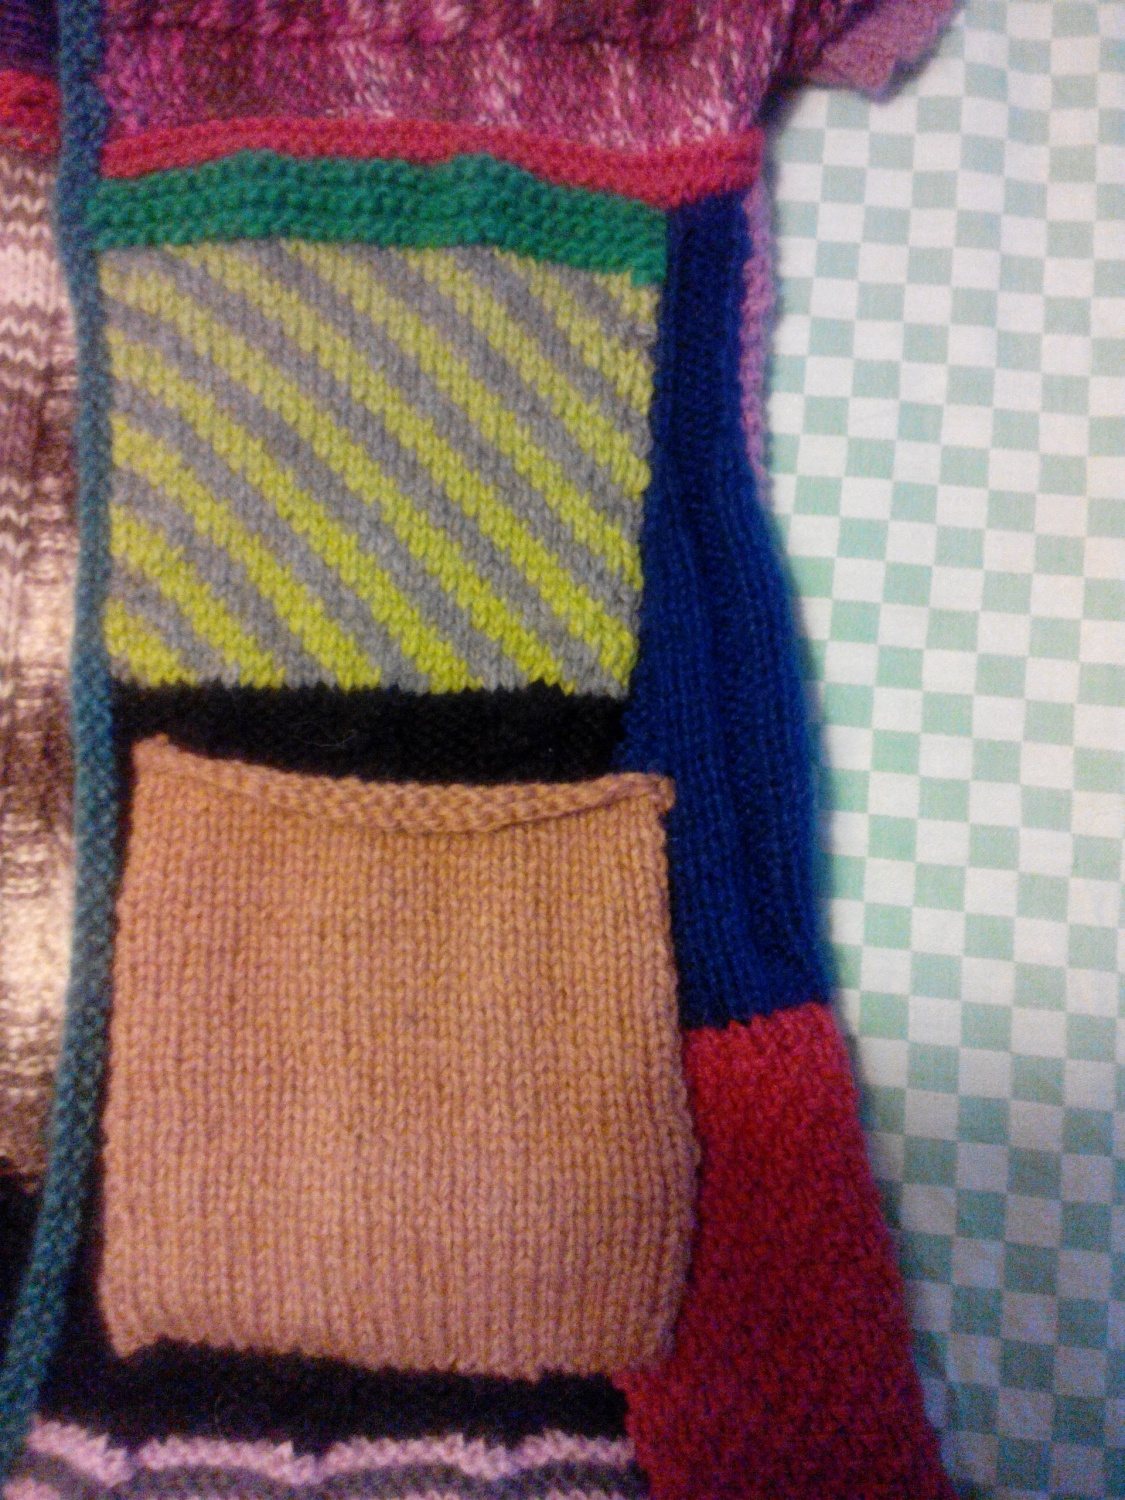
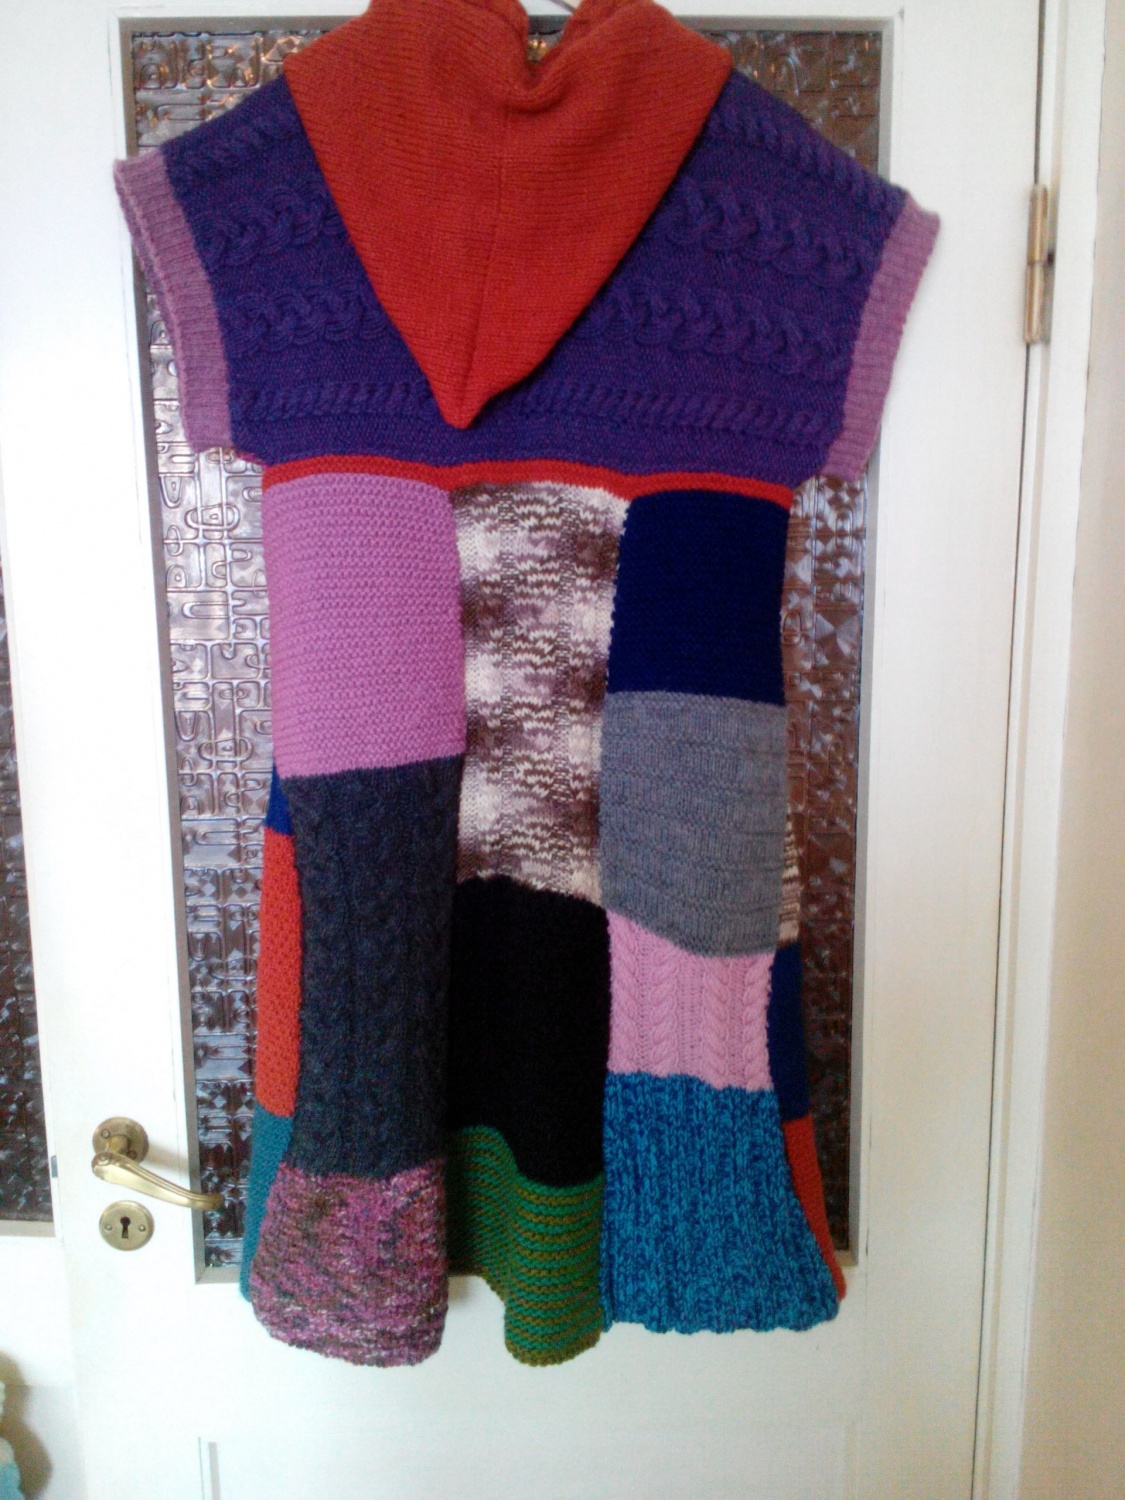
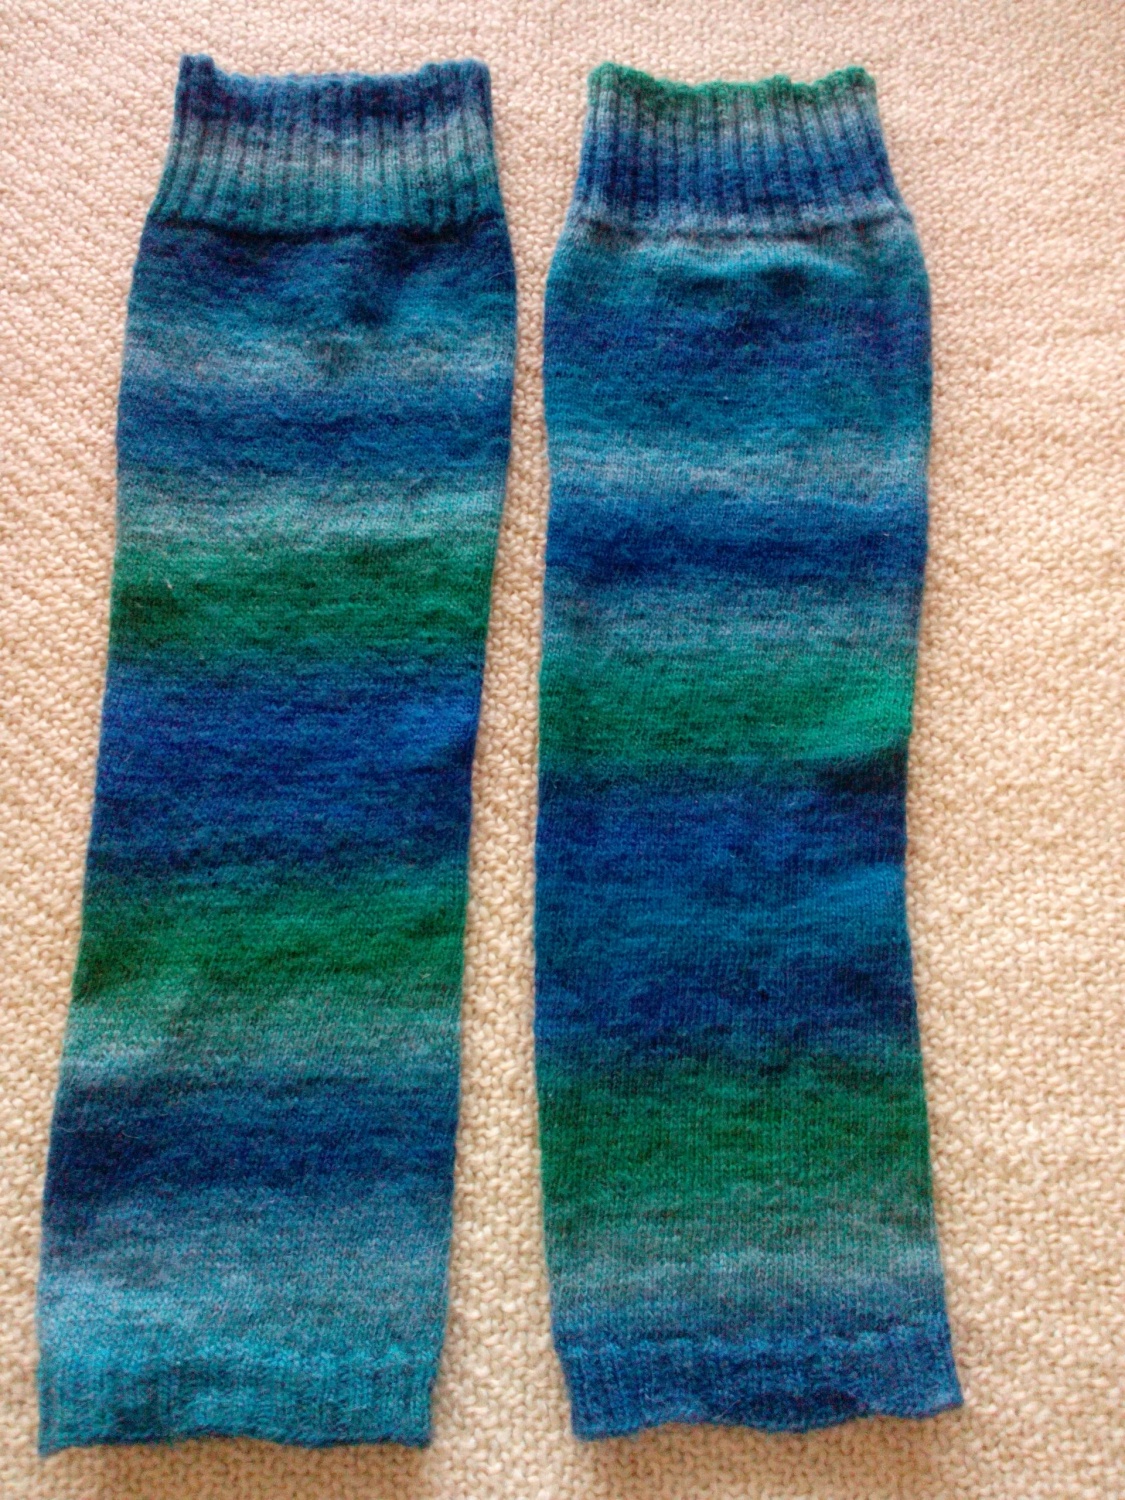
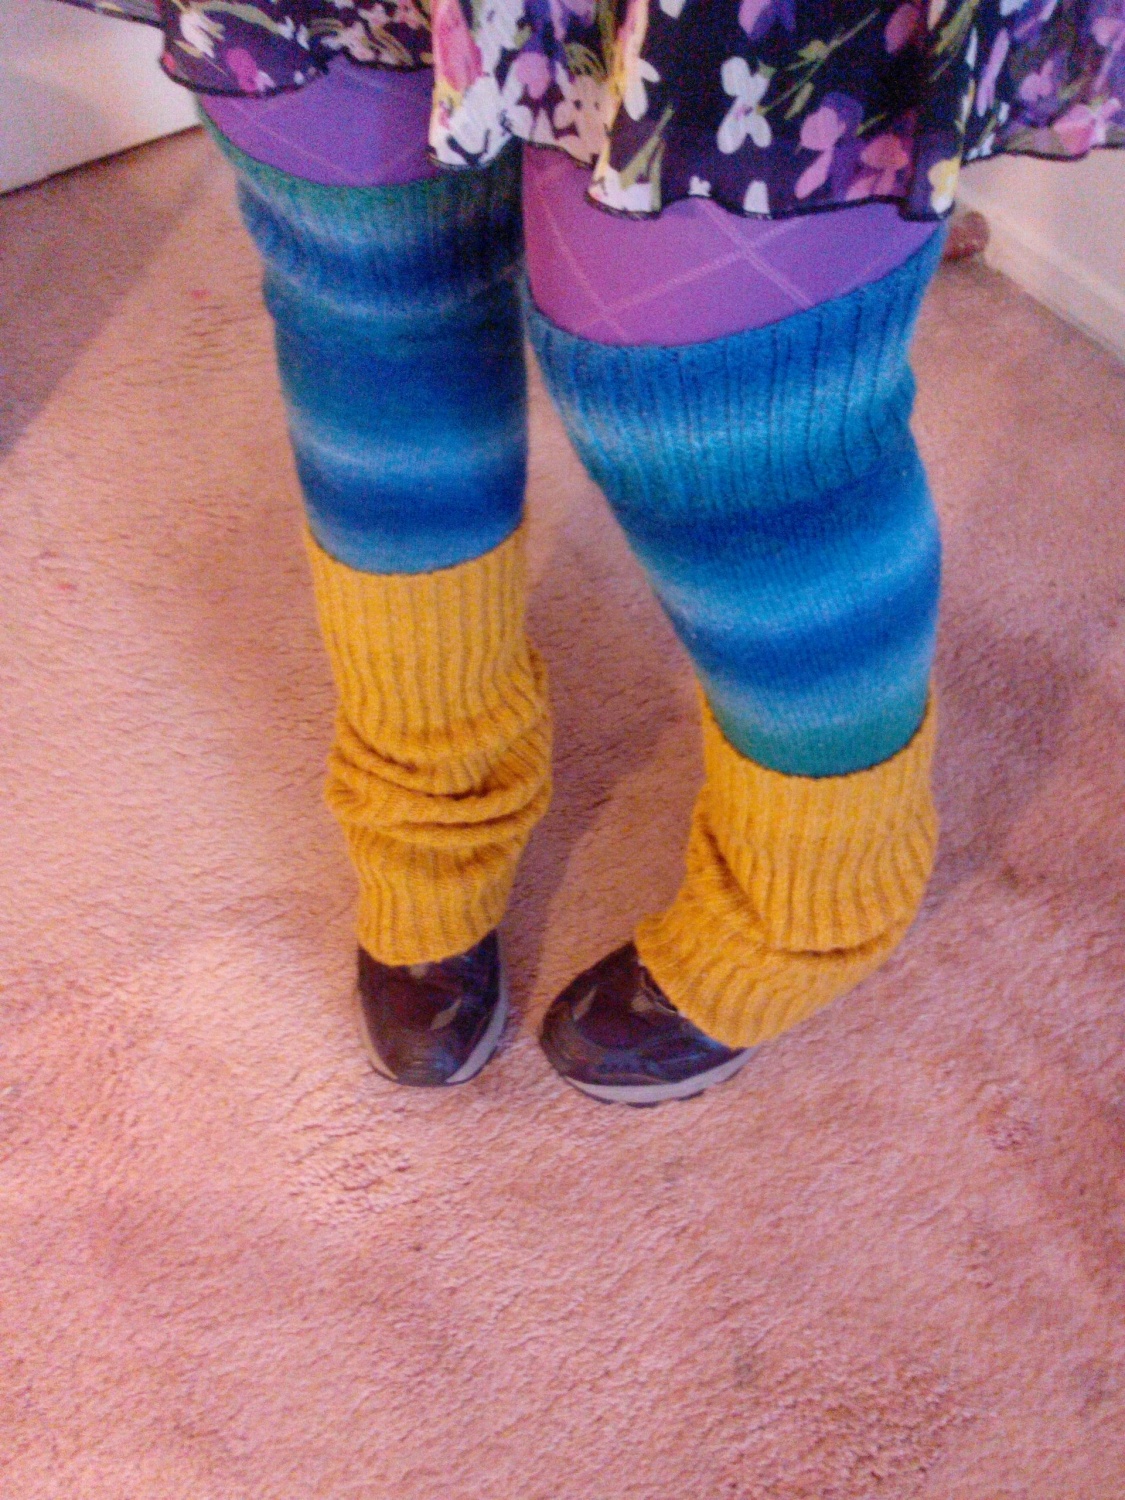
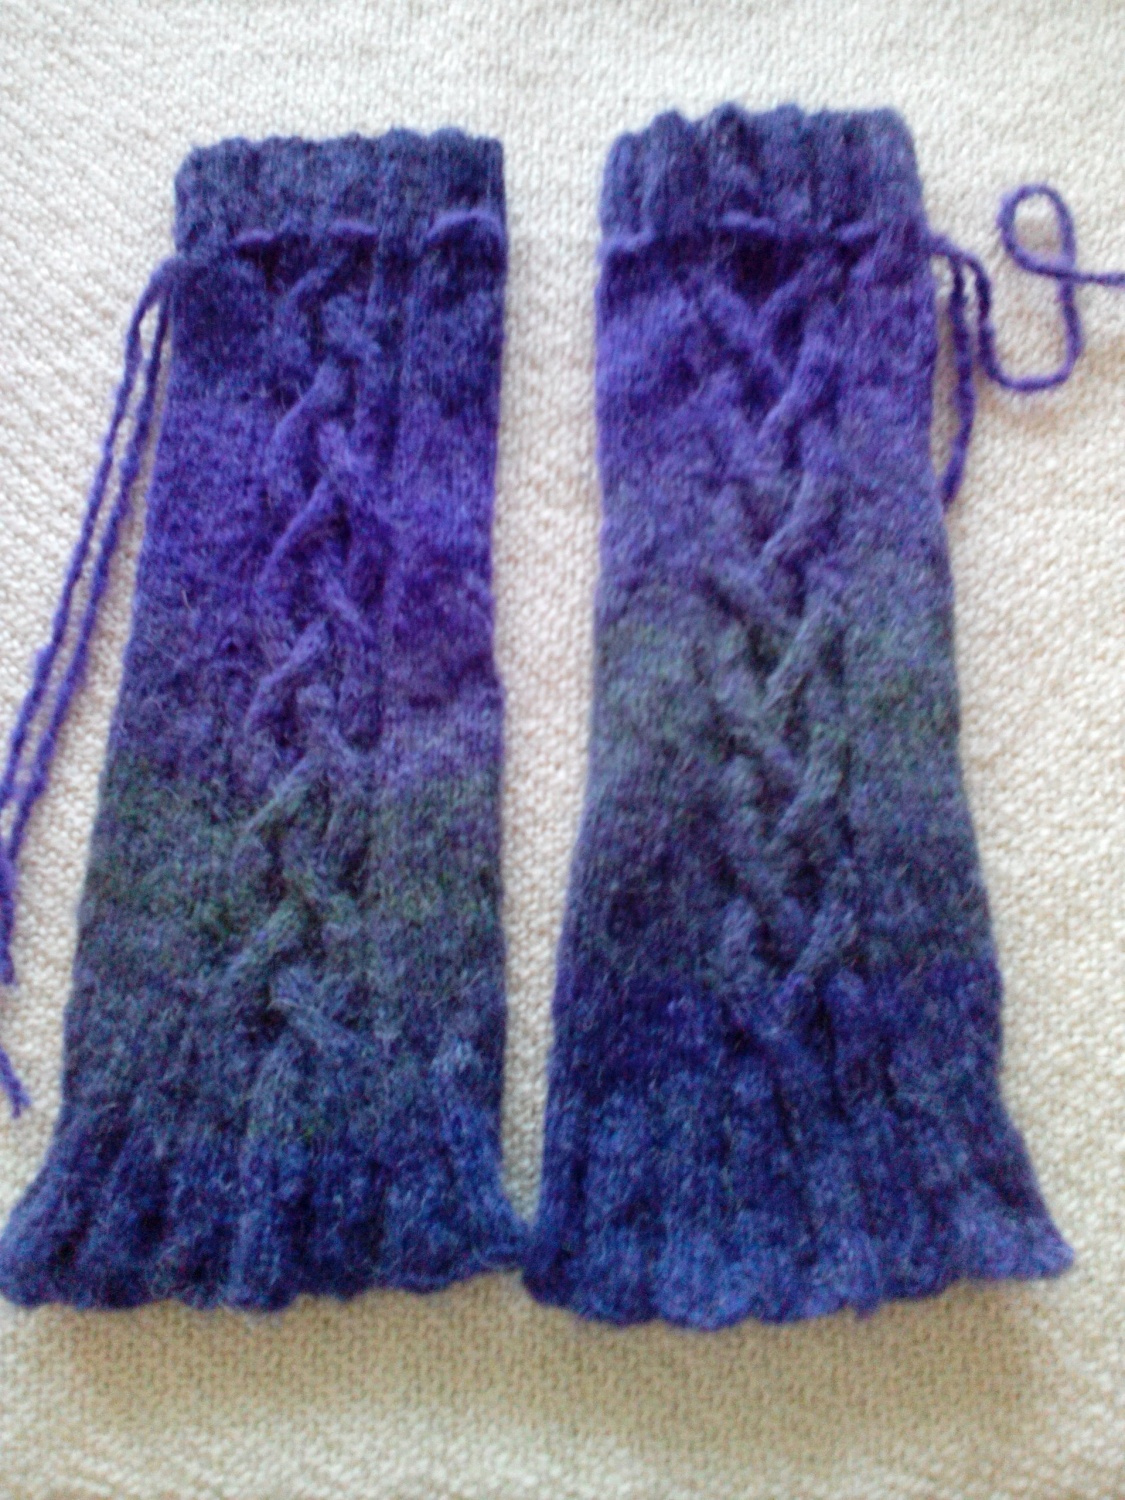
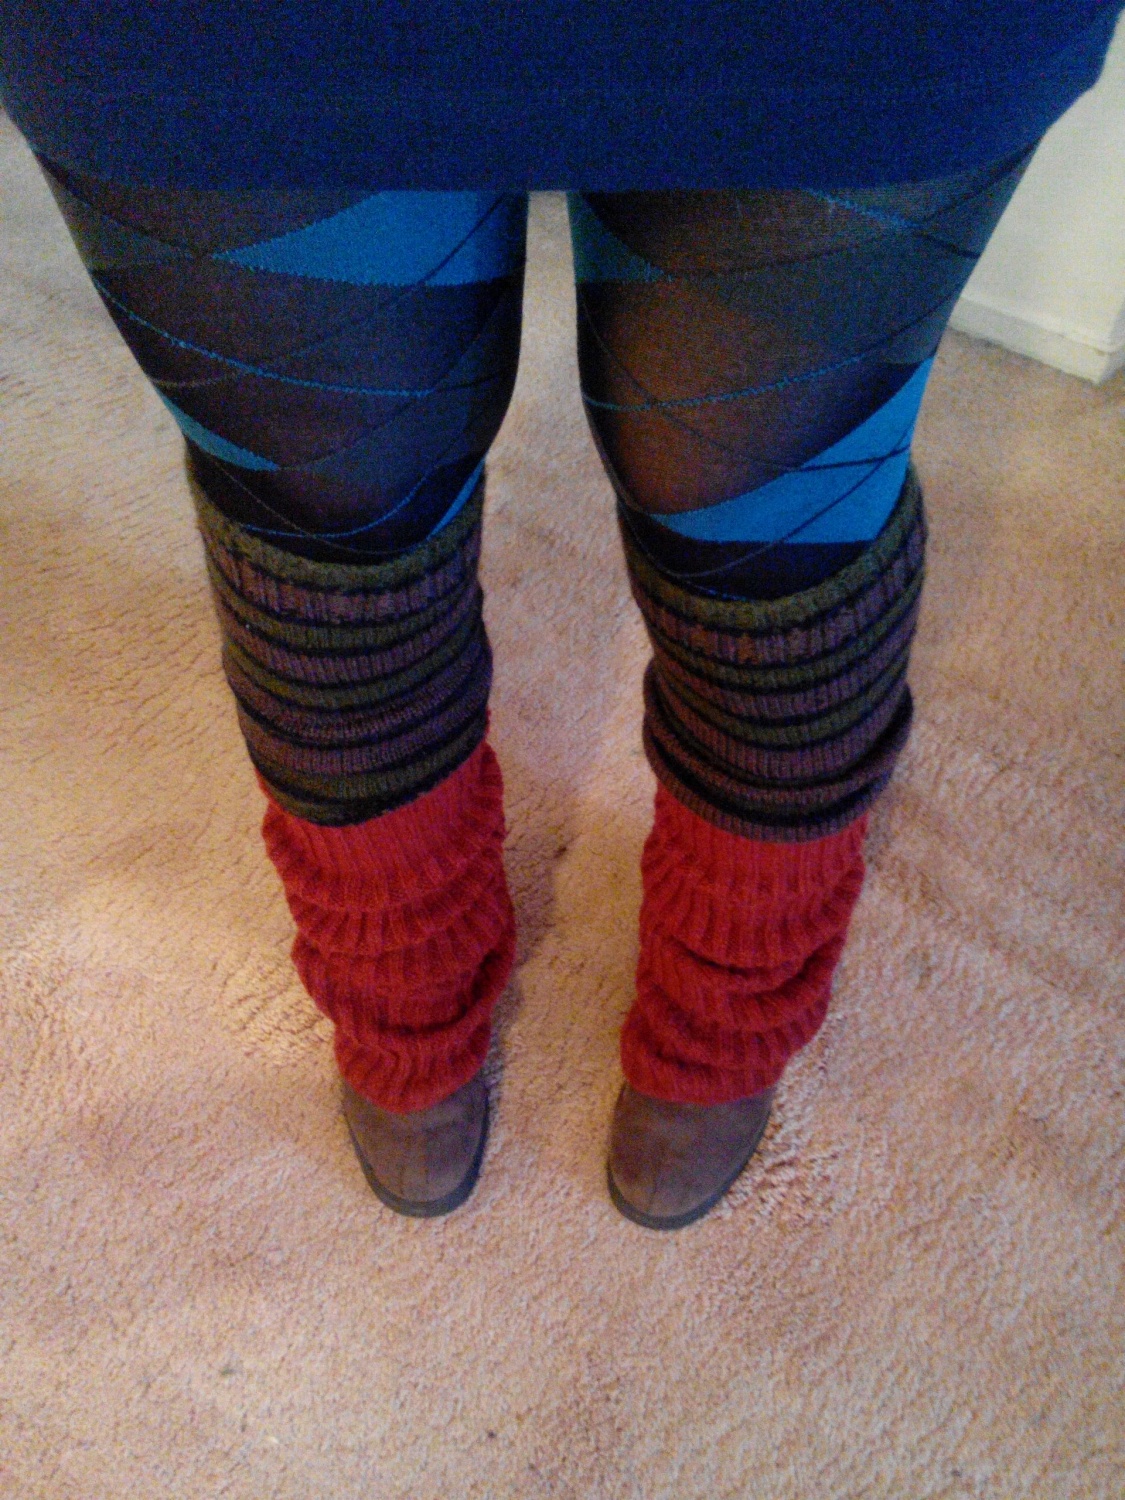
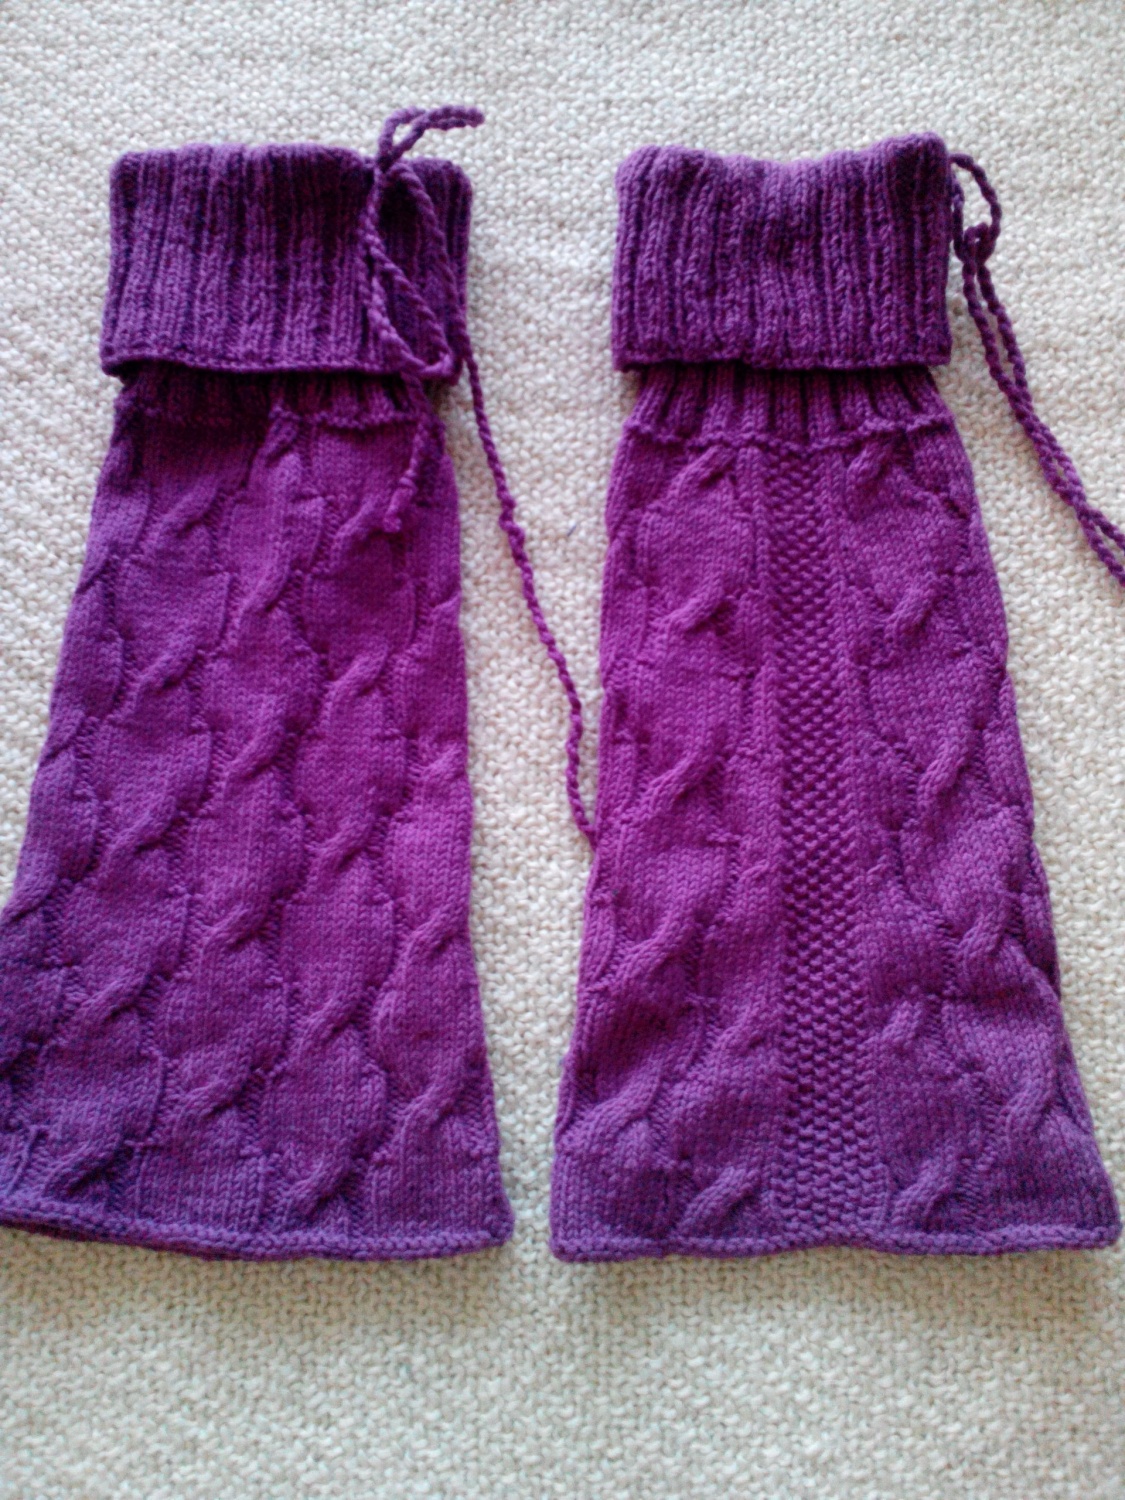
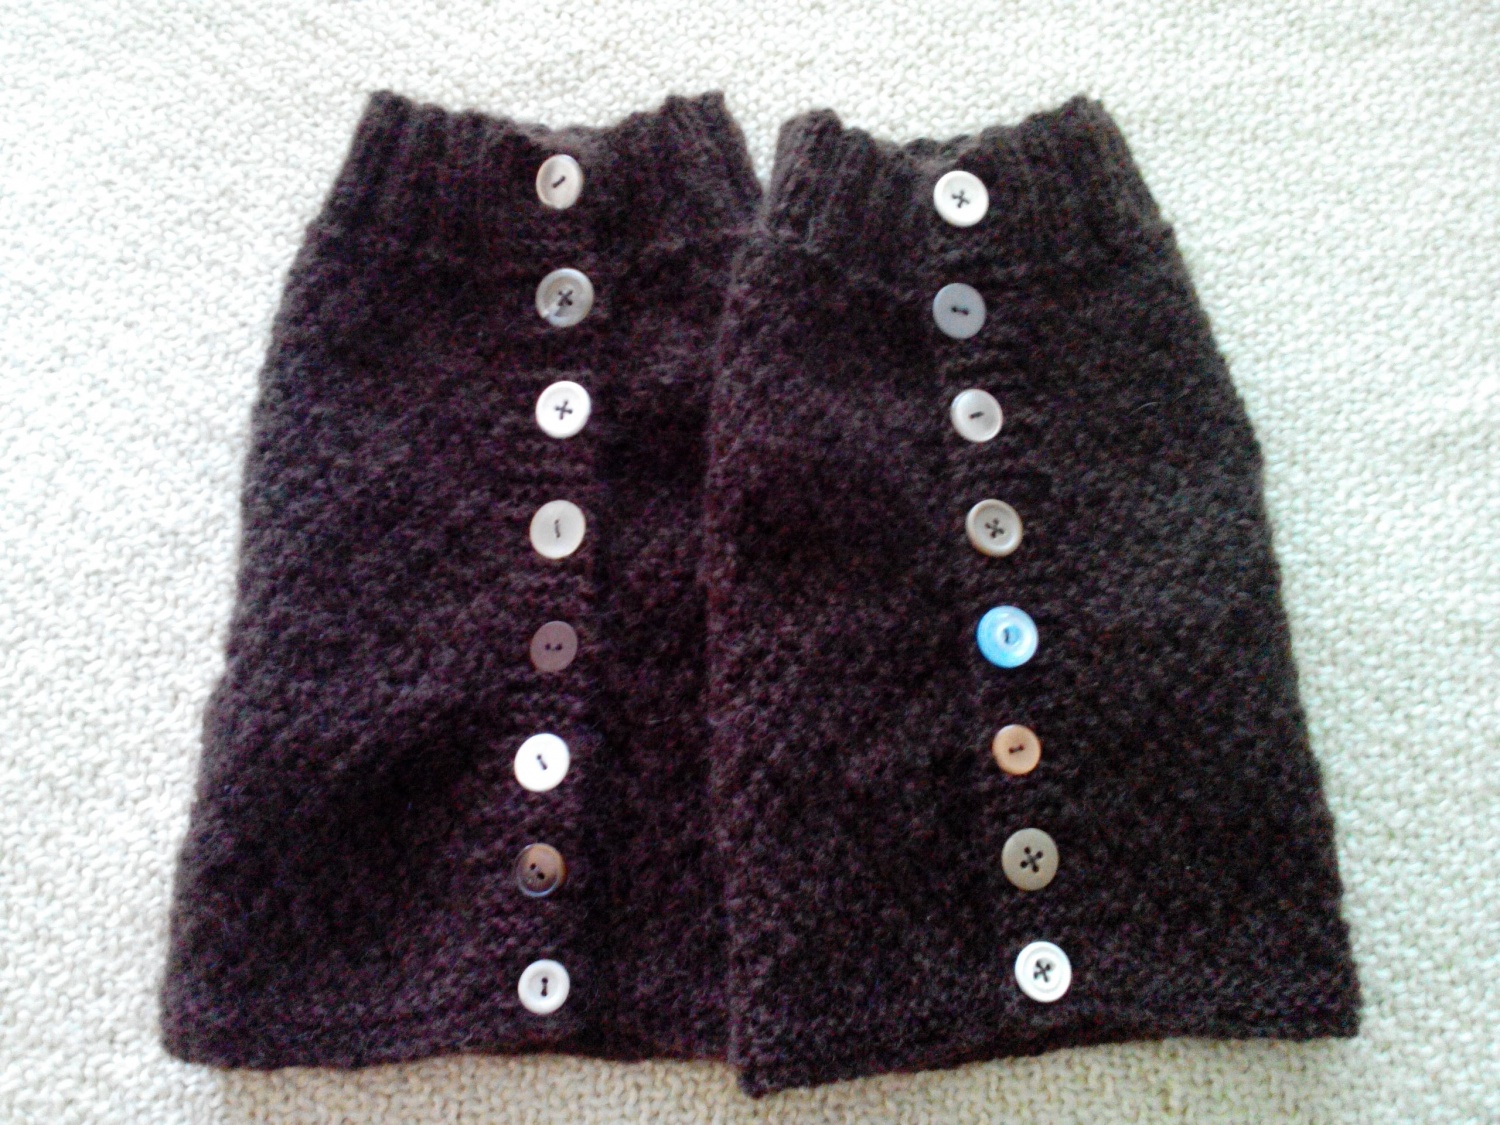
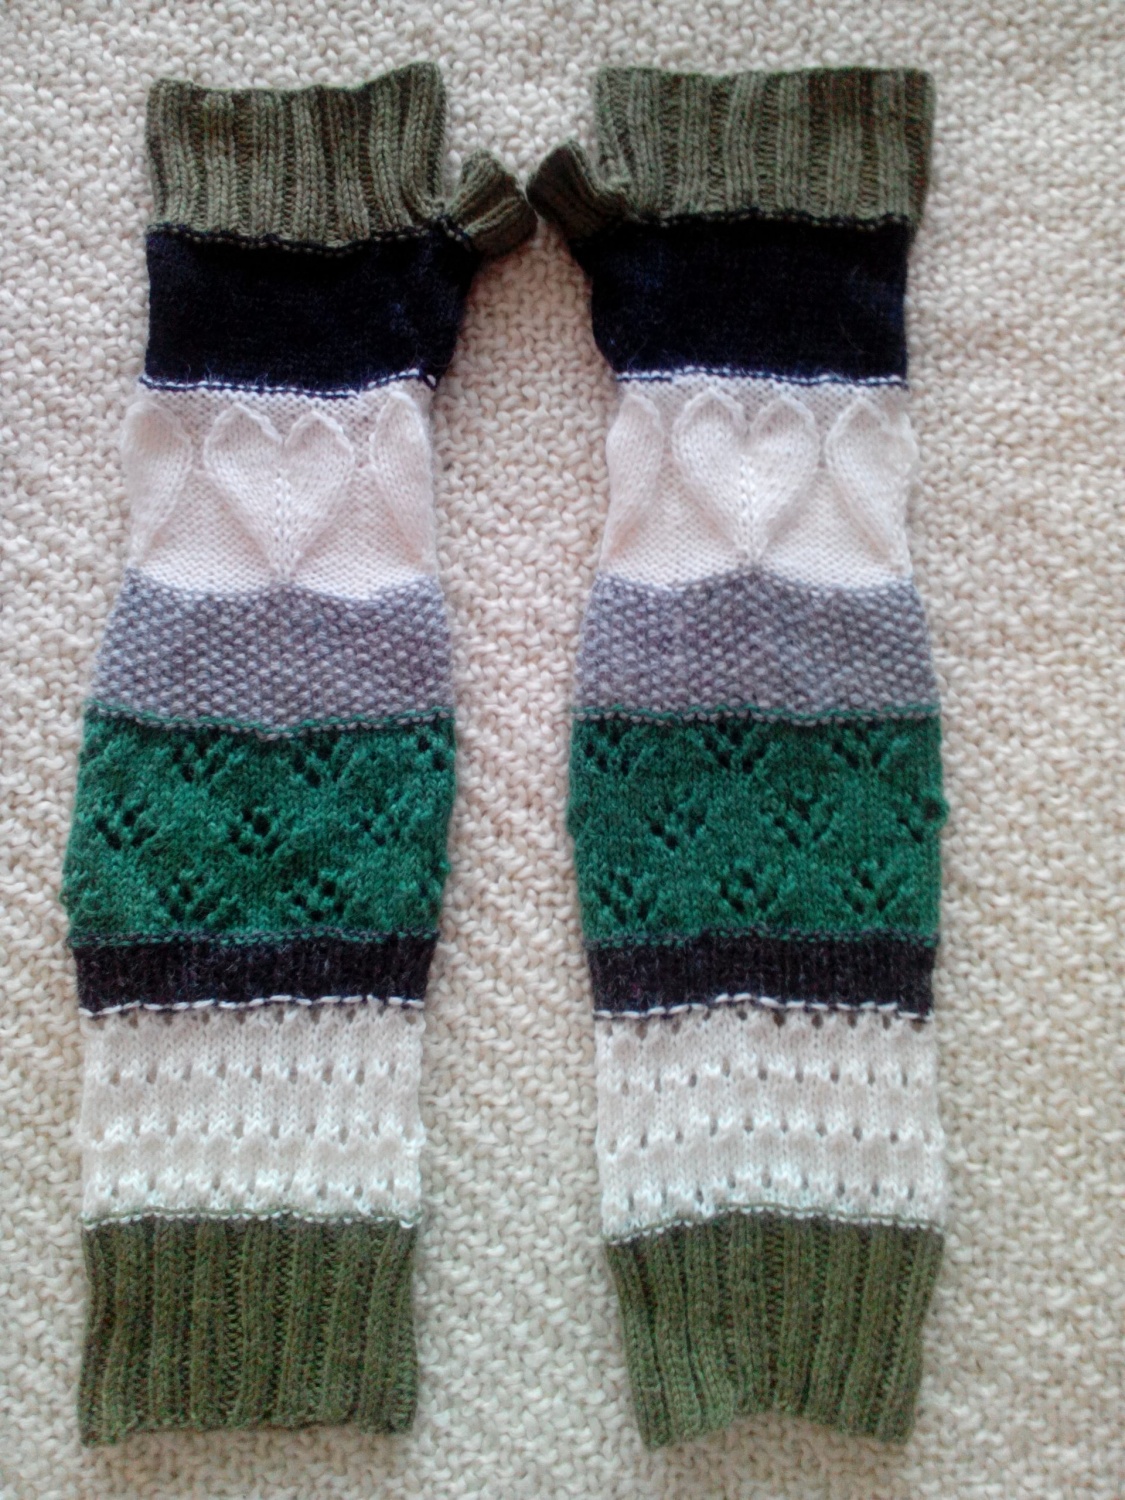
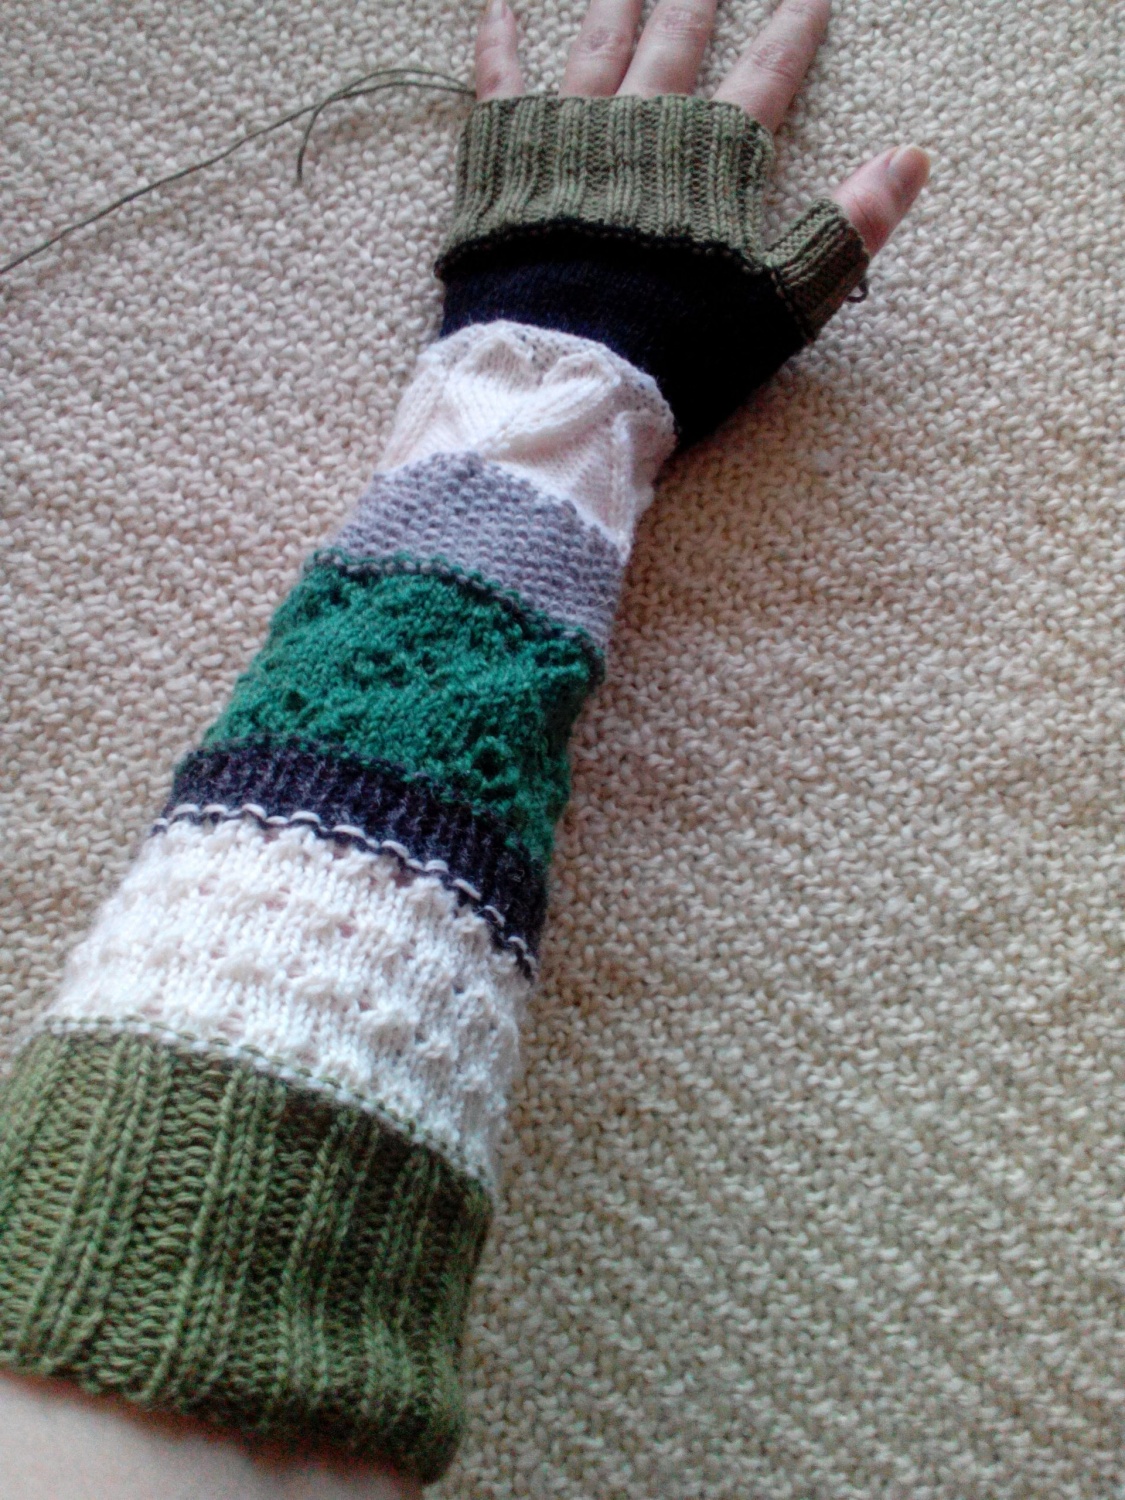
I’ve finished a pair of new wrist warmers, they’re going to be a gift to someone. If it’s for a birthday or Christmas, I’m not sure yet. Nor am I going to tell who it’s for, there are eyes everywhere! =P

Anyway, I thought I would share the pattern I’ve made, and here it is. If you scroll to the bottom of this post, you can find a downloadable pattern to print out. The PDF file also consist of knitting charts =).
(please let me know if there are some horrible mistakes in the pattern, I’ve gone blind on stitches and cast off’s =P).

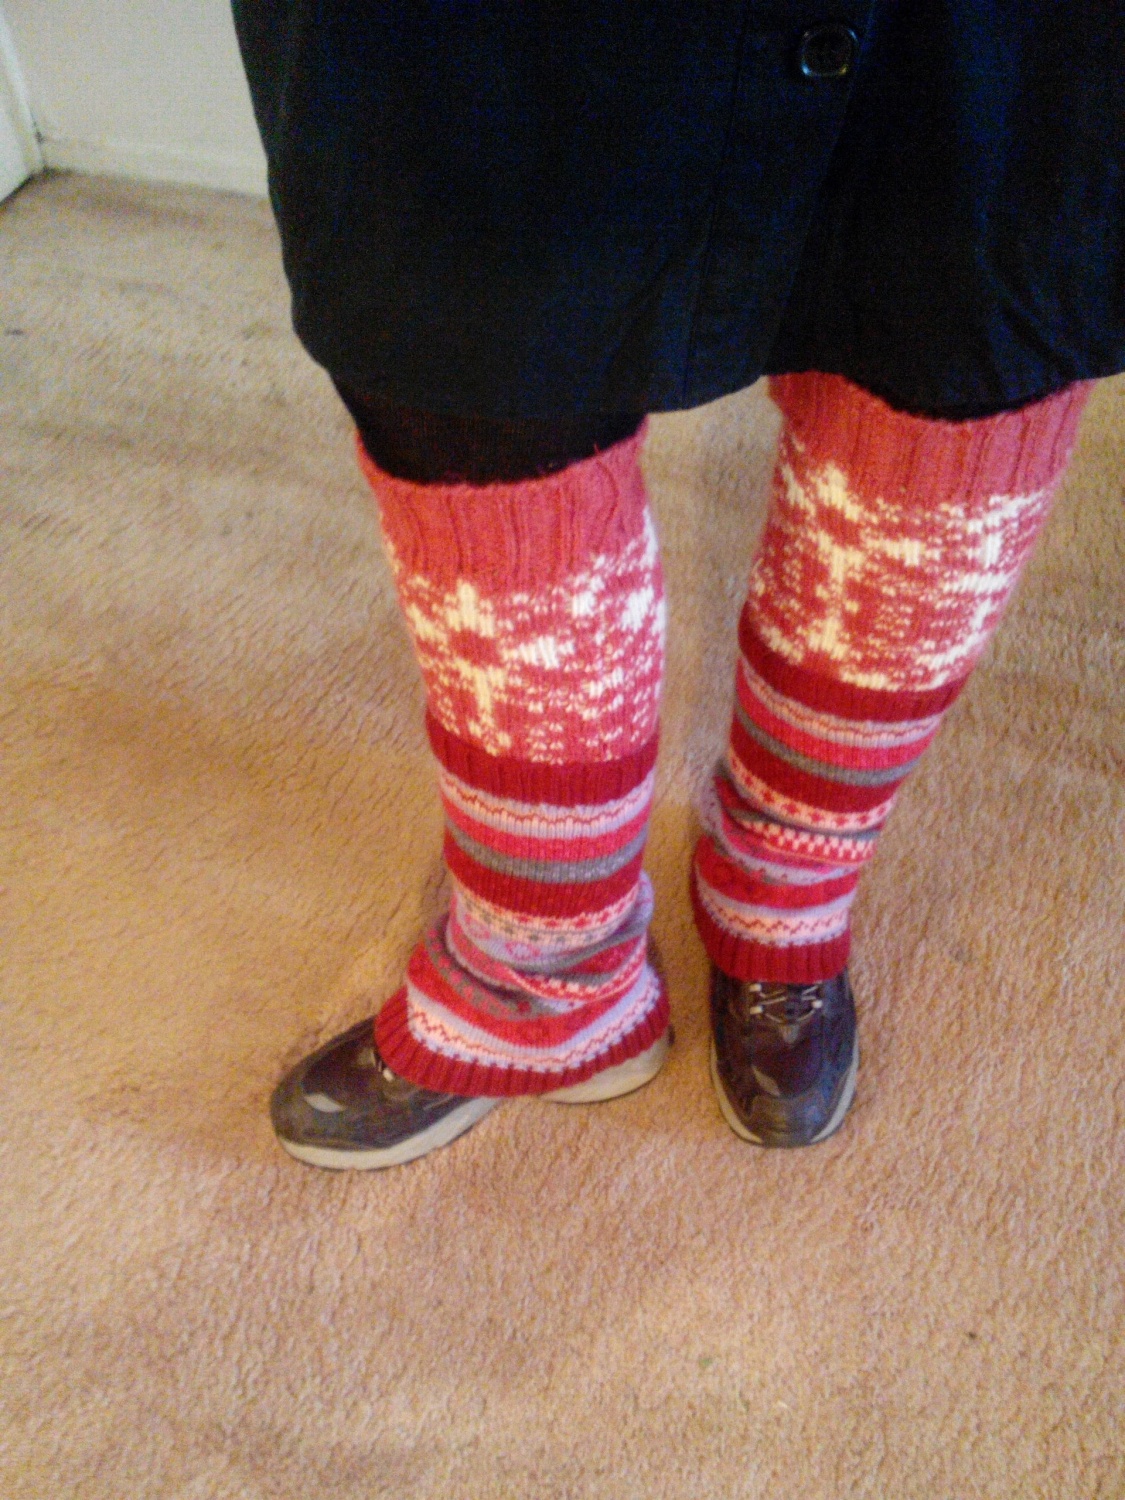
Long wrist warmers – multicolored and patterned

IMG_20150330_141624

Needle size : 3mm (knitted on dpn)

Gauge: 10cm x 10cm = 23sts x 30rows

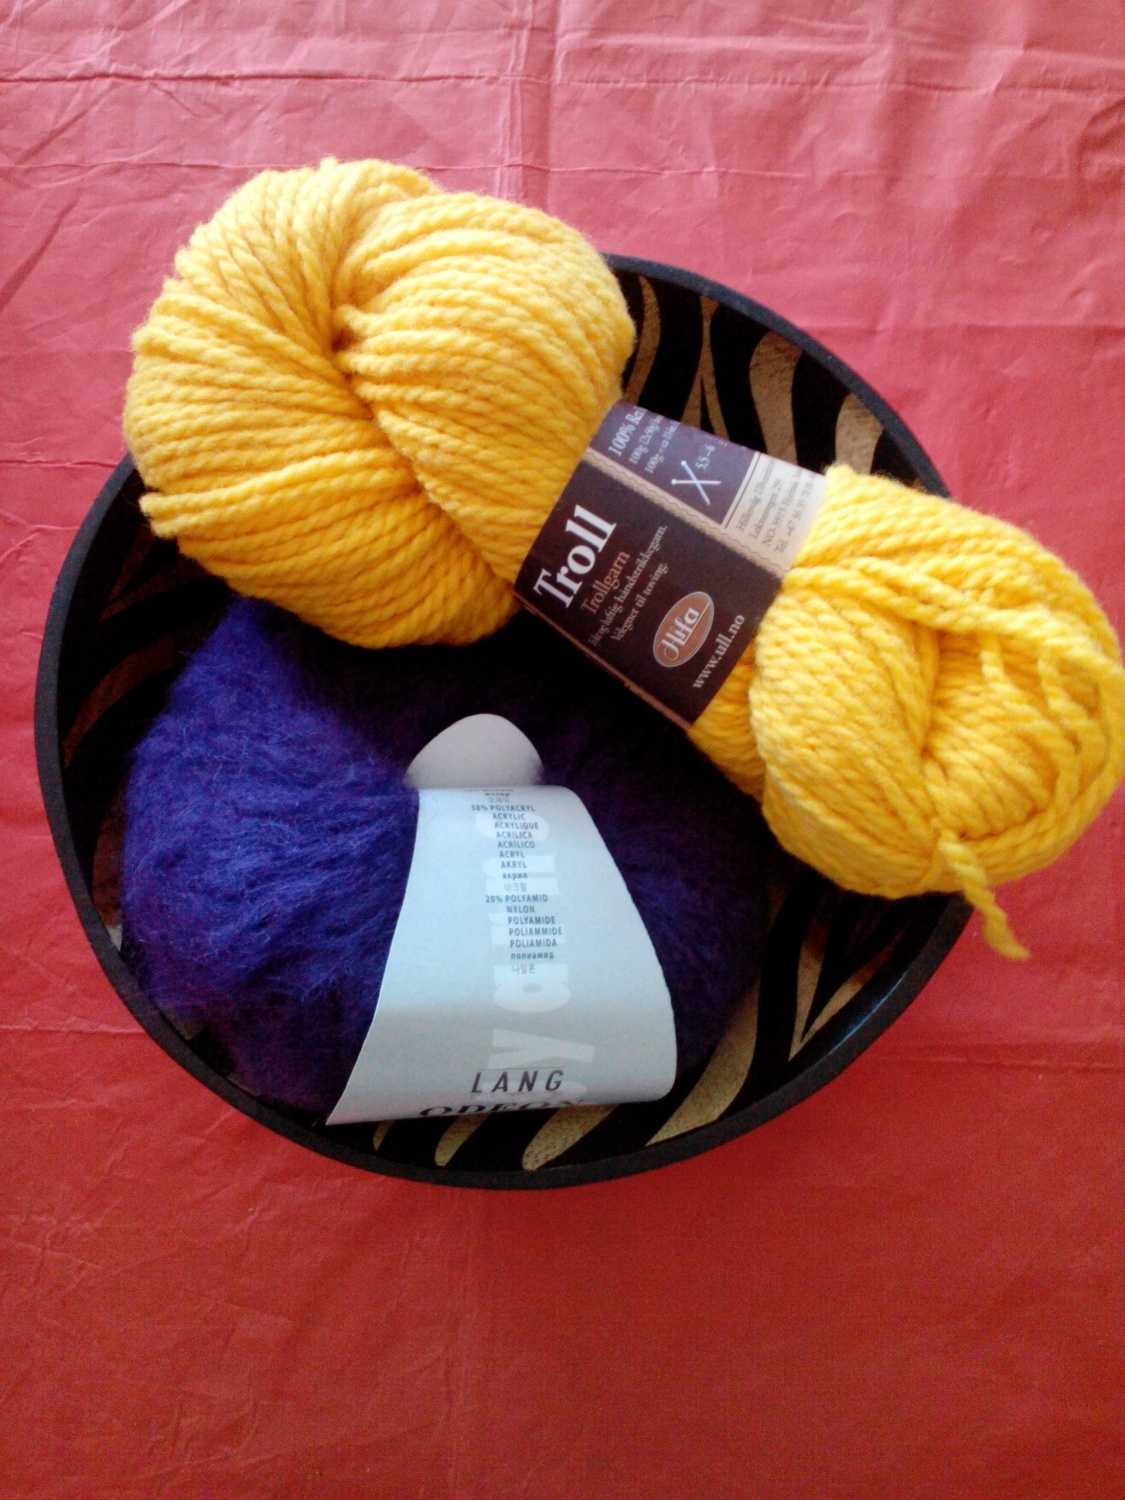
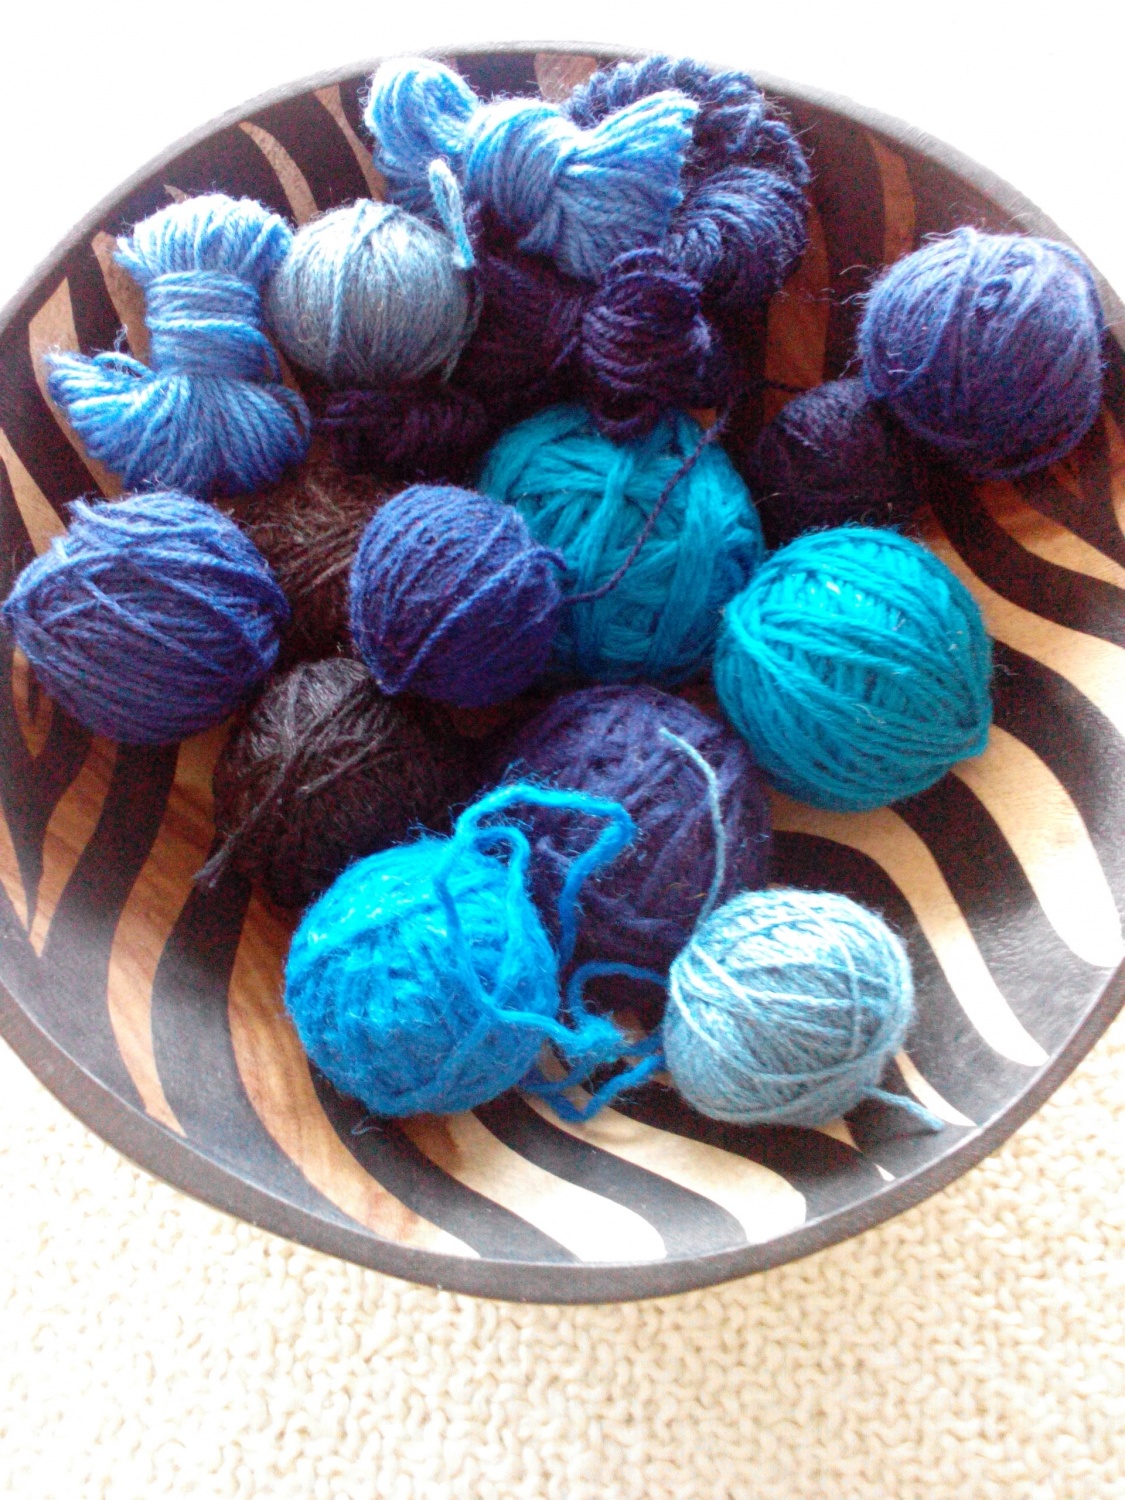
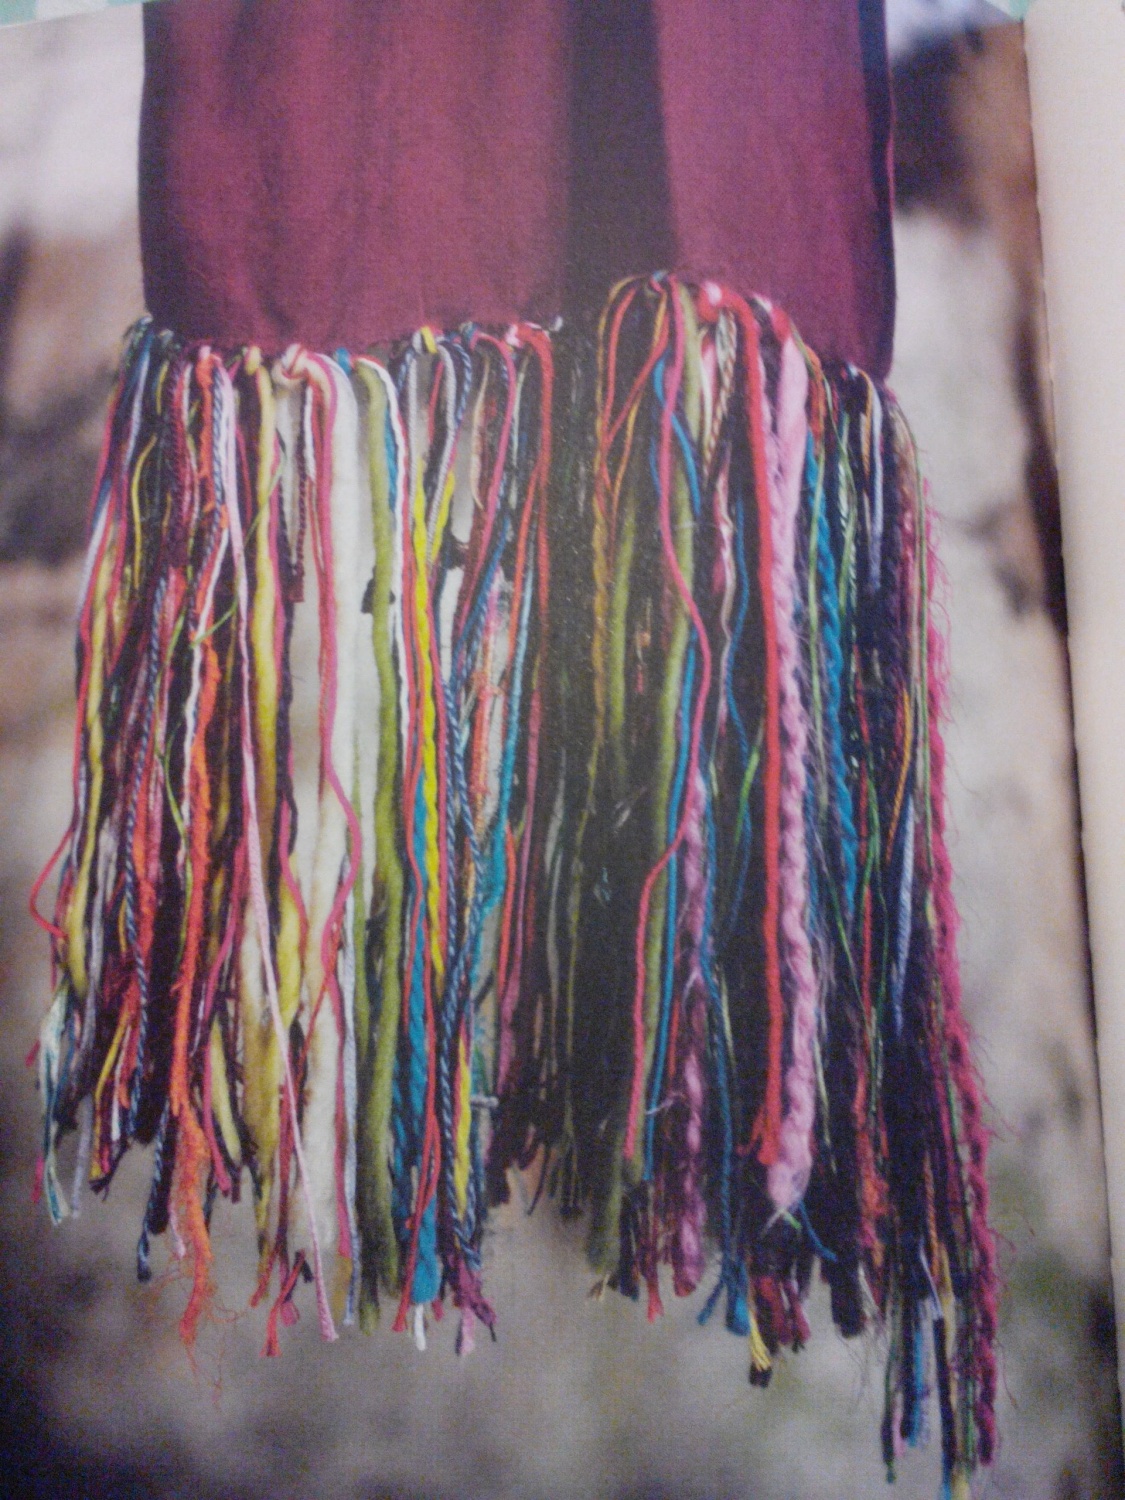
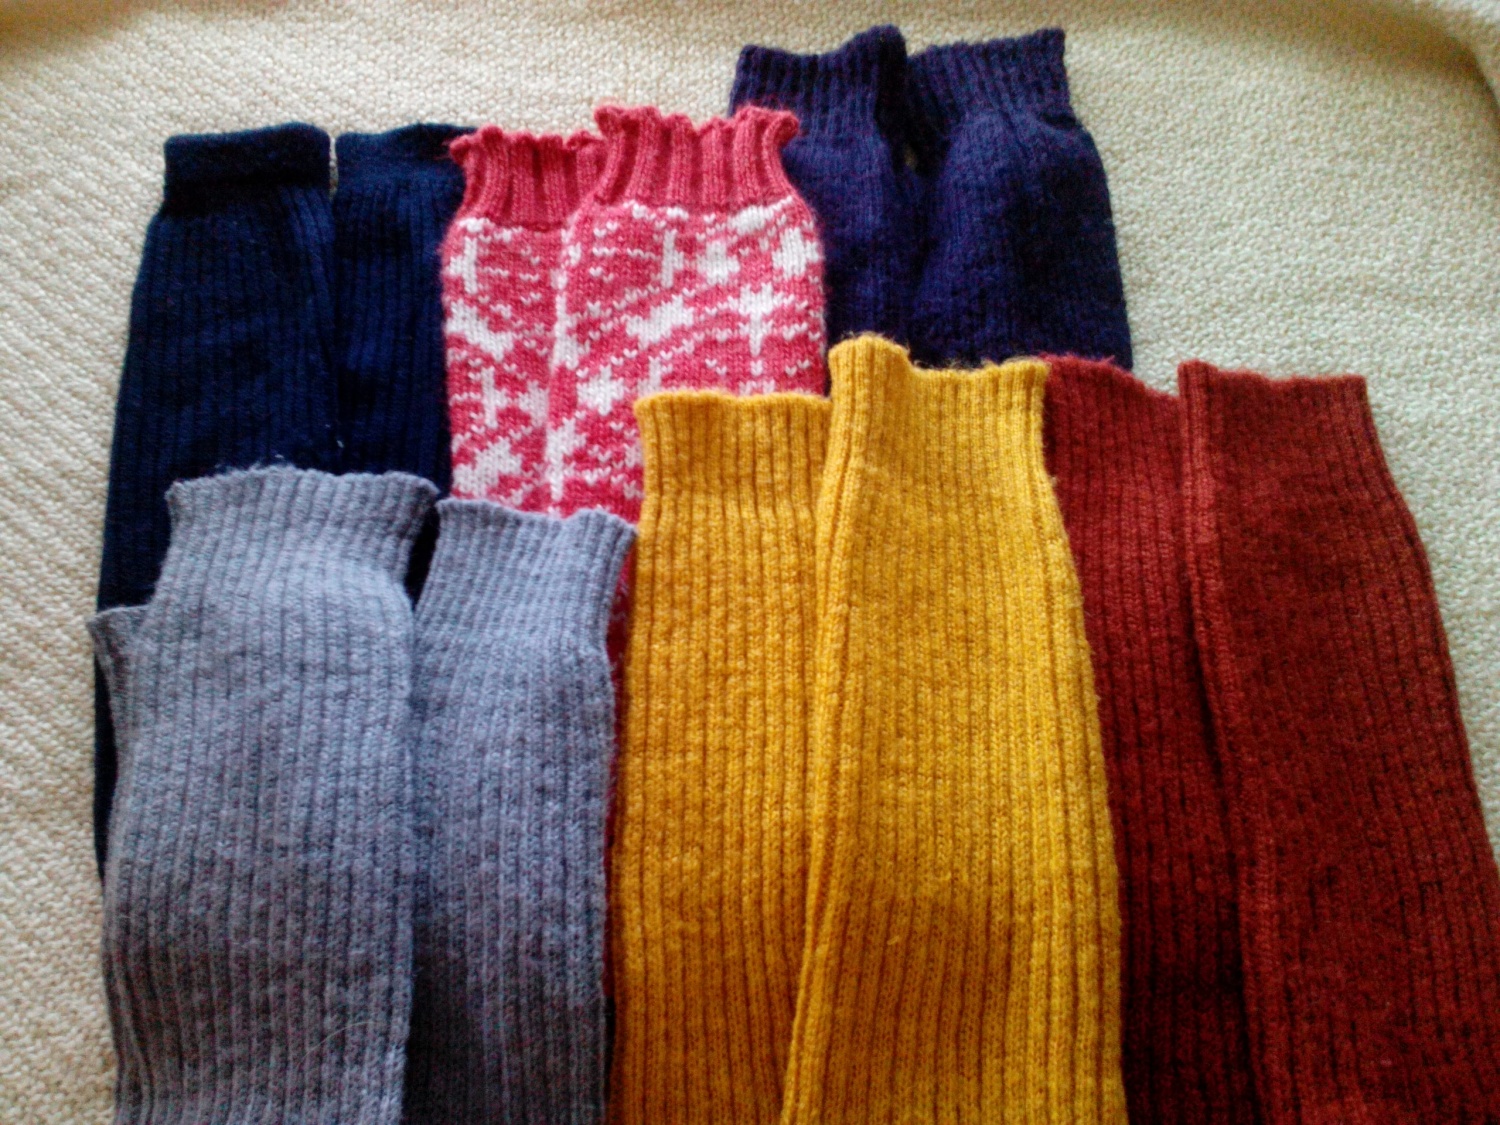
Yarn: any yarn you can use on needle size 3mm, here are some examples of yarn you can use; Drops Alpaca, Drops Fabel, Drops Lace, Drops Kid-Silk, Drops Baby Merino, Drops Safran.

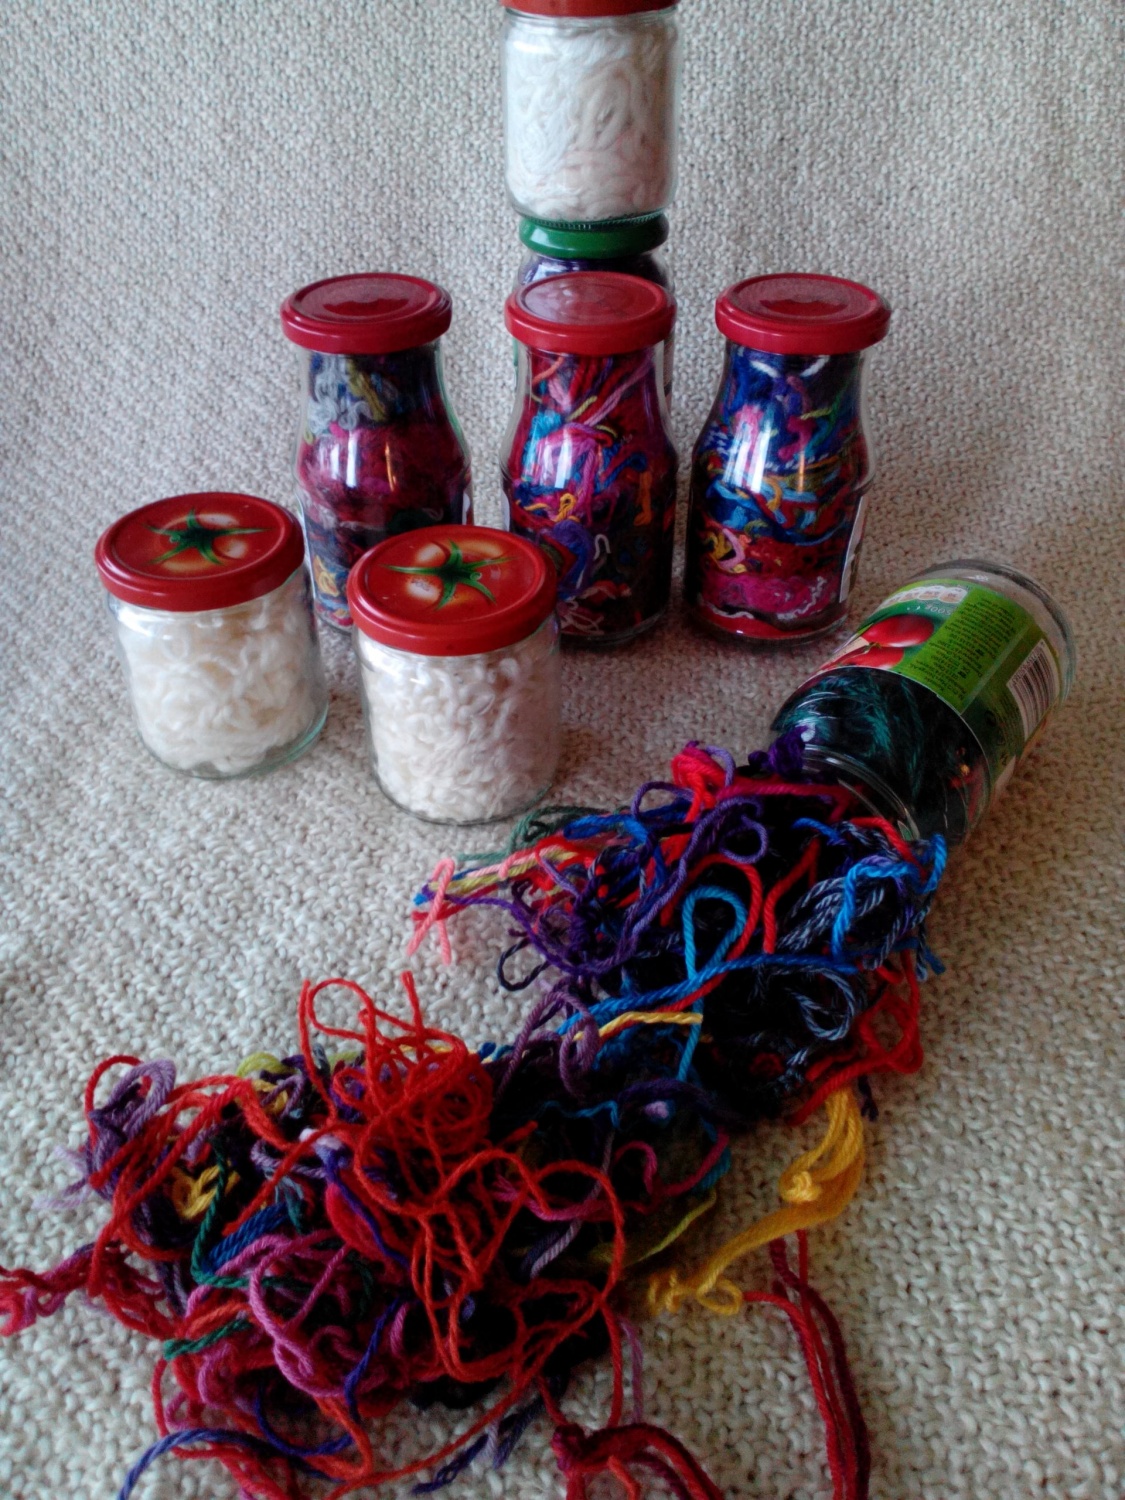
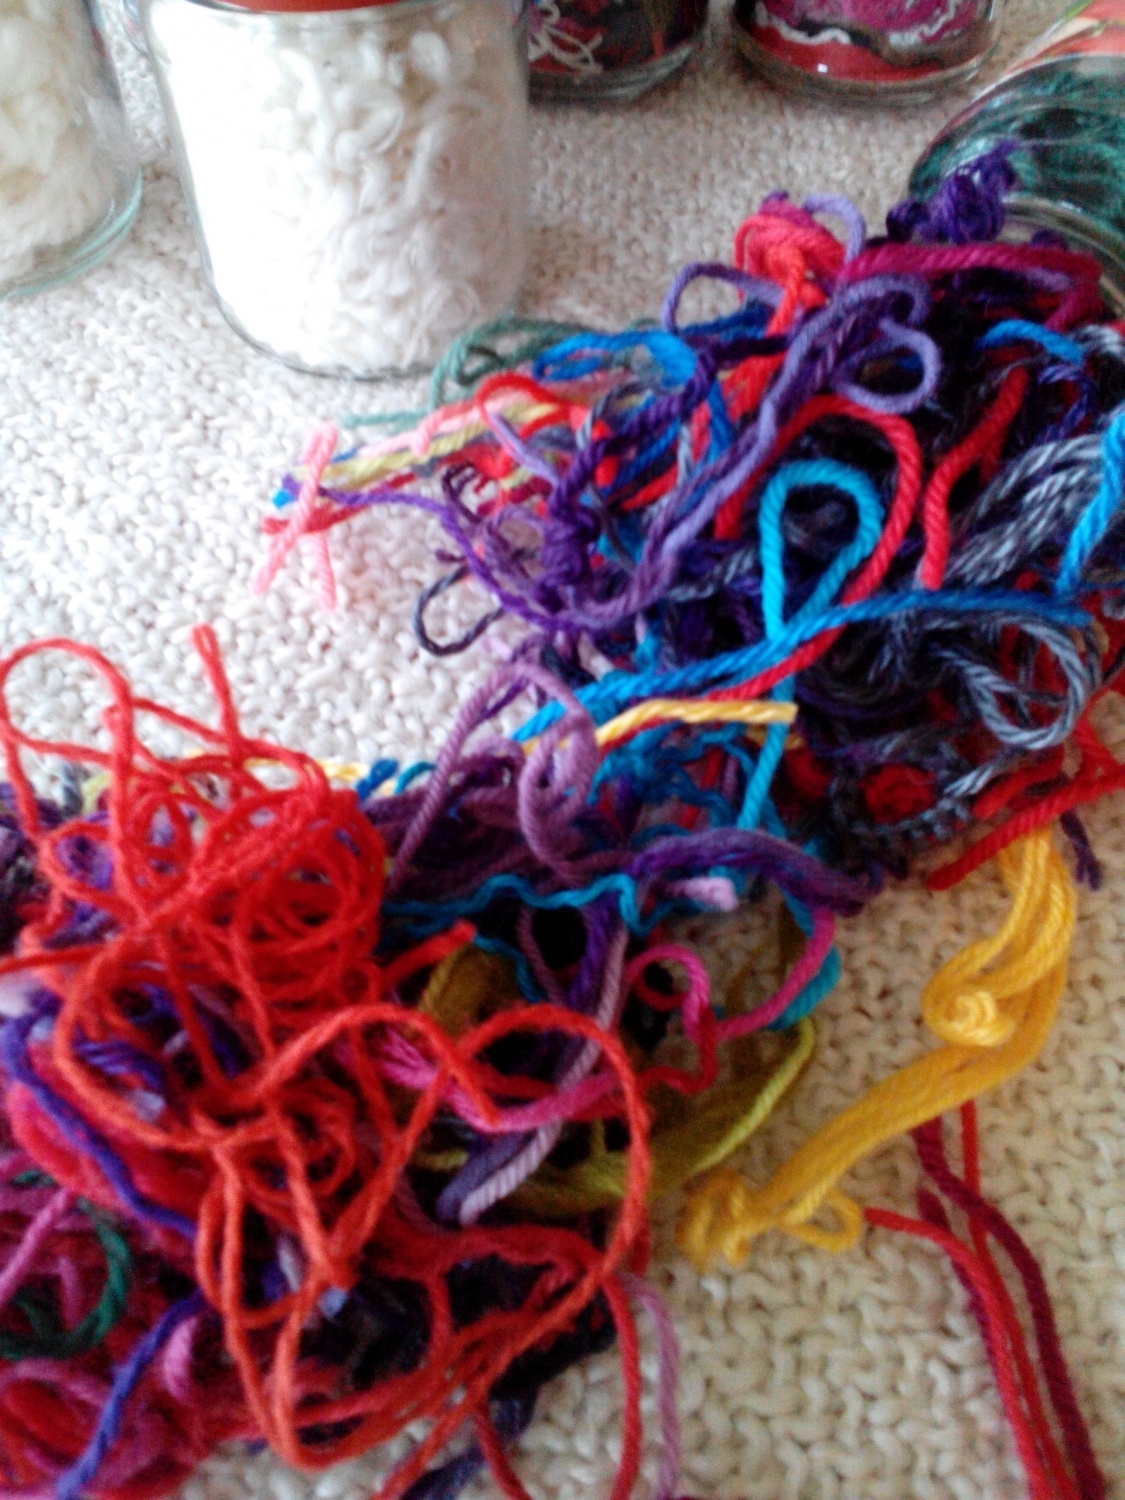
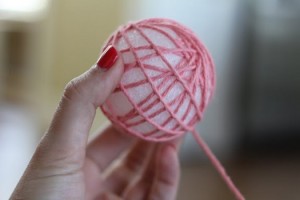
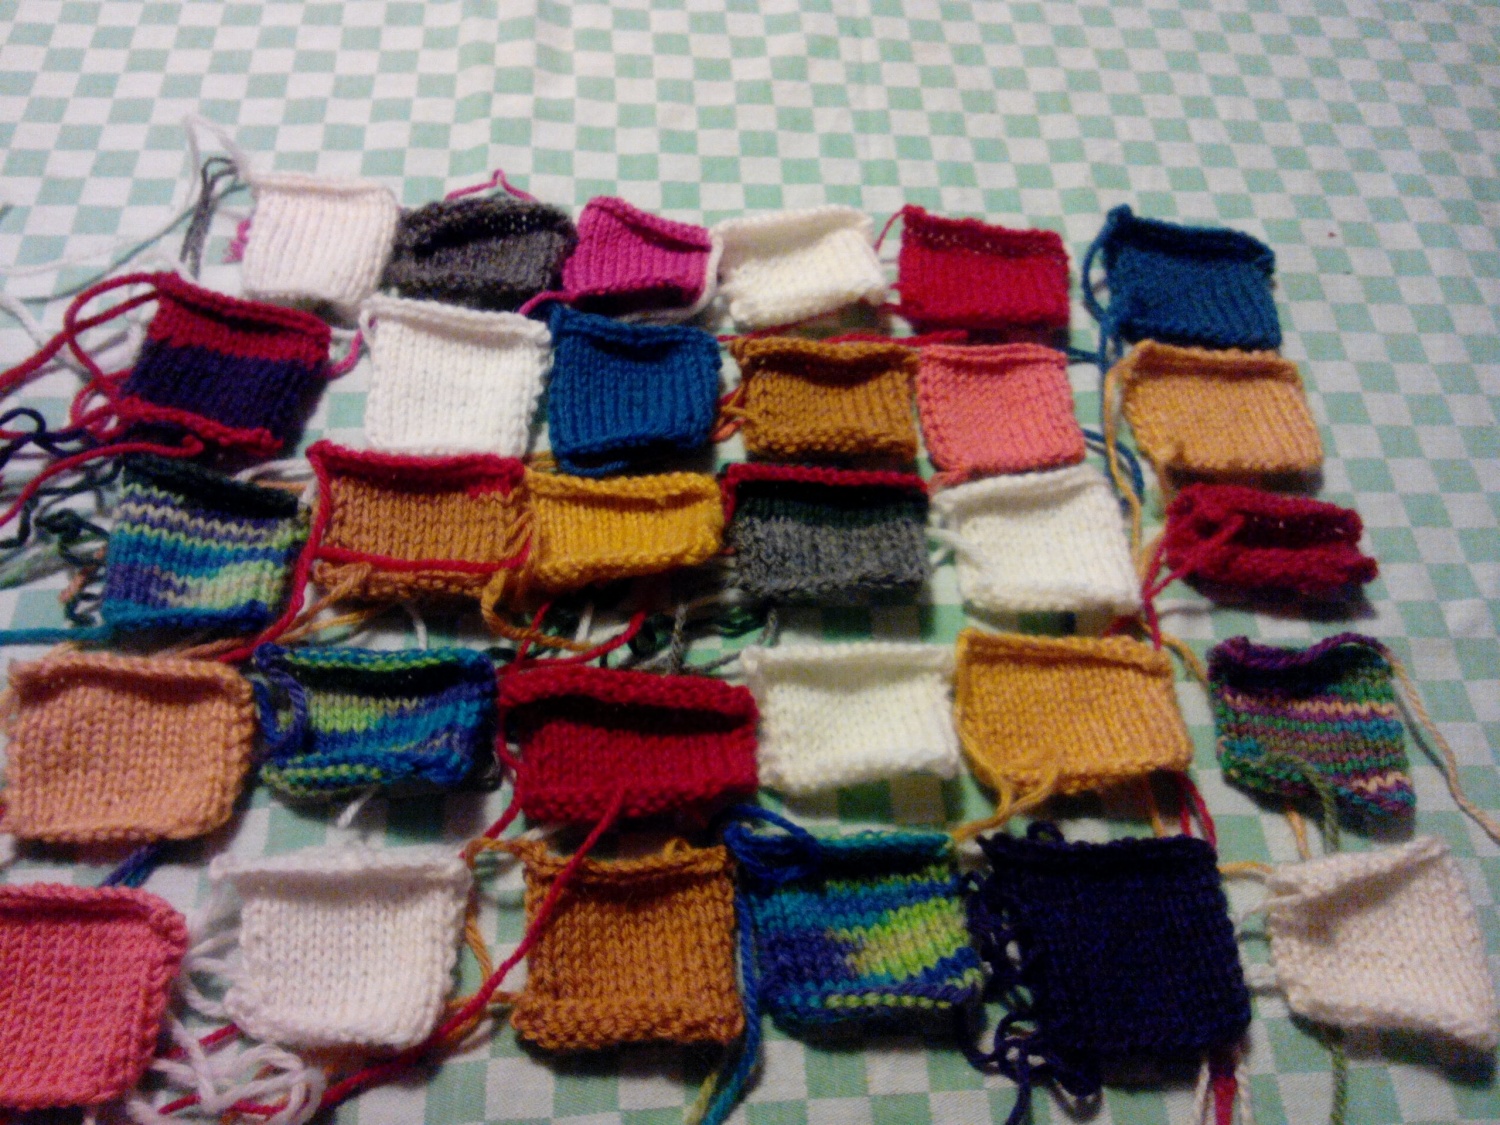
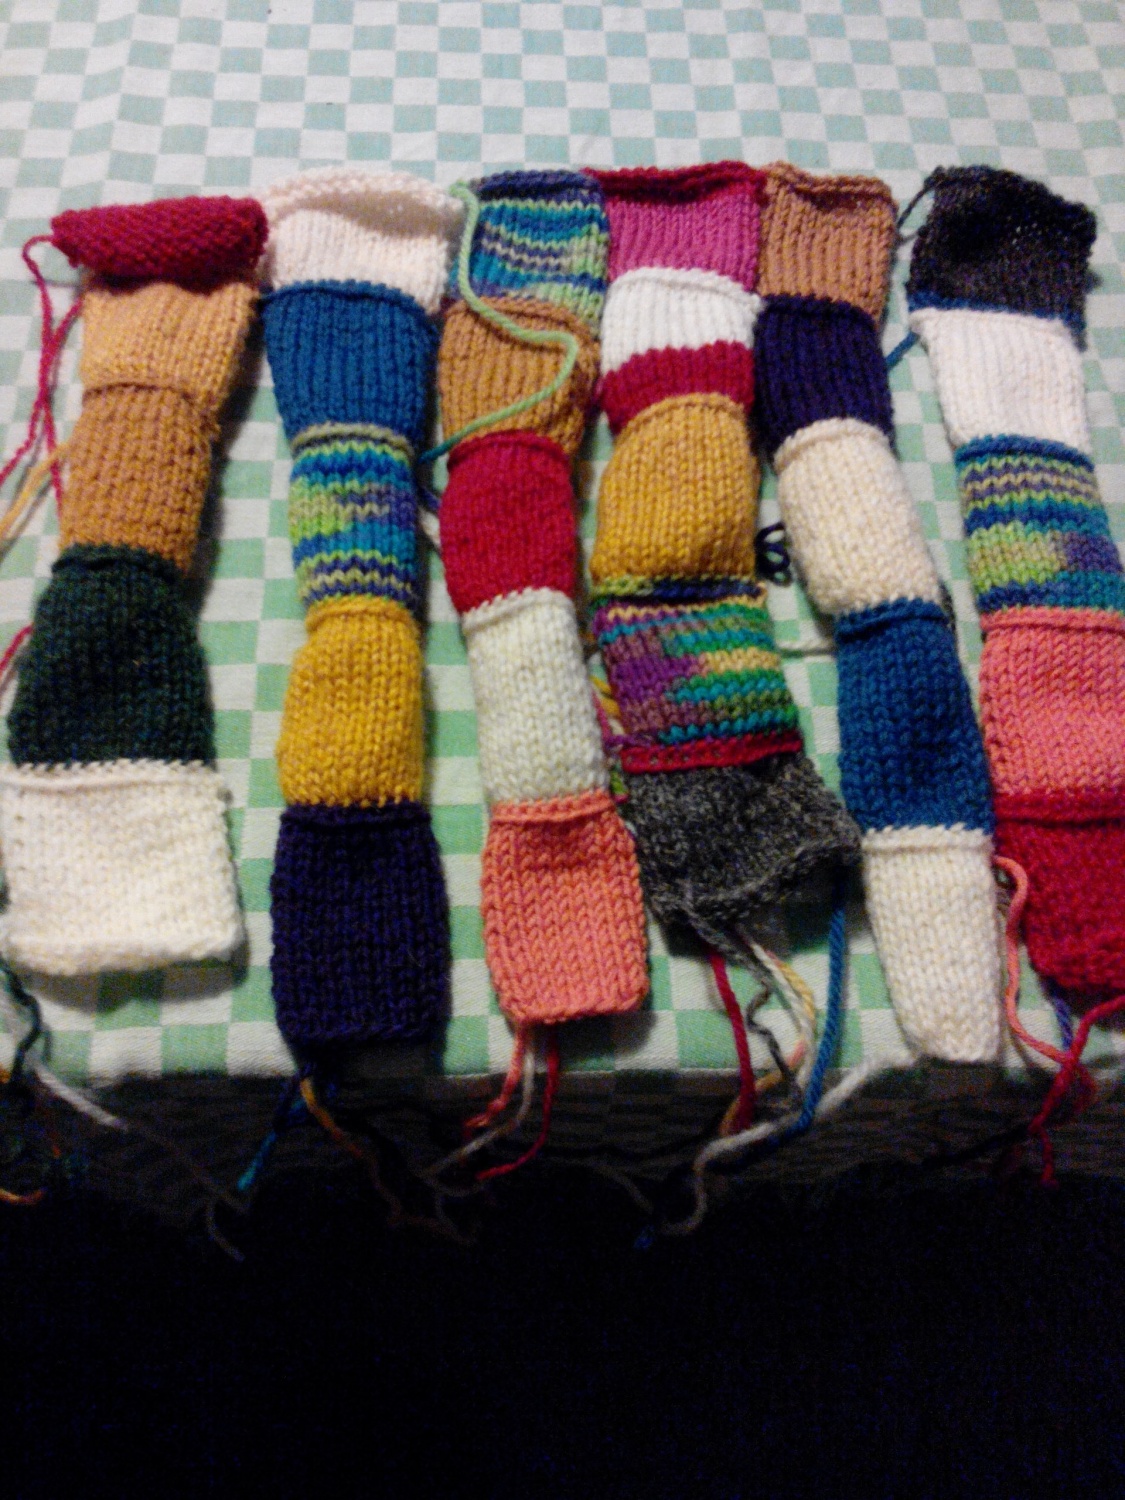
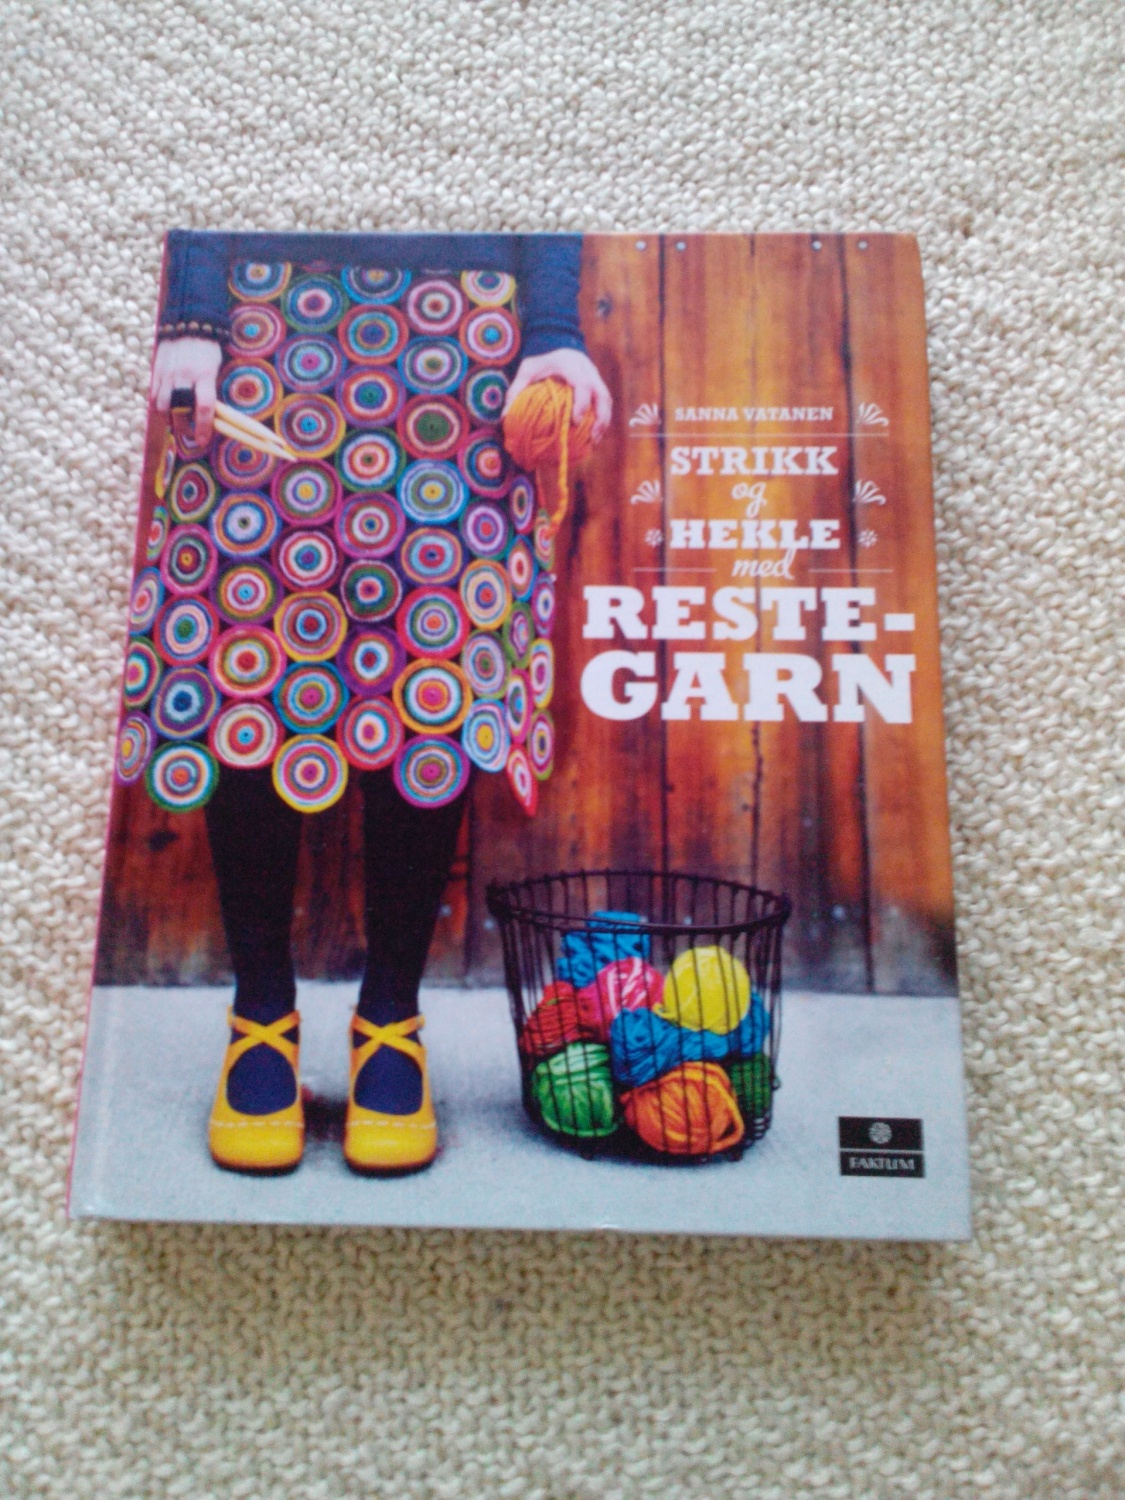
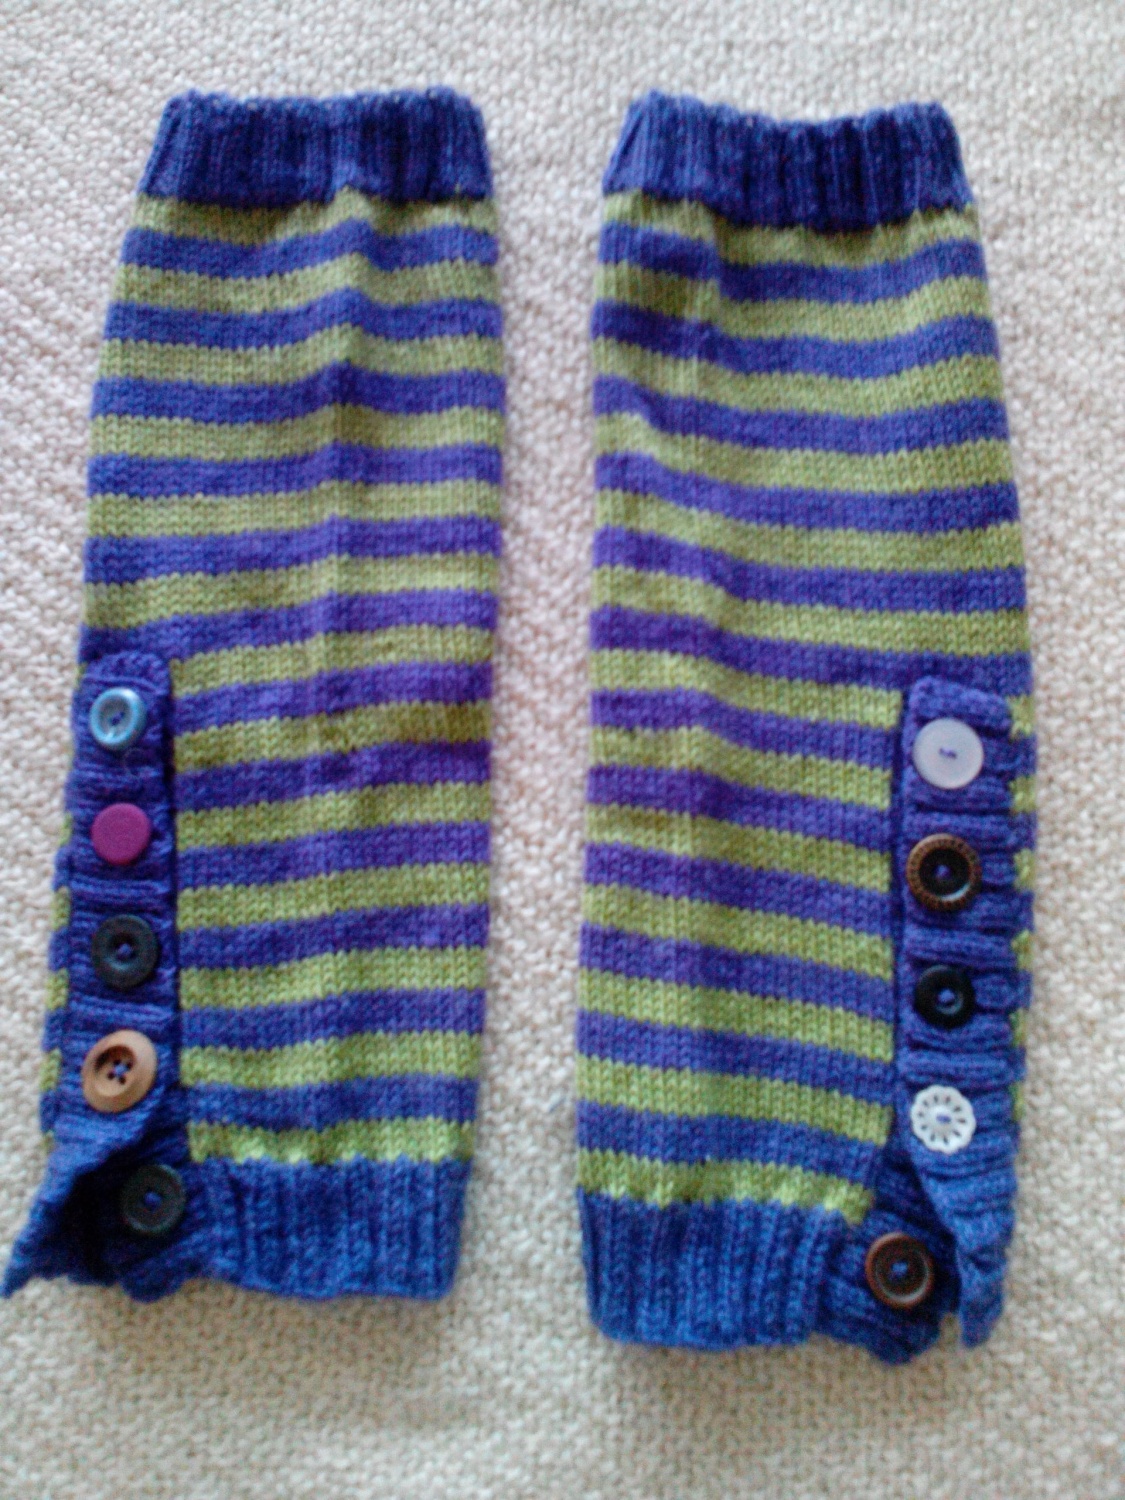
If you copy my wrist warmers down to theIMG_20150327_152521 
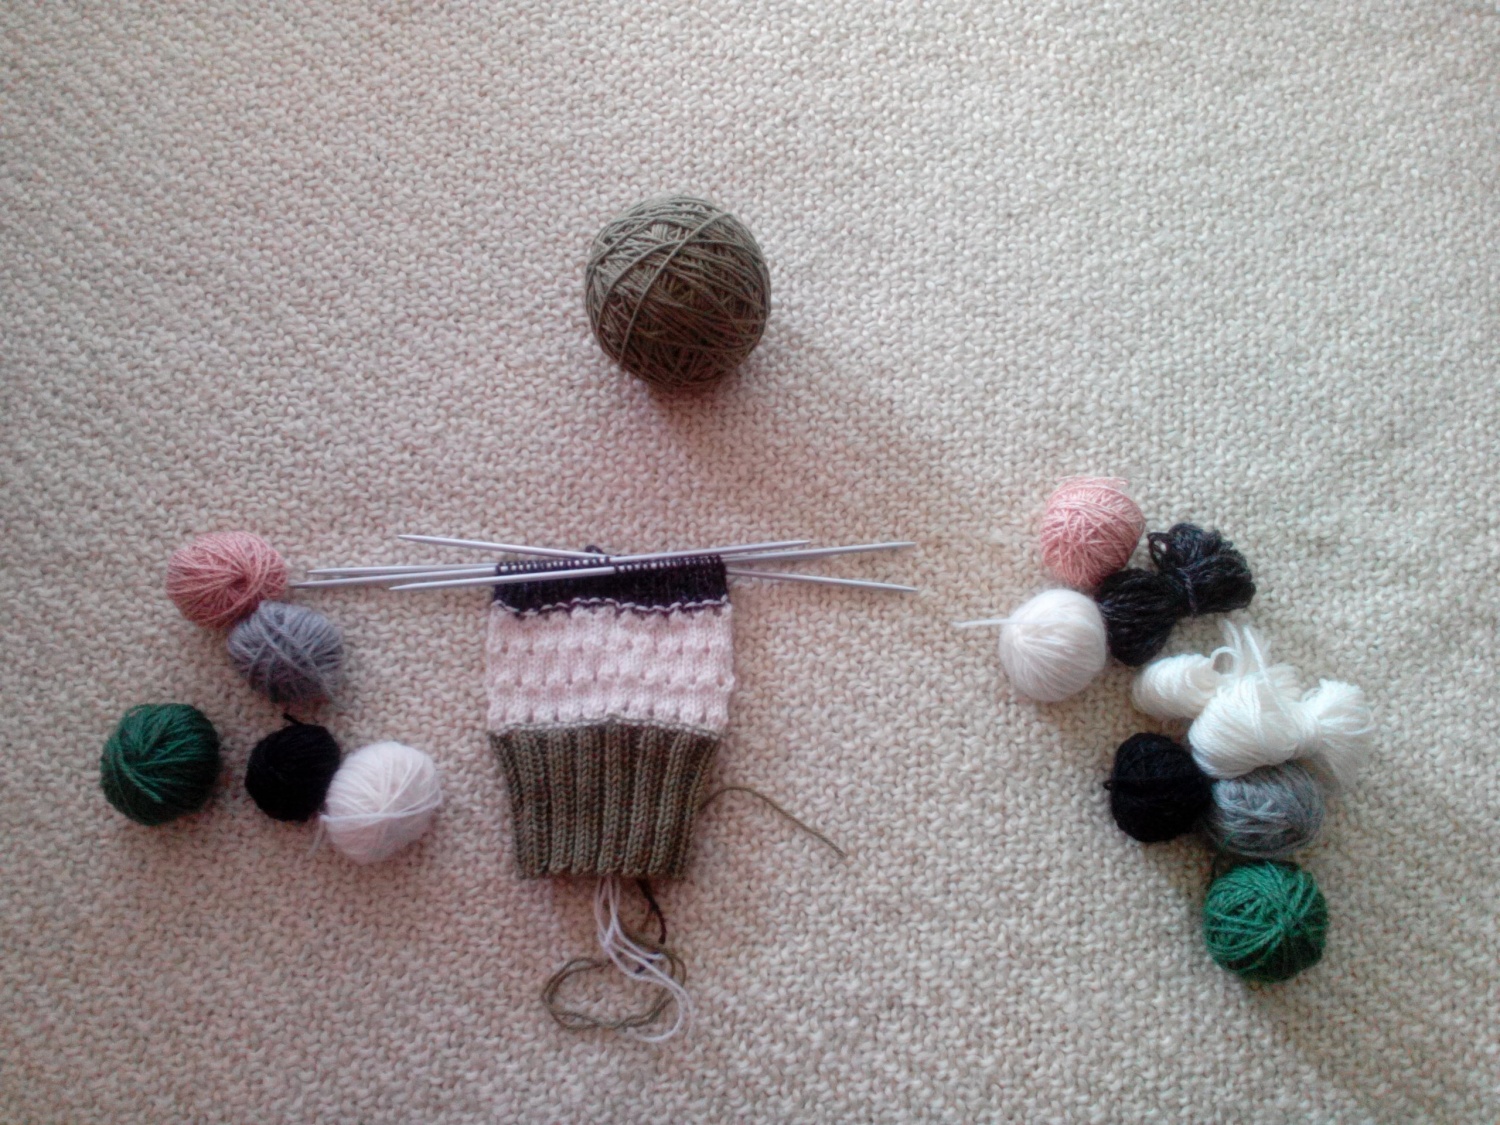
last row, you need half a skein for each color. If you have another color scheme in mind, you’ll need between 150g and 250g (4-5skeins). If you do like me, and use up leftover yarn from your stash, you should divide you smaller skeins into 2, one for each wrist warmer. This way you’ll get an even divide in your color scheme, without having to worry if you have enough/same amount of yarn for both wrist warmers.

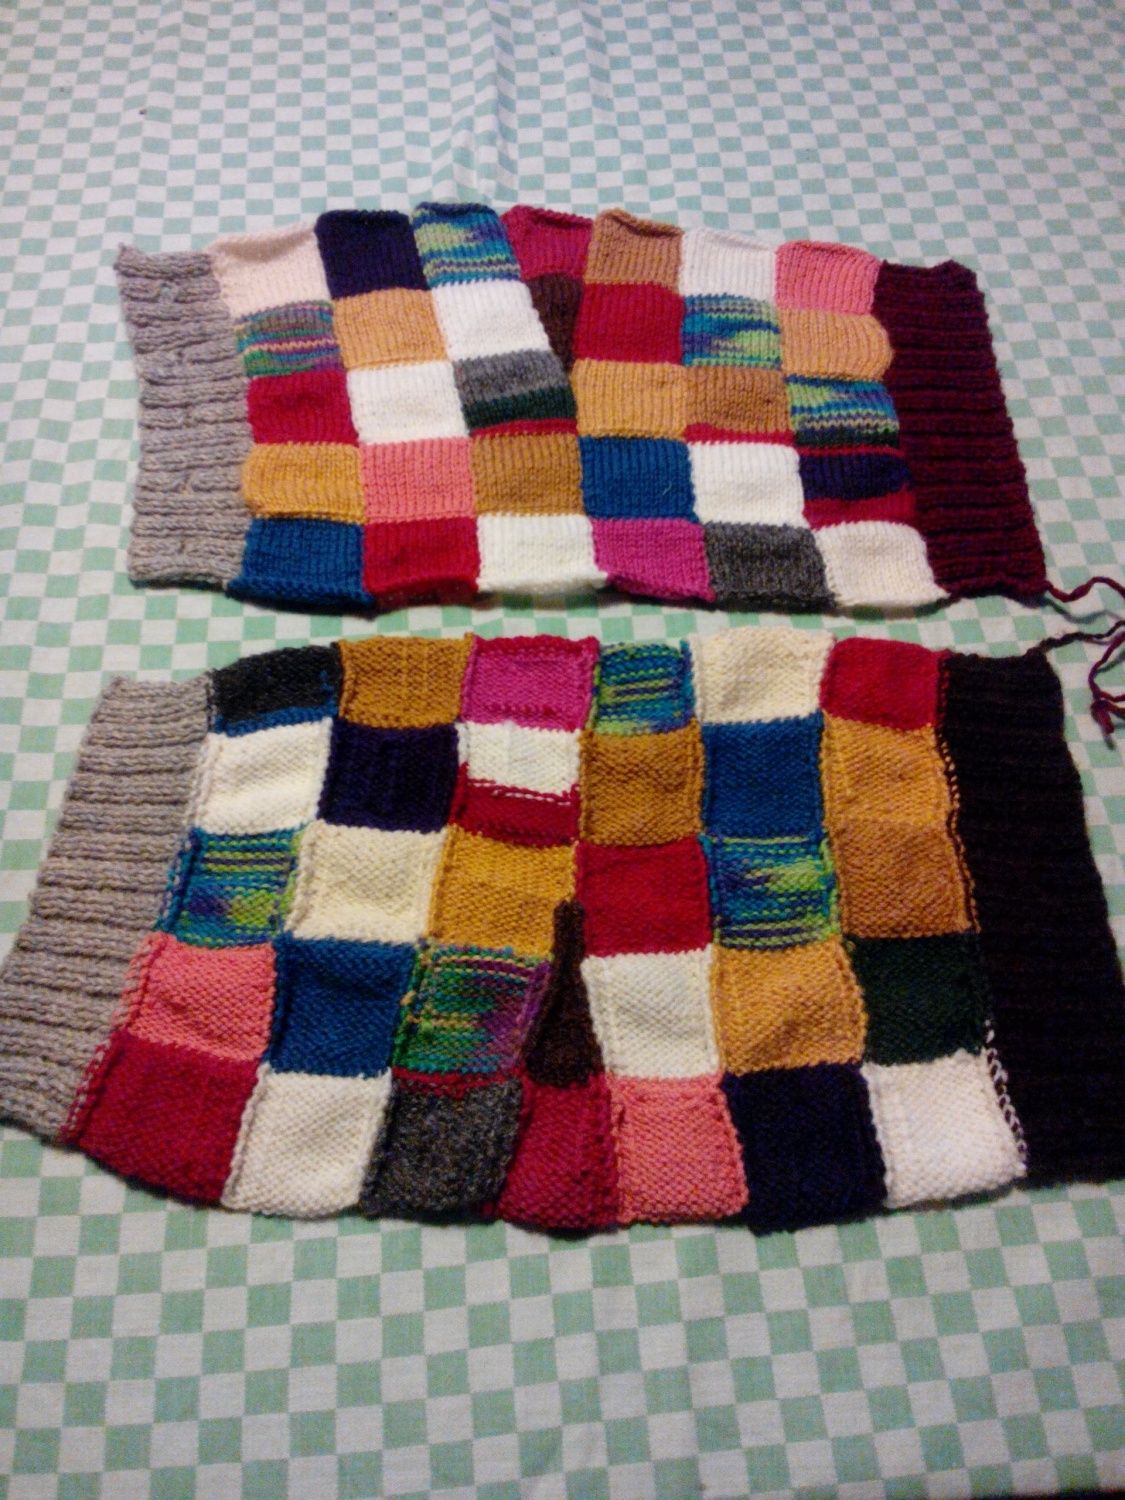
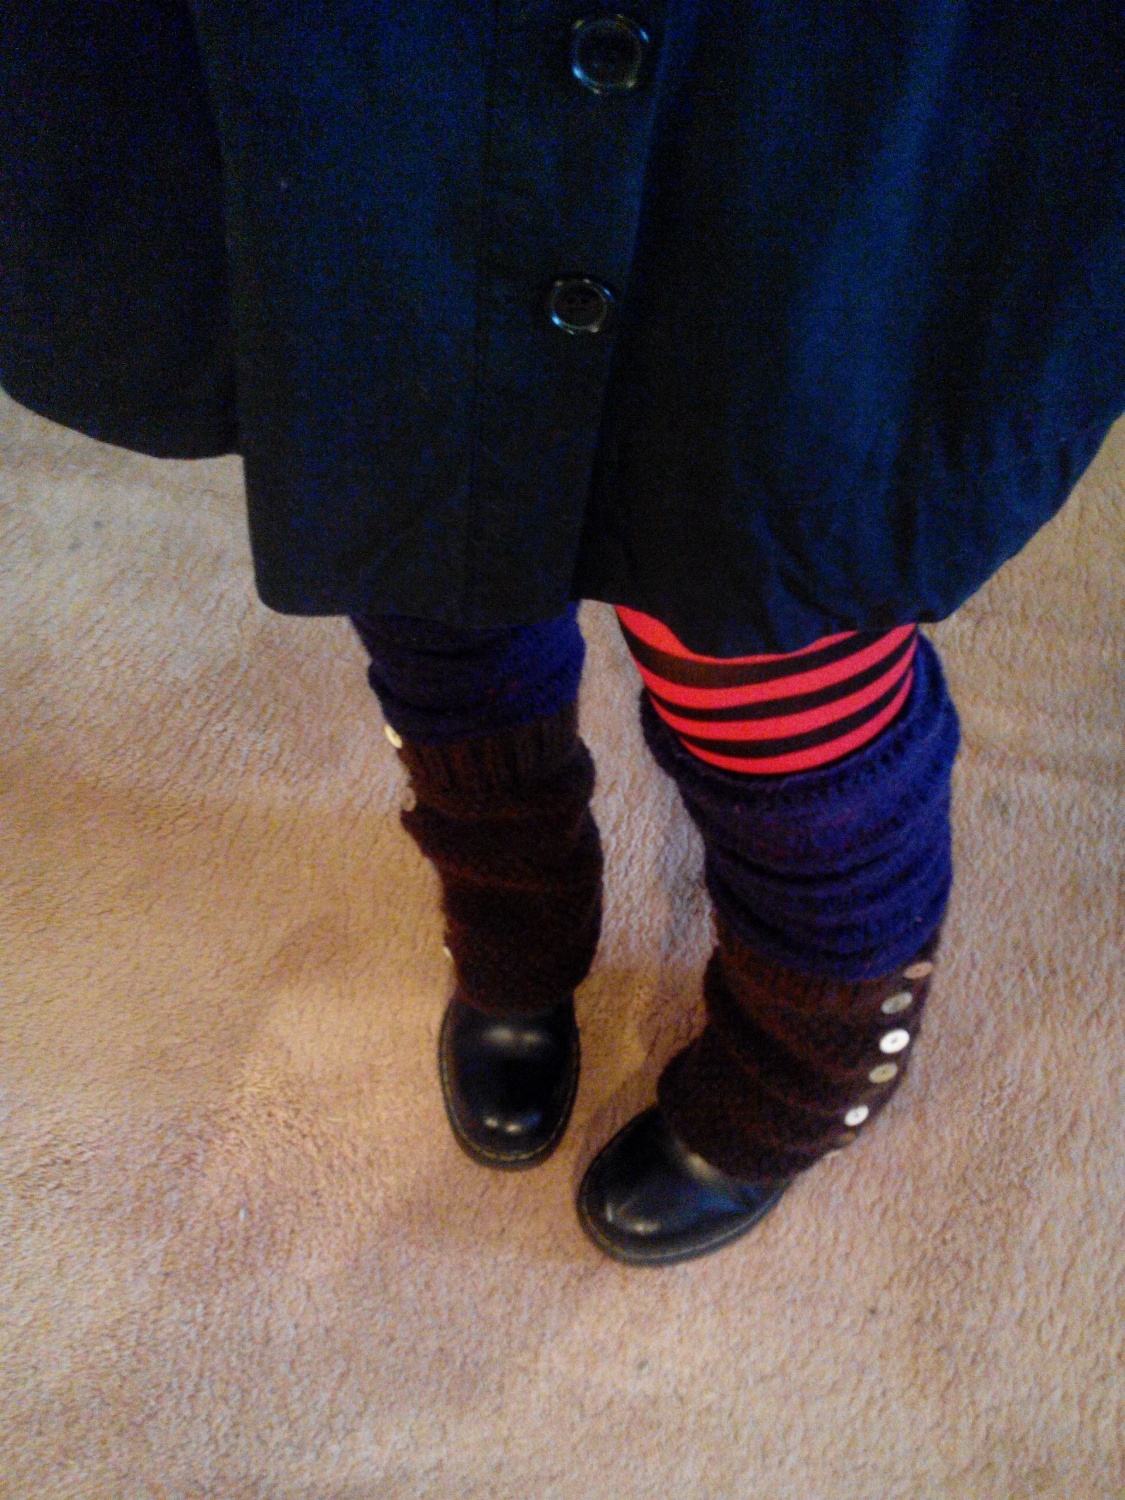
Measuring tip: make the measures while the piece is lying flat. It will stretch a little when you put them on. They measure about 37cm.

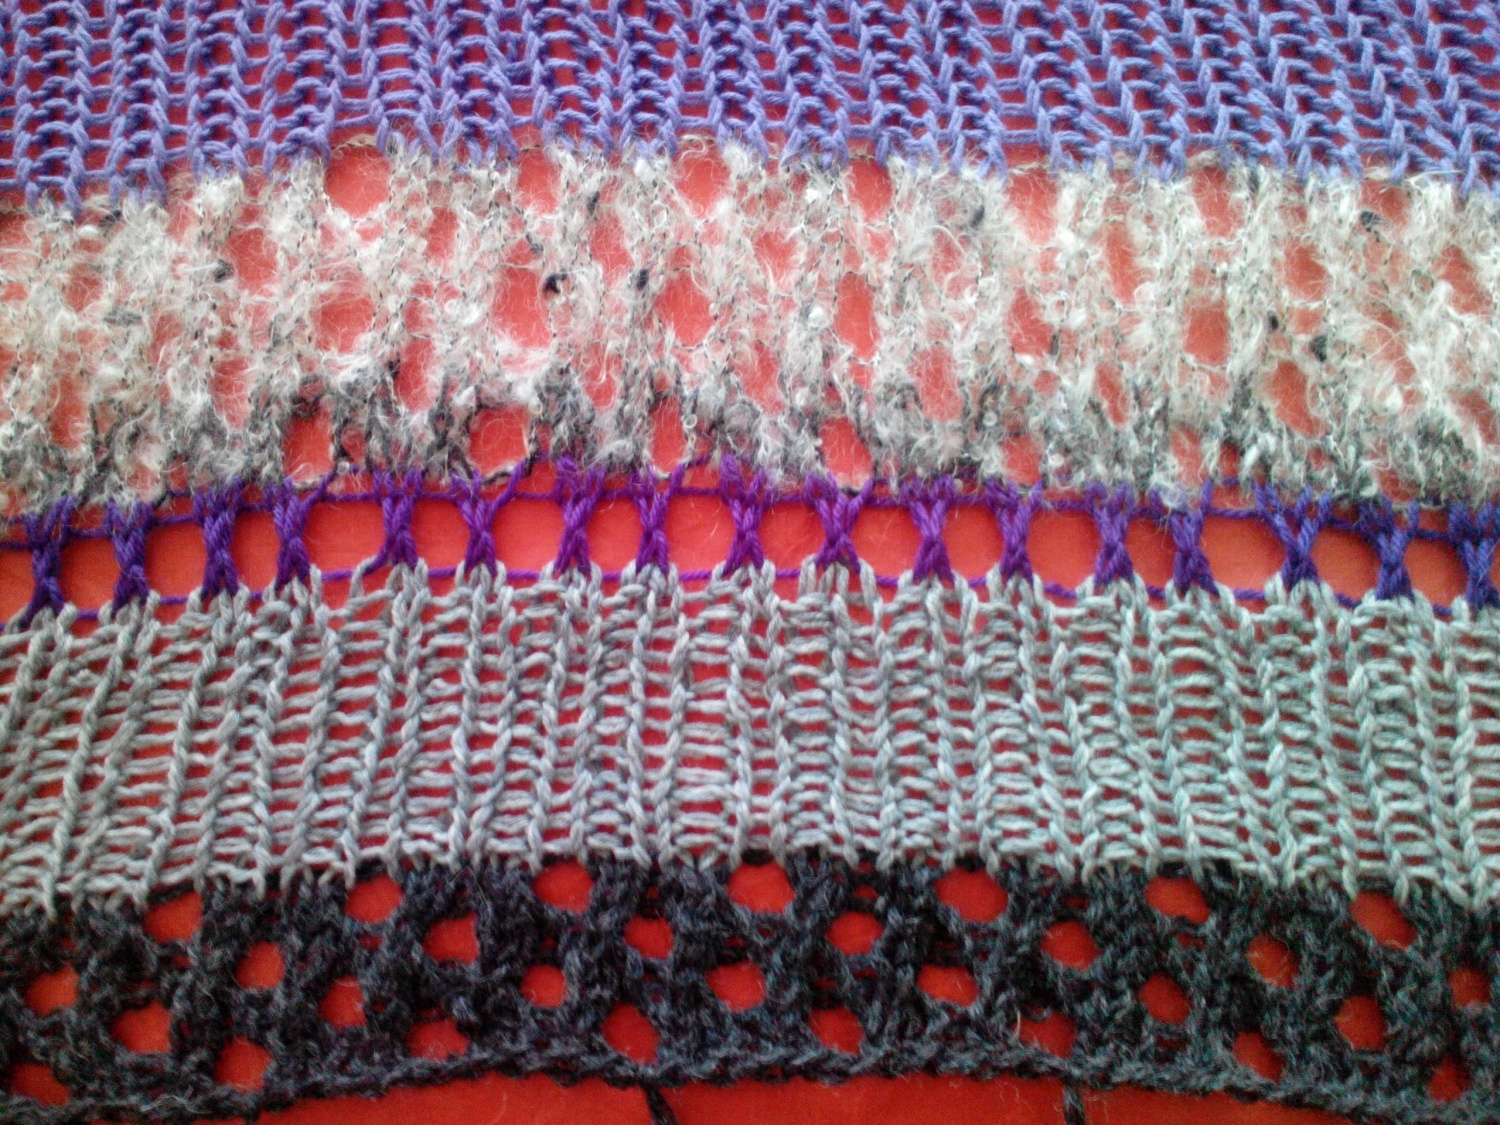
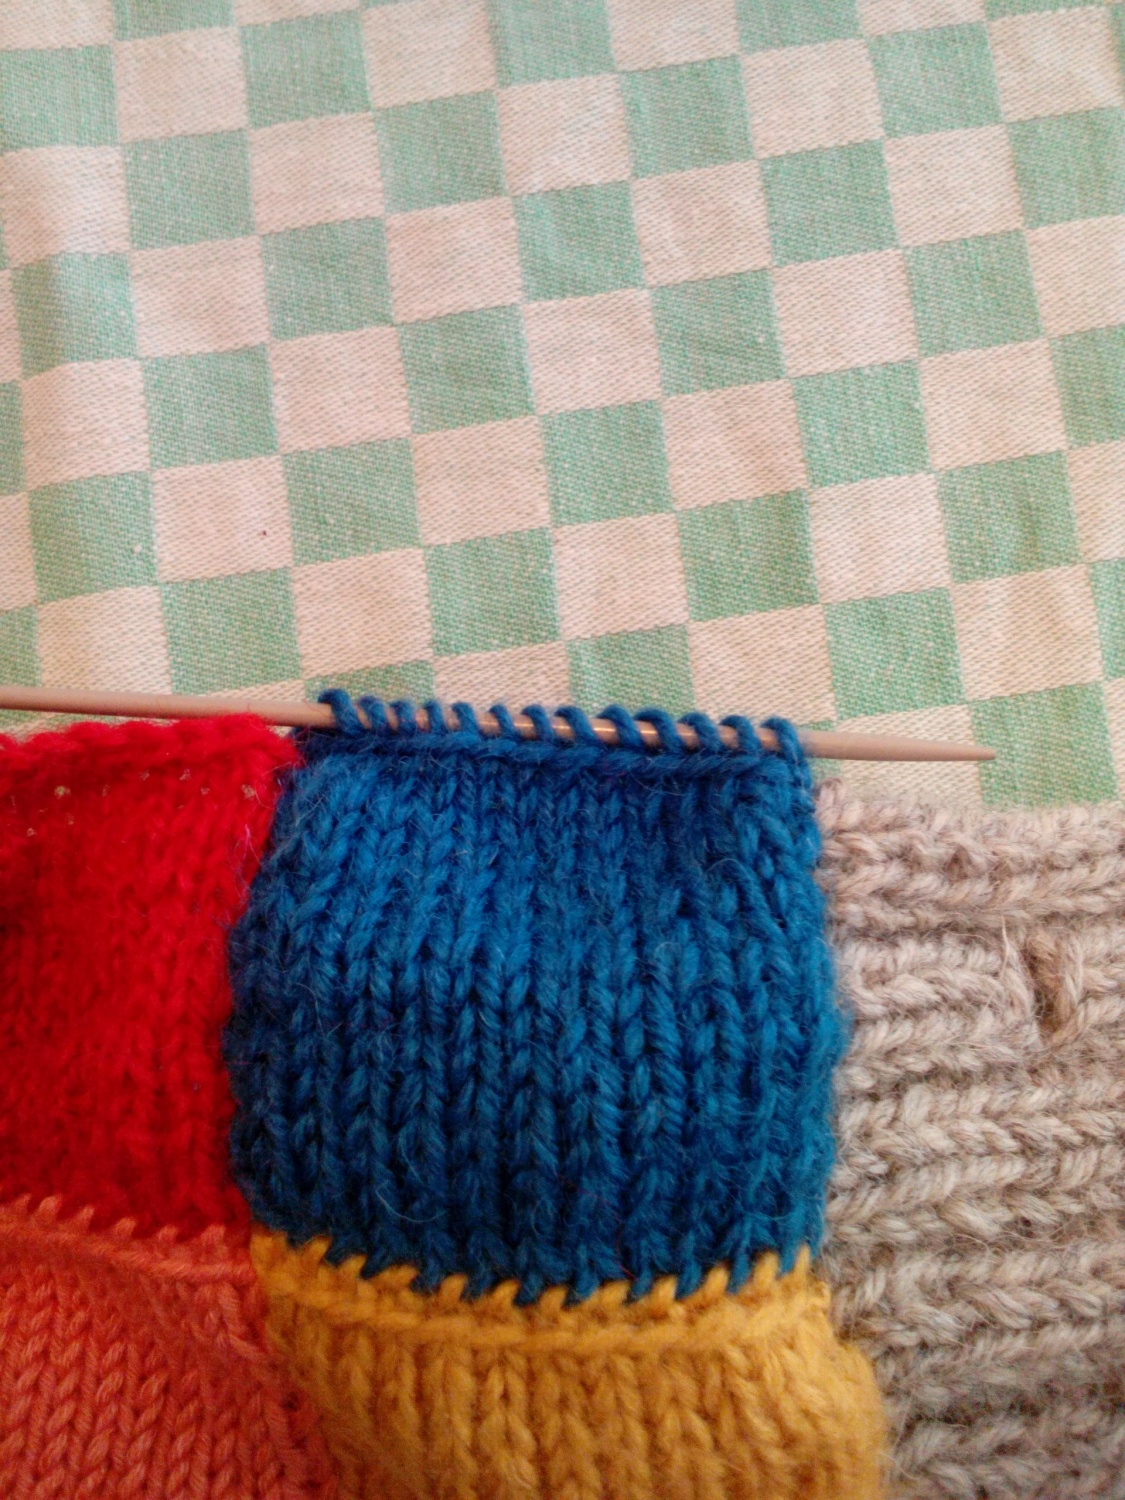
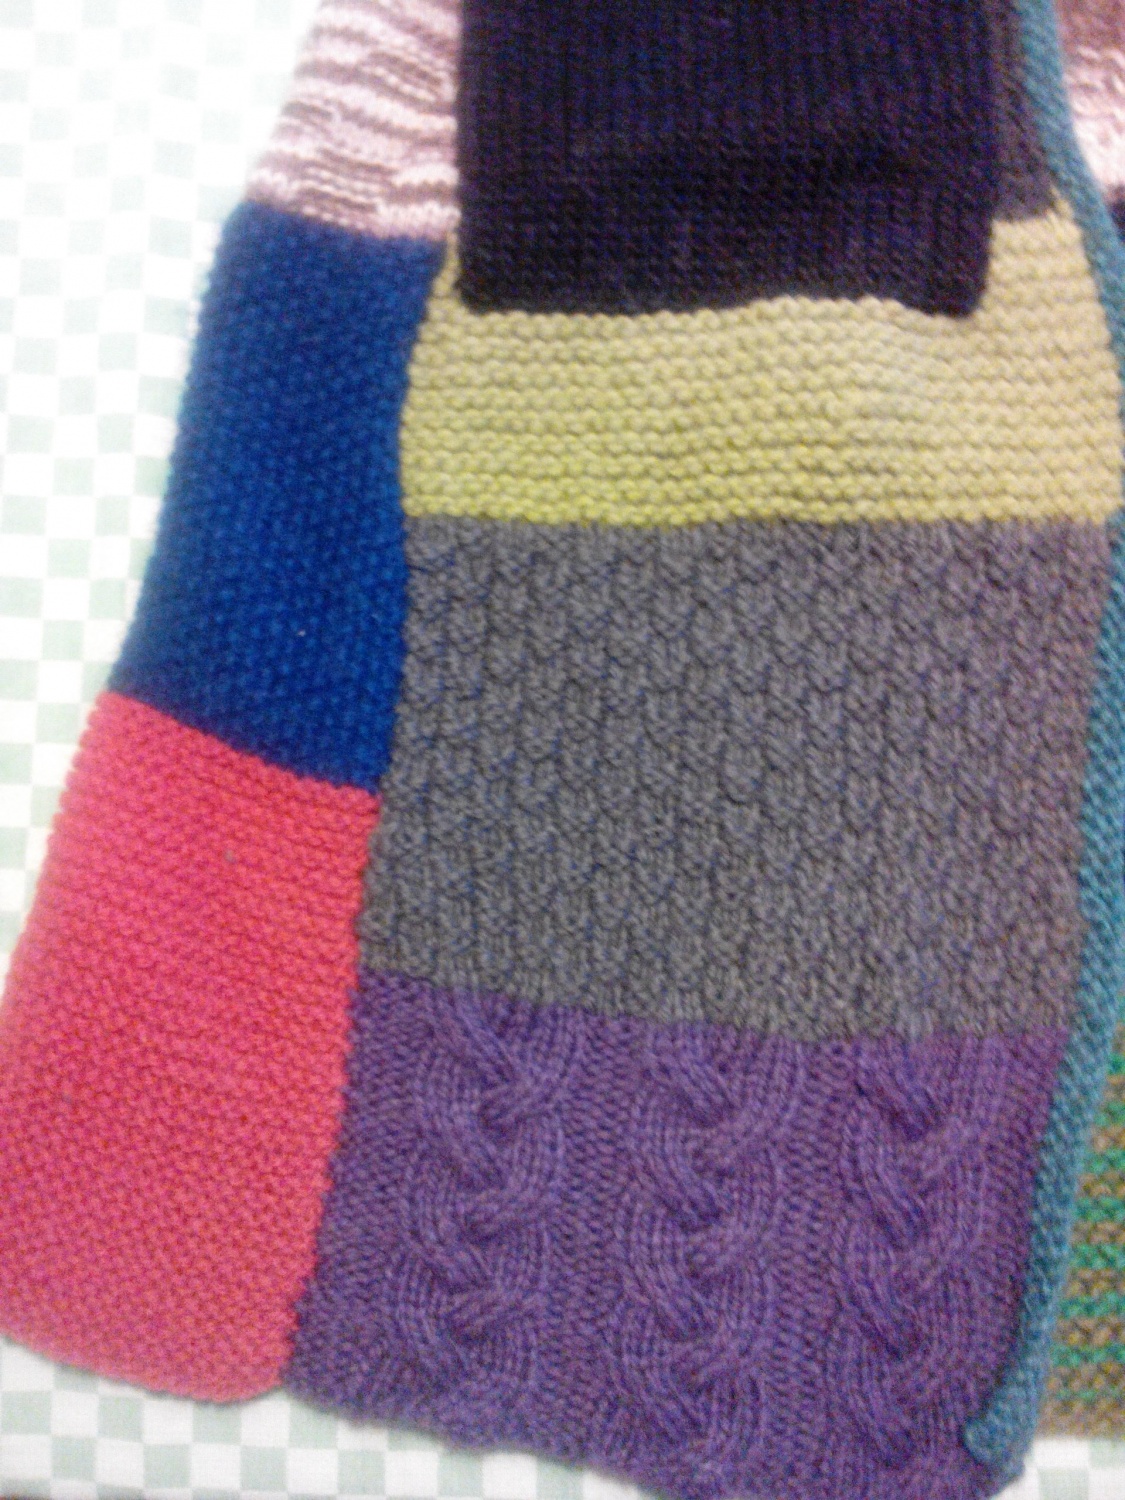
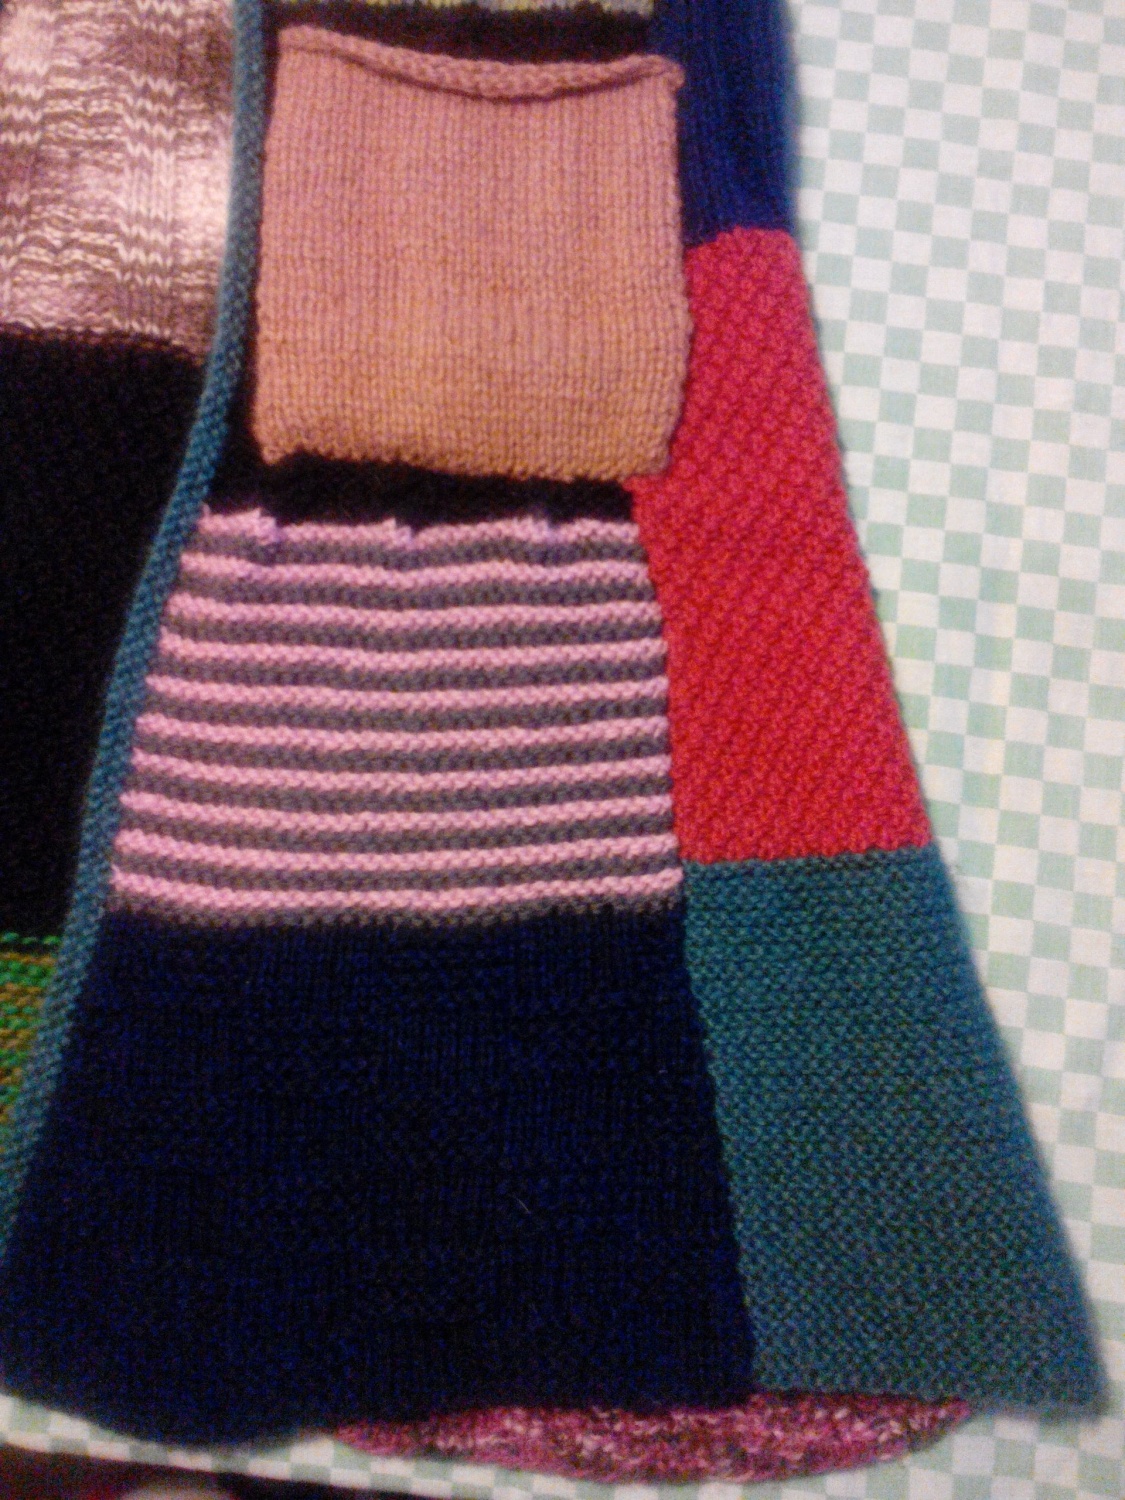
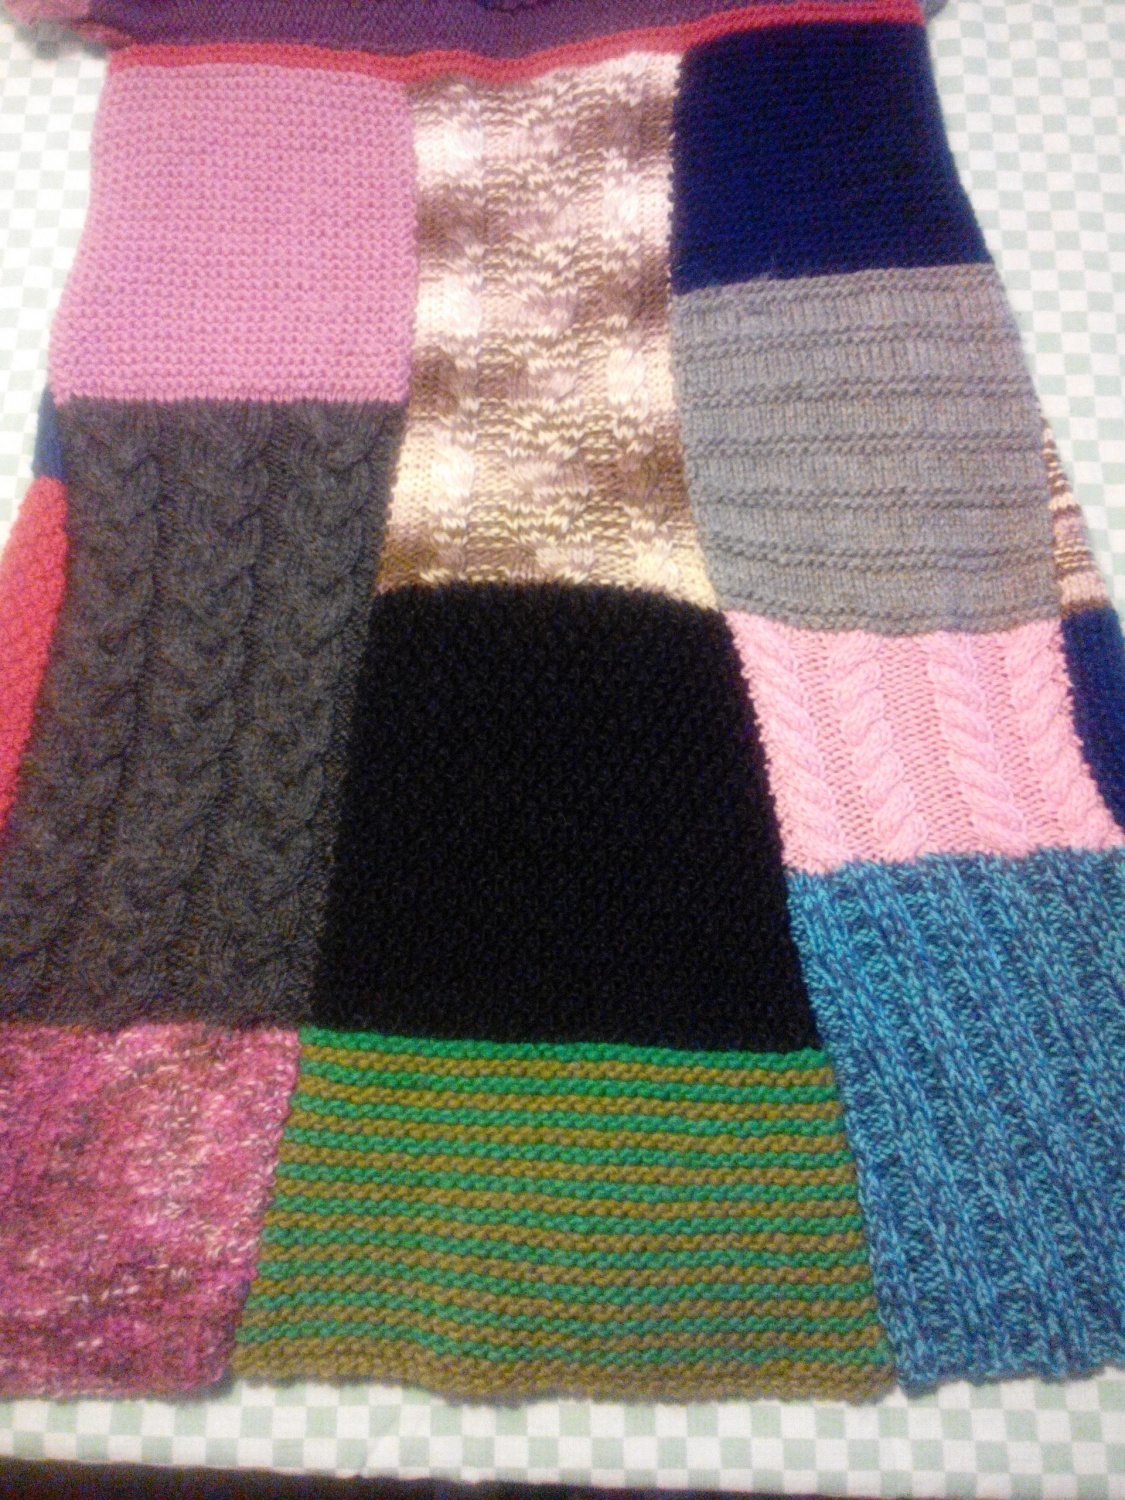
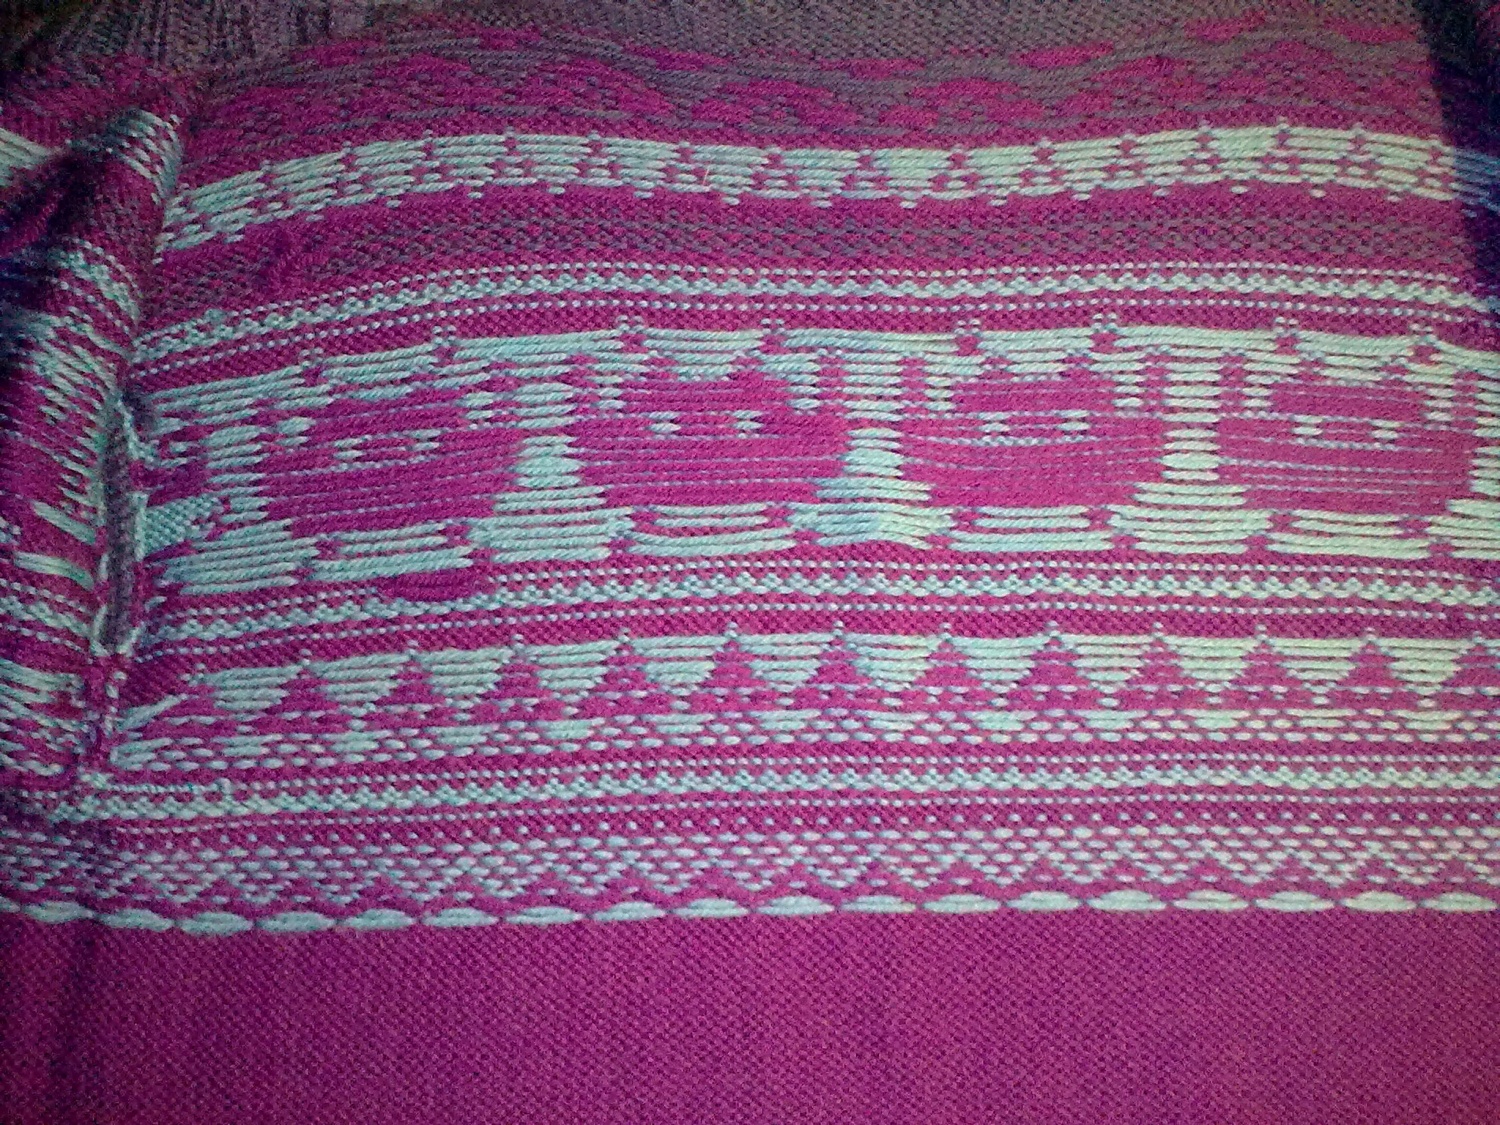
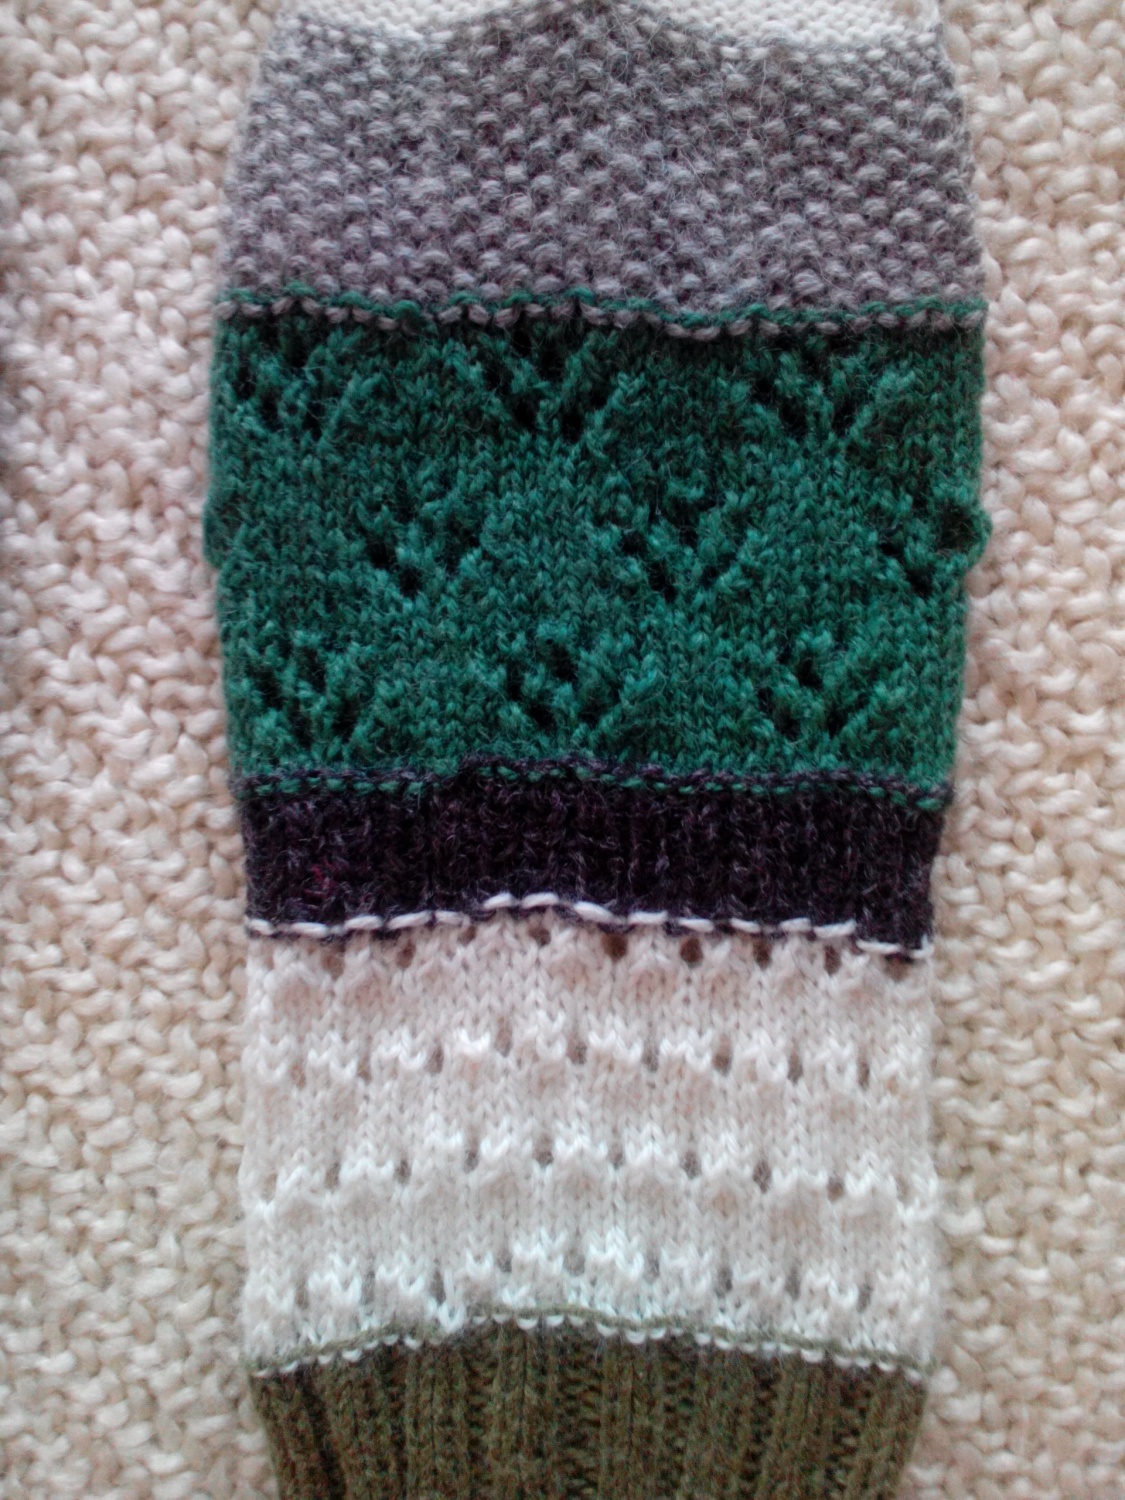
The wrist warmers are knitted with 6 different patterns, one for each color. Every new color start starts with a purl round. This round is not included in the patterns. The main parts of the patterns are underlined, and can be repeated as many times as you like.


IMG_20150330_141639

Cast on 60sts, evenly divided on 4 dpn, and join.

Pattern 1:
Round 1 – 21: *knit 2, purl 2*. Repeat *..* over all sts.

Change color.
Round 22: purl.

Pattern 2:
Round 23: *knit 1st, 1 yarn over, knit 2sts together*. Knit *..* over all sts.
Round 24 – 28: knit over all sts.
Round 29: *knit 1sts, knit 2sts together, 1 yarn over*. Knit *..* over all sts.
Round 30 – 34: knit over all sts.

Round 35 – 40: Repeat rounds 23 – 28.
Round 41 – 43: Repeat round 23 – 25.

Change color.
Round 44: purl

Pattern 3:
Round 45 – 52: *knit 1st, purl 1st* over all sts (ribbed)

Change color.
Round 53: purl.

Pattern 4: (pattern chart on last page)

Round 54 – 55: knit over all sts.
Round 56: *knit 3sts, knit 2sts together in the back loop of the stitches, 1 yarn over, knit 1st,
1 yarn over, knit 2sts together, knit 2sts*. Knit *..* over all sts.
Round 57: knit over all sts.
round 58: *knit 2sts, knit 2sts together in the back loop of the stitches, 1 yarn over, knit 1st,
2 yarn over (on next round you only knit 1 yarn over and drop
the second yarn over), knit 2sts together, 1 yarn over, knit 2
together, knit 1st*. Knit *..* over all sts.
Round 59: knit over all sts.
Round 60: Repeat round 56.
Round 61 – 63: knit all sts.
Round 64: *knit 1sts, 1 yarn over, knit 2sts together, knit 5sts, knit 2sts together in the back loops of the stitches, 1 yarn over*. Knit *..* over all sts.
Round 65: knit over all sts.
Round 66: *2 yarn over (on next round you only knit 1 yarn over and drop the second yarn over), knit 2sts together, 1 yarn over, knit 2sts together, knit 3 sts, knit 2sts together in the back loops of the stitches, 1 yarn over, knit 1st*. Knit *..* over all sts.
Round 67: knit over all sts.
Round 68: Repeat round 64.
Round 69: knit over all sts.
Round 70 – 77: Repeat rounds 54 – 61.


IMG_20150330_141645

Change color.
Round 78: purl all sts while decreasing 4sts evenly, by knitting 2sts together.

Pattern 5:
Round 79: *knit 1st, purl 1st* (moss stitching). Knit *..* over all sts.
Round 80: *purl 1st, knit 1st*. Knit *..* over all sts.

Round 81 – 95: Repeat rounds 79 and 80.

Change color.
Round 96: purl all sts while decreasing 4sts evenly, by knitting 2sts together.

Pattern 6: (pattern chart on last page)
This pattern will vary in stitch number. Don’t be alarmed, it’s suppose to. When the pattern is knitted through, you’ll be back to the same number stitches as when you started.
Round 97: *purl 6sts, knit 1sts, purl 6sts*. Repeat *..* over all sts.
Round 98: Repeat round 97.
Round 100: *purl 6sts, increase 1st, knit 1sts, increase 1st, purl 6sts*. Repeat *..* over all sts.
Round 101: *purl 6sts, knit 3sts, purl 6sts*. Repeat *..* over all sts.
Round 102: *purl 6sts, knit 1st, increase 1st, knit 1st, increase 1st, purl 6sts*. Repeat *..* over all sts.
Round 103: *purl 6sts, knit 5sts, purl 6sts*. Repeat *..* over all sts.
Round 104: *Purl 4sts, purl 2sts together, knit 2sts, increase 1st, knit 1st, increase 1st, knit 2sts, purl 2sts together, purl 4sts*. Repeat *..* over all sts.
Round 105: *purl 5sts, knit 7sts, purl 5sts*. Repeat *..* over all sts.
Round 106: *purl 3sts, purl 2sts together, knit 3 sts, increase 1st, knit 1st, increase 1st, knit 3sts, purl 2sts together, purl 3sts*. Repeat *..* over all sts.
Round 107: *purl 4sts, knit 9sts, purl 4sts*. Repeat *..* over all sts.
Round 108: * purl 2sts, purl 2sts together, knit 4sts, increase 1st, knit 1st, increase 1st, knit 4sts, purl 2sts together, purl 2sts*. Repeat *..* over all sts.
Round 109: *purl 3sts, knit 11sts, purl 3sts*. Repeat *..* over all sts.
Round 110: *purl 1st, purl 2sts together, knit 5sts, increase 1st, knit 1st, increase 1st, knit 5sts, purl 2sts together, purl 1st*. Repeat *..* over all sts.
Round 111: *purl 2sts, knit 13sts, purl 2sts*. Repeat *..* over all sts.
Round 112: * Purl 2sts together, knit 6sts, increase 1st, knit 1st, increase 1st, knit 6sts, purl 2sts together*. Repeat *..* over all sts.
Round 113 – 114: *purl 1, knit 15sts, purl 1st*. Repeat *..* over all sts.
Round 115: * purl 1sts, knit 7sts, purl 1st, knit 7sts, purl 1st*. Repeat over all sts.
Round 116: *purl 1sts, 1 yarn over, knit 2sts together in the back loops of the stitches, knit 3sts, knit 2sts together, 1 yarn over, purl 1st, 1 yarn over, knit 2sts together in the back loops of the stitches, knit 3sts, knit 2sts together, 1 yarn over, purl 1st*. Repeat *..* over all sts.
Round 117: *purl 2sts, 1 yarn over, knit 2sts together in the back loops of the stitches, knit 1st, knit 2sts together, 1 yarn over, purl 3sts, 1 yarn over, knit 2sts together in the back loops of the stitches, knit 1st, knit 2sts together, 1 yarn over, purl 2sts*. Repeat *..* over all sts.
Round 118: *purl 3sts, knit 3sts together (slip 1st, knit 2sts together, slip slipped stitch over the knitted stitch), purl 5sts, knit 3sts together, purl 3sts*. Repeat *..* over all sts.
Round 119: purl over all sts.


IMG_20150328_153556

Change color.
Round 120: purl.

Pattern 7:
(now we begin to increase for the thumb)
Round 121: knit 6sts, increase 2sts on each side of the 7th stitch by picking up the yarn between stitches. Knit the remaining sts:
Round 122: knit all sts.
Round 123: knit 6 sts, increase 1st, knit 3 sts, increase 1st. Knit the remaining sts.
Round 124: knit all sts.
Round 125: knit 6sts, increase 1st, knit 5sts, increase 1st. Knit the remaining sts.
Round 126: knit all sts.
Round 127: knit 6sts, increase 1st, knit 7sts, increase 1st. Knit the remaining sts.
Round 128 – 140: Knit all sts.

Change color.
Round 141: purl 6sts, put the 9sts for the thumb on a thread, cast one 7sts, and purl the remaining sts.
Round 142: *knit 2sts, purl 2sts* throughout the round, while decreasing 2sts evenly, 56sts total.
Round 143: *knit 2sts, purl 2sts*, Knit *..* over all sts.
Round 144 – 160: Repeat round 143.
Cast off, sew in ends.

Thumb:
Put the 9sts back on dpn, and pick up 11sts where you cast on 7sts on the hand. Knit 10 rounds *knit 2sts, purl 2sts*. Cast off. Sew in all ends.


DOWNLOAD PATTERN HERE =)


HOT TIP OF THE DAY: Support your local shops!

Every crafter knows how expensive it can be to make/craft something, be it knitting or painting or whatever your preference is. We’ll roam every corner of the world to find sales, bulk offers and slightly cheaper material (to replace expensive items). Internet shops does provide us with a variety of material with all kinds of sales and offers which are hard to refuse. This however is at the expense of our local shop, who very often have to jack up their prices to stay in buisness. And that is just too sad. The experience of shopping at your local store is so priceless, the personal service is undeniably awesome. Remember that your local shops are in the same position as you (if you’re the kind of person who’s trying to make your own buisness with homemade items).

My “local” shop doesn’t exist anymore. Not because it couldn’t stay open, but because the owner wanted to do something different. It was a tiny little shop called Hobbykroken, located in my hometown of Åkrehamn (on an island on the west coast of Norway). It was run by a mother and daughter, two of the most lovely people I’ve met. Going in to that shop was like heaven, the expertise they had was incredible. Among their suppliers was Drops Design, Sandnesgarn and Dalegarn.
Sometimes I would stop by, not knowing what I wanted (or even if I wanted to buy any yarn), and I would always leave with a bag of goodies. Any questions I had, they could answer. They also had a customer raffle. Every time you bought something, they added your name to the raffle, and the winner would get merchandize worth of a certain amount. In 2011 they put their shop up for sale (now it’s a beauty salon/spa place thingy). The last week they were open they had a huge sale, and I don’t think I’m wrong when I say that they must have sold pretty much everything in their shop. Of course I was there, who can refuse 70% off on everything! I ended up with bags of yarn, buttons and booklets worth almost 3000kr (376 US dollars), and only paid about 800kr (100 US dollars). I will always miss that shop, it was my favorite place!


IMG_20150329_145001

One of the things I was finally able to knit, was this jacket. Originally it would have cost me 1248kr, I only paid 374kr for it. Because of the vast sale they had that week, there wasn’t enough skeins in some of the colors. So compared to the pattern I used, there are some minor changes. In the pattern there is no grey IMG_20150329_145026color, it’s a lavender purple. I went with a light grey color instead. I also added pockets, and had slightly more blue at the top of the jacket. The pattern is from this booklet , model 10. It’s knitted with Alfa yarn , a wool yarn with 6% mohair. It is super soft and comfortable. I’ve had this jacket for years now, I’m going to keep it and wear it until it falls apart =P. Like my little local shop, it is my favorite =).


Support your local shop!


Simple poncho!

I’m currently working on some new “features” for my blog, a logo and some new headers for my different categories. While we’re waiting, I thought I would add a free pattern for you. In 2013 I knitted this poncho, of course with leftover yarn from my then massive stash. Every Autumn I’ll buy a fashion magazine (when there’s a “trend bible” filled with knitwear), and look through and see if something tickles my fancy =) This poncho was such a project. I cannot for the love of knits find the picture that inspired me, I don’t remember which clothing designer made the poncho I liked. All I remember is that it was in white and different brown colors, striped and with a few different patterns for the different colors.
Anyway, here is the pattern. If you want to download the pattern and print it out, scroll down to the bottom of this post and hit the “download pattern” =).

Purple poncho

Needle size: 9mm/US size 13 (the needle size should be bigger than what is recommended for the yarn, to make the sts look loose).

Gauge: 18sts approx. 20cm

Yarn: This poncho is knitted with leftover yarn from other projects. You can use any kind of yarn you want. This poncho is knitted with:
Lerke – the neck (single thread)
Falk -deep purple (single thread, very loose sts)
Fritidsgarn – dark blue (single thread)
Drops Alpaca – dark grey (triple thread)
Lima – medium grey (double thread)
Gjestal bomull sport – medium purple (double thread)
Hegre – light grey (single thread, very loose sts)
Boulcè yarn (single thread)

You’ll need approx. 9-11 skeins of yarn (depending on what type of yarn you choose), whatever is left is used for the fringes. The thinner threads are either doubled or tripled. If you double or triple your threads, remember to keep the “new” thread thinner than the needle size you’re using.

IMG_20150324_124610

Measuring tips: Make all measurements when the piece is laying flat. The poncho measure approx. 92cm across, 104cm long.

This poncho is knitted in one piece with 3 easy patterns, and the poncho itself is a square. The 3 patterns are underlined. If you start a pattern on purl side, remember to purl instead of knit (and vice versa).
Cast on 80sts (first and last sts are edge stitches, and is knitted on both sides. Do not include them in the patterns).


IMG_20150324_124224

Pattern 1
Row 1: purl all stitches
*Row 2: *knit 2sts, knit 2sts together, yarn over 1st*, repeat *.* over all sts. last 2sts knit. (purl on purl side, knit on knit side)
Row 3: purl (purl on purl side, knit on knit side)
*Row 4: *knit 2sts together, yarn over 1st, Knit 2sts*, repeat *.* over all sts, last 4sts knit 2sts, knit 2sts together. (purl on purl side, knit on knit side)
Row 5: purl (purl on purl side, knit on knit side)
Row 6: repeat row 2
Row 7: purl
Row 8: repeat row 4

Pattern 2
Change color.
Row 9: *purl 1, knit 1* over all sts
Row 10: *knit 1, purl 1* over all sts
Repeat row 9 and 10 five more time.
Row 21: *purl 1, knit 1* over all sts

Pattern 3
Change color.
Row 22: knit all sts
*Row 23: *purl 2sts together, yarn over 1st*, repeat *.* over all sts. (purl on purl side, knit on knit side)
*Row 24: knit (purl on purl side, knit on knit side)

Repeat these 3 patterns in any kind of order you want, for a total of 59 rows. If you’ve ended a color on the purl side of the poncho, remember that the first row you knit has to be purled.

On this poncho the pattern order is:
3th color change: pattern 1 for 10 rows
4th color change: pattern 2 for 13 rows
5th color change: pattern 1 for 10 rows
**6th color change: pattern 1 for 2 rows
(**:  neckline starts after these first 2 rows)

Row 60: knit 29sts in the pattern you’re doing, then cast off 22sts for the neck, knit the last 29sts
Row 61: knit 29sts in the pattern you’re doing, cast on 22sts, knit the last 29sts (now you have a neck hole).
Row 62-67: continue pattern 1 (a total of 10 rows with the 6th color change, 2 rows on one side, 2 rows for neckline/shoulders, 6 rows on the other side)

7th color change: pattern 2 for 4 rows
8th color change: pattern 1 for 12 rows
9th color change: pattern 2 for 11 rows
10th color change: pattern 3 for 8 rows
11th color change: pattern 3 for 3 rows
12th color change pattern 2 for 8 rows
13th and last color change: pattern 1 for 5 rows
Cast off.

IMG_20150324_124348

The neck:
Pick up 116sts around the neckline with circular needles/4dpn size 4 1/2mm (US size 7), and join (approx. 3sts on needle size 4 1/2mm for every sts needle size 9mm). *Knit 2, purl 2* around over all sts, until the neck measures approx. 14cm. Cast off. Sew in any ends.

Fringes:
All loose ends on the poncho are used as fringes, so don’t sew them in or anything like that. Add fringes with the yarn you have left. Cut them 40cm long, and loop them through the edge sts, all around the square.


DOWNLOAD PATTERN


Minions Part 2 – New additions to my army!

From time to time the most handsomestIMG_20150314_132548 man (a.k.a. my boyfriend)  will drop some yarn in my lap, and say something like “can you use this to make me…”. This time he brought me a yellow yarn ball, a pure Norwegian wool yarn called Troll (such a good name for a Norwegian yarn =D ), and a purple yarn ball called Lang Yarns Odeon,  and said “IIMG_20150316_141444 want you to make us some minions”. My boyfriend is a cute one, especially when he believes in my magical skills =P

I had to roam through my stash of leftover yarn to find the colors for the rest of the minions: jeans,IMG_20150316_141533 goggles, eyes, mouth, teeth, feet, hands and accessories. After some time looking at minion pictures and writing rough drafts, I started on my quest (the pink ball was initially for a tongue for the yellow one, but I changed my mind).


IMG_20150321_122155

My boyfriend wanted theIMG_20150321_122342 minions to be the same size, and his youngest son challenge me to make a banana for the yellow one. His IMG_20150321_122531youngest troll always have a fun challenge for me when I’m knitting something he finds interesting =). I asked my significant other if he want the option to remove the banana for other objects, and he said yes. I had to tease him a little for that, and ask if he was going to play with the minions (this turned out to backfire on me, I was the one who ended up playing with them!).


IMG_20150321_122722That gave me the idea to makeIMG_20150321_122927 a maid costume for him. I sewed on push-on buttons in his hands, so he can IMG_20150321_122745change  whatever it is he’s holding. For now it’s only a banana and a feather duster. In the future I might make him the golf costume, or maybe the red wig and green dress outfit.


IMG_20150318_155758Since these minions are for personal use, I figured that the stuffing didn’t have to be top choice. So here is what I did, I stuffed them with scraps I’d saved up. When you’re done with a project, or you’ve unraveled a old project, save all your cut off ends. I keep mine in glass jars, and it can actually be used for different things. It took quite a lot of stuffing, they are about 33cm long and 36cm around.


I’ll eventually get around to writing down a pattern, if anyone is interested. For now I hope you’ve enjoyed the pictures =).


IMG_20150321_123134

Dusting time! My snow globes won’t clean themselves. By the way, we named this one Frank.

 IMG_20150321_123439

This one is named Igor! And yes, it’s because this is a horror fan household =P He’s trying to make friends with my plant, I have no idea how it’s going.

 IMG_20150321_123944

Igor and Frank playing chess. Frank isn’t the sharpest knife at the moment, he’s too focused on his banana (banana, Banana, BANANA!).

 IMG_20150321_125406

And finally, Frank and Igor are visiting Ms. Lenore for a crystal ball reading (Roman Dirge’s Lenore is by far the cutest dead girl I know). They brought some friends to the party =D.

Hot Tip of The Day! – Scraps

A long time ago, when I was still a novice in the knitting world, I really didn’t care much about recycling yarn. When a project was done, and all the ends were sewed in and cut off, they would go in the trash. Whenever some yarn had been in my knitting basket for too long, I would throw them away. I blame my youth and lack of life experience =).

IMG_20150316_140206

IMG_20150316_140157

Now I save everything, almost to the point where I’m hording (it’s not that bad, I don’t have enough space for that =P). One thing I’ve become good at, is saving all my cut off’s, and I stuff them in glass jars for later use. As I’ve mentioned before, these last few years I’ve been all about recycling yarn, knitting with my leftover yarn, and using every tiny scrap I have.

Here are some ideas you can use your scraps with:

sunny23Make pompoms! Pompoms can be sewed to almost anything, to add a little color. You can decorate your home by making pompom art. Or you can sew them together to make coasters, trivets, pompom bookmarks, carpets. The possibilities are endless with pompoms! Click on the image to go to the website =)

yarn-1-525x350Glue or pin them to Styrofoam to make decorative ornaments! Click on the image to go to the website =)


Stuff teddy bears! If you’re going to stuff something, you should keep the machine washable scraps separated from your hand wash. It kind of sucks to stuff a machine washable teddy with hand wash scraps. The stuffing will felt, and whatever you stuffed will be ruined.


IMG_20150319_143948Add fringes to scarves and shawls! Knit or crochete tiny ornaments and make hairclips, or decorate shoes and clothing (image taken from my book).


Don’t waste anything =)


A World of Socks!

I suffer from cold feet syndrome (it’s not really a syndrome, I just have cold feet most of the year). Probably because I smoke, at least that’s what people keep telling me. So I have my arsenal of knitted socks, because I get really grumpy if my feet are cold. All my socks are knitted with leftover yarn, I like having colorful socks that match/mismatch in their own quirky way.


IMG_20150302_125326

This socks are knitted with needle size 4 1/2 (US size 7), and a mix of wool yarns. The red and the black is alpaca wool. I’ve also patched one of the socks, I only throw away my socks if they are unfixable.


IMG_20150302_125658

These socks are knitted with needle size 4 (US size 6), and is a mix of every little ball of yarn I had at the time I made them. They have also been patched, and they are my absolute favorite pair.


IMG_20150302_125807

These socks are knitted on needle size 5 1/2 (US size 9), with leftover fritidsgarn yarn. They used to be the sweater on this cover, but when I had finished it, I didn’t like how it looked on me. So instead I knitted the model 8 sweater (from the same booklet) as a gift, and these socks.


IMG_20150302_130220

These socks are knitted with needle size 6 (US size 10), the green is Eskimo yarn, and the felted white parts also. I mistakenly machine washed them once, and because of that I have to fix the top part (which had been felted). I couldn’t get them on, because they were too tight. Luckily it’s an easy fix, and now they fit perfectly.

IMG_20150315_145654

These socks are knitted on needle size 4 (US size 6) with a mix of wool and mohair yarns. The color part of the socks are knitted with double thread, white and a color.


IMG_20150302_125510

These socks are knitted on needle size 3 (US size 4) with alpaca wool. The soles of feet are starting to felt, which I don’t mind at all. They are still super soft, and it makes it easy to sew on patches when there are holes. They go just below the knees.


IMG_20150302_125738

These socks are knitted with needle size 3 (US size 4), the pink is alpaca wool and the grey is pure wool. They go just below the knees, and have a cute ruffle on the top. I used this pattern for the ruffles on the top.


IMG_20150302_125426

These socks are knitted with needle size 4 (US size6), and they are mostly knitted with embroidery yarn. My boyfriend’s father’s mother (that was a mouthful!) had a bag full of embroidery yarns and threads, which I was fortunate to get a hold on. The socks goes just above the knees.


ble 088

These socks are knitted with needle size 3 (US size 4), with a soft wool yarn. I used this pattern  (which is free on Ravelry), and added some traditional Norwegian patterns for the rest. They go just below the knees.


Hot tip: 

When it comes to socks, I hardly ever follow the patterns for the foot part. I always knit the foot part of my socks snug and tight, so when they stretch they are a perfect fit. It always annoys me when the heals ends up way up on my ankles. This is of course a personal choice. I also always knit the heals with double thread to make them more durable.


Squared Legwarmers!

Yesterday I finished a new pair of legwarmers for myself.

There are a few ways you can make these legwarmers, and I’ll try and make it easy for you to do (bare in mind, I have never written down any patterns, so I’ll just try to explain).  First off, you have to find  your bulks of leftover yarn. In my case I found all the yarn I had suited for needle size 4 (US size 6), and made a swatch with 14 stitches (that includes 1 edge stitch on each side for sewing), and knitted 16 rows (that includes the cast off row). I then measured it, and the square was approximately 5cm both ways (width and height). Then I measure my leg to see how many squares I would need horizontally.


IMG_20150310_213249

Since I had an unknown amount of yarn length, I decided to knit the squares separately and sew them together afterwards. This can of course be done differently. If you know the length of your yarn and how you want your colors, you can easily divide your yarn (like one would when knitting f.ex. intarsia) and knit full length rows of squares before sewing the rows together. Either way, there is some sewing involved. I also prefer to knit the squares separately, so I can sort out the different colors afterwards.


IMG_20150310_180113

I then set out to make my vertical rows. I decided to not “hide” the cast off row, so I sewed them together in the back loop on the cast off stitches and the cast on loops. This is of course a personal choice. If you want a more seamless finish, that is your choice.


IMG_20150311_170658

As you can see from this picture, I left an open space between row 3 and 4 at the bottom. I did that because I prefer my legwarmers to be slightly wider at the bottom. Again, this is a personal choice. If you prefer to have them straight, sew it all together. If you, like me, want them a little wider, you should knit squares that decreases. I made 2 squares for this purpose. The bottom one started off with 14 stitches, and I decreased 2 stitches every 6th row, and I knitted 16 rows like the other squares. The second square started off with 10 stitches (to match the cast off row from the first square). The second square started to decrease on the second row (4 rows from the previous square + 2 rows on this new one = 6 rows), and I continued to decrease every 6th row until I had 4 stitches left. On the 6th row I knitted the 2 middle stitches together, leaving me with 3 stitches. I knitted 3 rows with 3 stitches, and finished off knitting the 3 stitches together on the 4th row. You can knit it as long as you prefer.


IMG_20150312_012813

I had decided I wanted a row of buttons on the outside of my legwarmers, so after I had sewed all the squares together, I picked up 48 stitches along both sides and knitted a rib finish (knit 2, purl 2). I made 5 holes for buttons on one side, on one legwarmer on the right side and on the left on the other. On this picture you can see that the bottom legwarmer shows the inside.


IMG_20150312_154254

IMG_20150312_155734

I also wanted to have a top and a bottom finish, and I decided to have a rib finish at the top and a garter finish at the bottom. The top part is knitted all the way around. I picked up 13 stitches in the back loop of the cast off IMG_20150312_194606stitches on each square, and also picked up 10 stitches on the ribbed band where the buttons would be sewed on (88 stitches total). The ribbed band with holes is “hanging loose”. On the 4th row I made holes for a ribbon, by knitting *knit 2, purl 2, knit 2, cast on 1 stitch, purl 2 together* all the way around. The bottom has 4 rows, knitted with garter stitches. I picked up stitches in every cast on loop, and picked up 10 stitches on all 4 bands. The 4th row is the cast off row.

Finished product:

IMG_20150313_152555

IMG_20150313_152607


Sleeveless Coat!


this bookIn 2013 I got this book for Christmas from my boyfriend’s mom, I had it on my wish list =) For her birthday the following year I made her this absolutely beautiful coat, because I had so much white yarn laying around. Making the coat was very time consuming, but it was worth the work! It’s a puzzle making this kind of IMG_20150309_143346patchwork coat, using different needle sizes for the different types of yarn, making the swatch samples the right size, sewing it all together. The end result is in this post. Not as glamorous looking as the picture from the book, I did not have a sexy wind or a beautiful ocean at my disposal =P

IMG_20150309_143427After the work was done, I realized it actually made me a little jealous, I wanted one too! As a pale Northman, I look kind of dead in white. Luckily I like colors, I can be quite colorful. So instead of making myself a white coat, I drew inspiration (from the same book) from this poncho.


The swatches/squares vary from cable patterns, to moss stitching, double moss and garter stitching. I used yarn like Eskimo, Kitten Mohair, Alaska, Nepal, Silja, Falk, and a whole bunch of other yarn (whatever was laying around basically). The needle sizes were 5 to 9 (US size 8 to 13), depending on the yarn. I’m guessing there’s about 1500g of yarn in total, maybe more maybe less.

The top part of the coat (the yoke) is knitted in three pieces (2 front pieces, 1 back piece), all pieces knitted with the same cable pattern.  The back piece is 58cm long and 25cm wide. The front pieces are 26cm long and 25cm wide (I’m a size Large). The ribbed finish on the arms are 3cm.

4front right

4front left


back top


There are a total of 28 squares, that does not include the pockets or the hood. The longest measuring 34cm, the shortest only 3cm.

IMG_20150309_175940

Left side (without the top yoke) is 20cm IMG_20150309_175929wide on the top, and 42cm wide at the bottom. Right side is the same as the left (of course =P). Back side (without the top yoke) is 52cm on the top, and 76cm at the bottom. The coat measures IMG_20150309_18000596cmIMG_20150309_175915 (from shoulder seam to bottom).

IMG_20150309_180058


The final result is this colorful piece of work, I’m actually very proud. Specially since I’ve made two of these now (the other being the white one).

front

back


Space Invaders!

Way waaaay back in the 1980’s, I played ALOT of arcade games. In my home town there was (as far as I can remember) a huge arcade room next to a café, and they had Space Invaders. I was also lucky in that my dad worked at a place that had a huge arcade place, where I would spend a few hours a day, playing The Simpsons, Batman, Terminator pinball, and all kinds of arcade games. My uncle also had a Commodore 64, my favorite games were Winter Games, Paper Boy and Ghostbusters =P

space_invader_table1I don’t remember what type of table it was, but it looked something like this. Of course it looked more 80′ than this picture, but it’s not easy to remember what something looked like more than 20 years ago.

IMG_20150308_152423

So when I found this booklet, I was deliriously happy. For those of you unfamiliar with “Marius” pattern, it’s a traditional Norwegian pattern. What Arne & Carlos have done, is take that pattern and turned it into a modern nerdy version, and I love it! And I’m not the only one. A Google IMG_20150308_152453search shows all these beautiful sweaters and hats and all other kinds of knitted Space Invaders.


My Space Invaders jacket looks like this:

Høyre framside

Innside rygg


I chose to make mine in purple and blue’s, and I made it to a jacket with buttons. The picture on the right is the inside of the jacket =) It’s knitted with Falk yarn.


89748

At some point I’m planning on making a Space Invaders handbag too, I’ve wanted one for some time, ever since I saw this. In time, I just have to finish all the other millions of ideas I have =P


A World of Legwarmers!

My favorite times of the year are Autumn and Winter, for many reasons. One of the reasons is I get to wear my knits. It feels like I have mountains of socks, beanies, legwarmers, wrist warmers, shawls, cowls, anything for those chilly Norwegian days. So today I thought I would show you my collection of legwarmers (including a few store bought ones).


IMG_20150220_135837

These legwarmers where knitted with IMG_20150306_160135Sandnes Mini Palette Superwash (which appears to be discontinued), inspiration was found in a Sandnesgarn Mix Ung pattern booklet.


IMG_20150220_135914The cables are on the backside of theIMG_20150306_155757 legwarmers. Fully stretch they go just below the knees. They are knitted with Verdi yarn. I knitted them some time last year.


IMG_20150220_135945

These legwarmers where knittedIMG_20150306_160609 ages ago, so I have no recollection what yarn they where knitted with. They are brown, green and black, and just long enough to cover up a pair of Doc Martens boots.


IMG_20150220_140028

These legwarmers where alsoIMG_20150306_155041 knitted a thousand years ago (more or less), knitted with leftover yarn taking up space. They actually took quite a while to make, because of the different patterns I used.


IMG_20150220_140112 These legwarmers where knittedIMG_20150306_161250 with Lerke yarn, a nice soft Egyptian cotton and Merino wool blend. The moss stitching is on the backside.


These legwarIMG_20150220_140141mers where knittedIMG_20150306_161014 with leftover wool yarn, and the picture is a little misleading. The colors of the legwarmers are actually green and purple, not green and blue.


IMG_20150227_141432These legwarmers where knittedIMG_20150306_155451 with a wool/nylon blend, and they are superwarm and cozy.


And finally, my store bought legwarmers. IMG_20150220_140328


css.php
Driftes av Bloggnorge.com | Laget av Hjemmesideleverandøren
Denne bloggen er underlagt Lov om opphavsrett til åndsverk. Det betyr at du ikke kan kopiere tekst, bilder eller annet innhold uten tillatelse fra bloggeren. Forfatter er selv ansvarlig for innhold.
Personvern og cookies | Tekniske spørsmål rettes til post[att]lykkemedia.[dått]no.